Framed Beaded Pumpkin
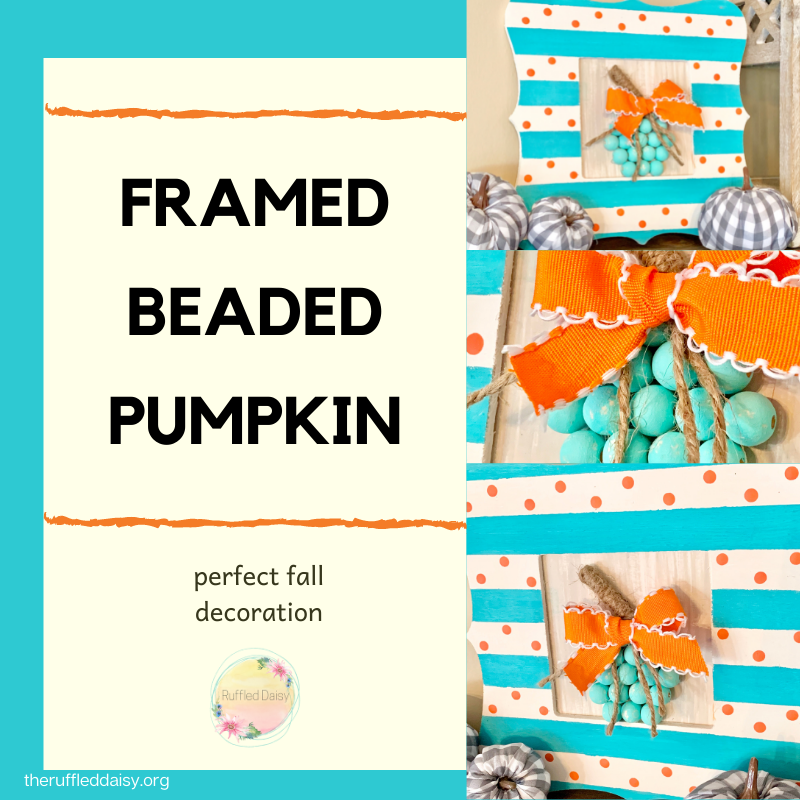
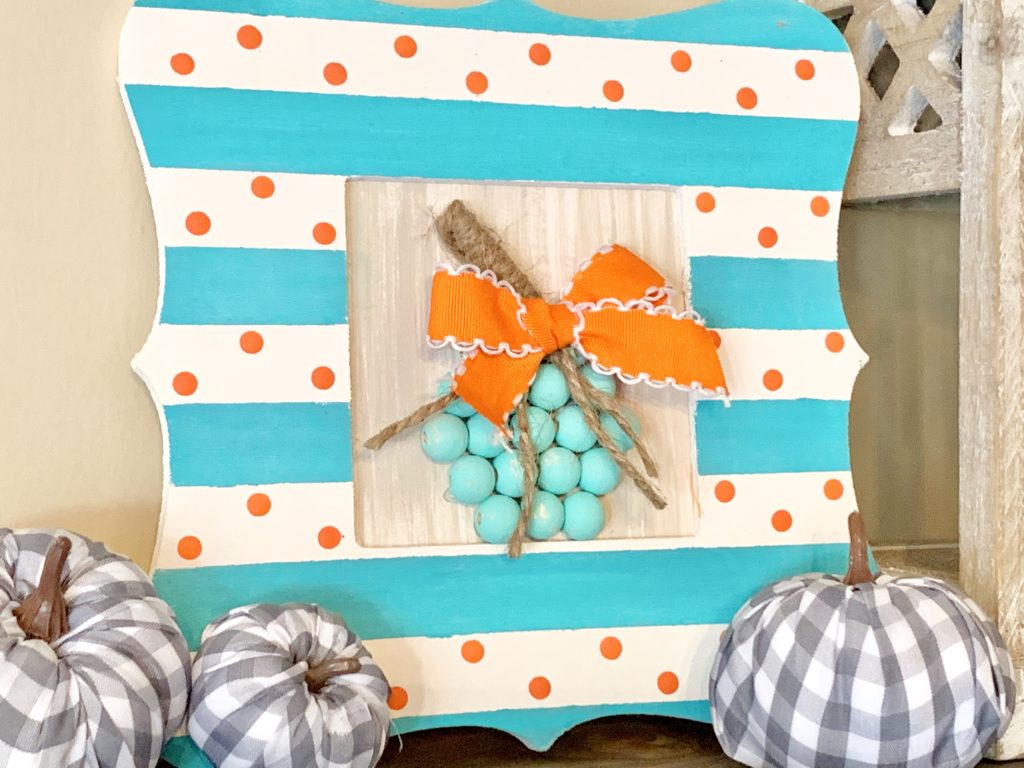
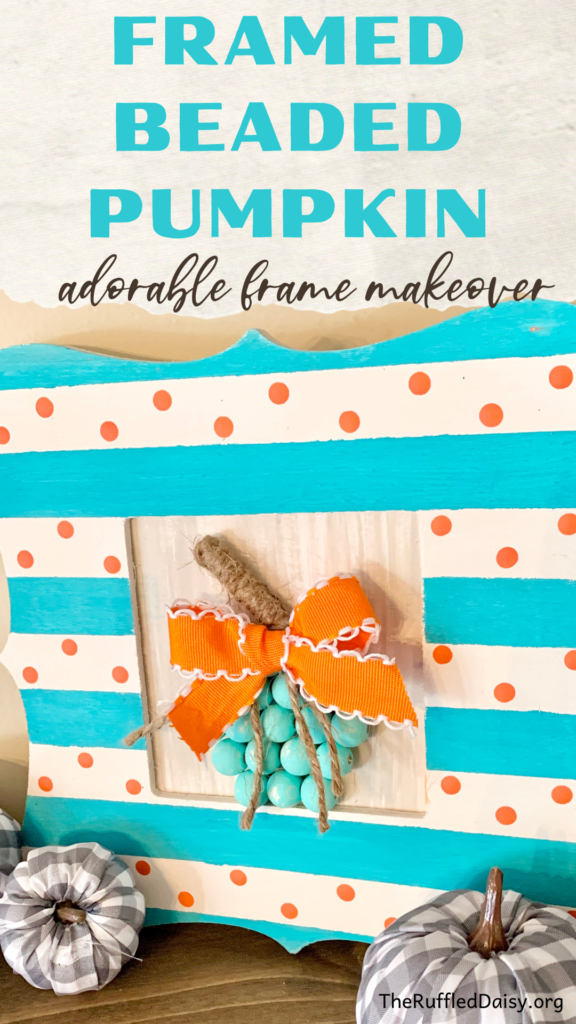
A simple wooden frame from the dollar store, some paint and wooden beads transforms into an adorable Framed Beaded Pumpkin!
Today, I’m bringing a project to you that is a little out of the decorating norm when it comes to fall colors. I am ALL about teals and aquas and so I decided to start using it in my favorite season and let me tell you…IT WORKS BEAUTIFULLY!!!
Here is what you need to make your own Framed Beaded Pumpkin:
- Wood frame
- Paint
- 14mm wood beads
- Twine
- Ribbon
- Wooden skewer
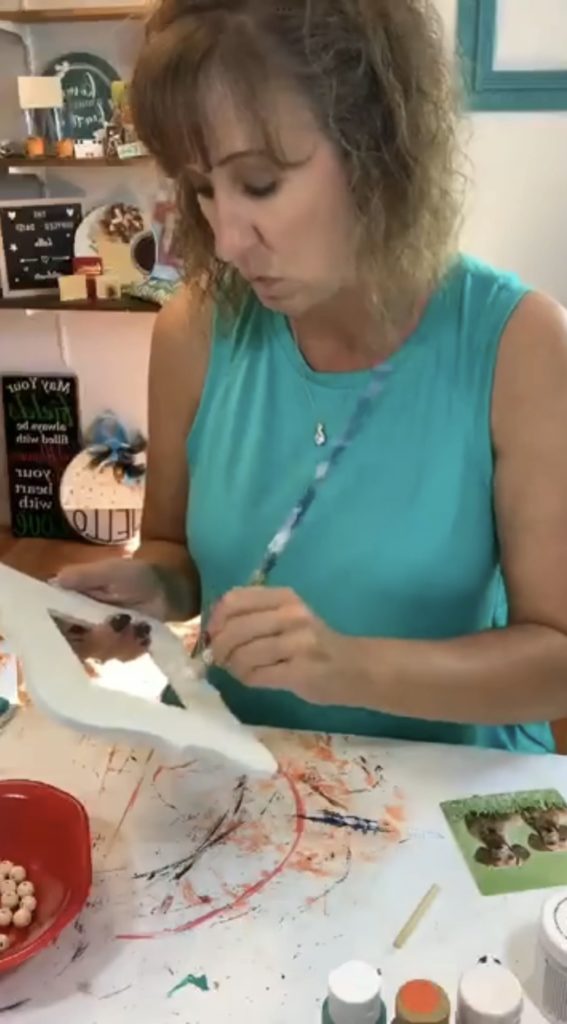
I started by painting the frame white. When it’s dry we’ll add some more decorations to it.
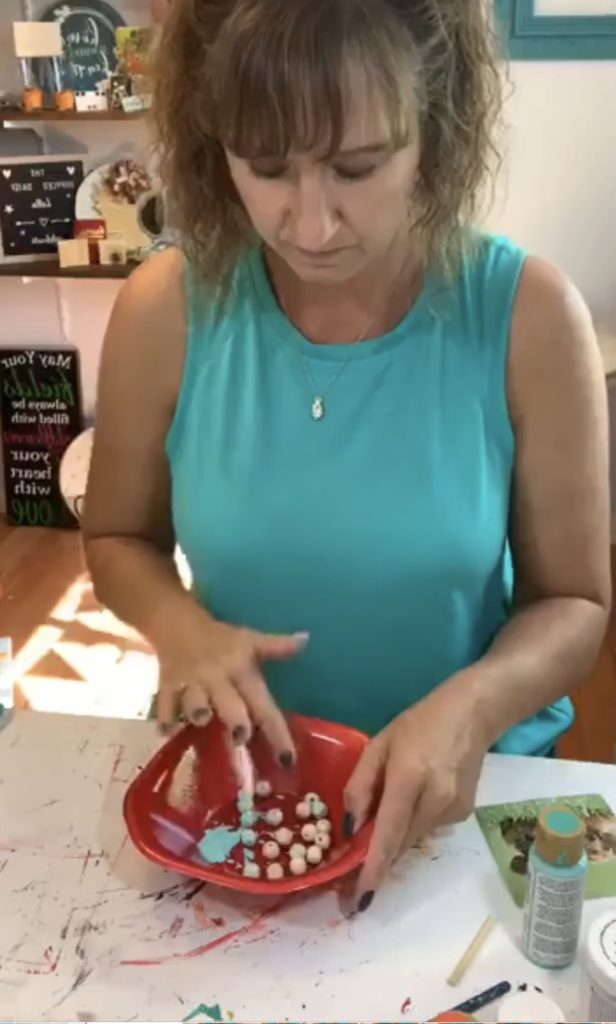
While my frame was drying, I painted my 14mm wood beads. I just rolled them around in a plastic bowl with a tiny bit of paint. It is so much cleaner to do it this way.
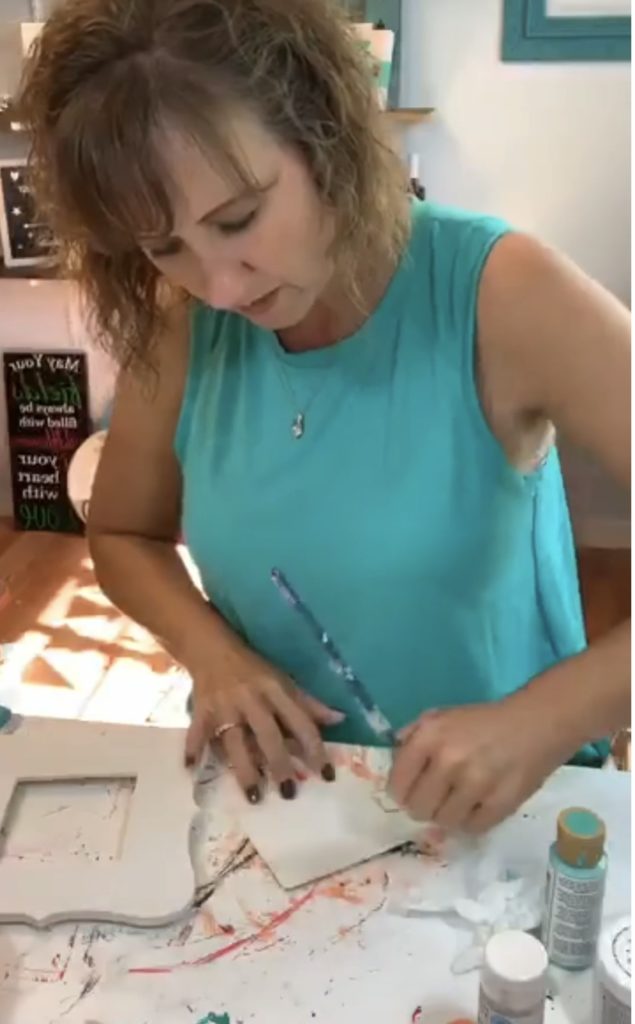
My frame came with a cardboard backing that was in the opening. I am going to use that as the base to my pumpkin so I painted it white also with just a little bit of gray dry brushed on.
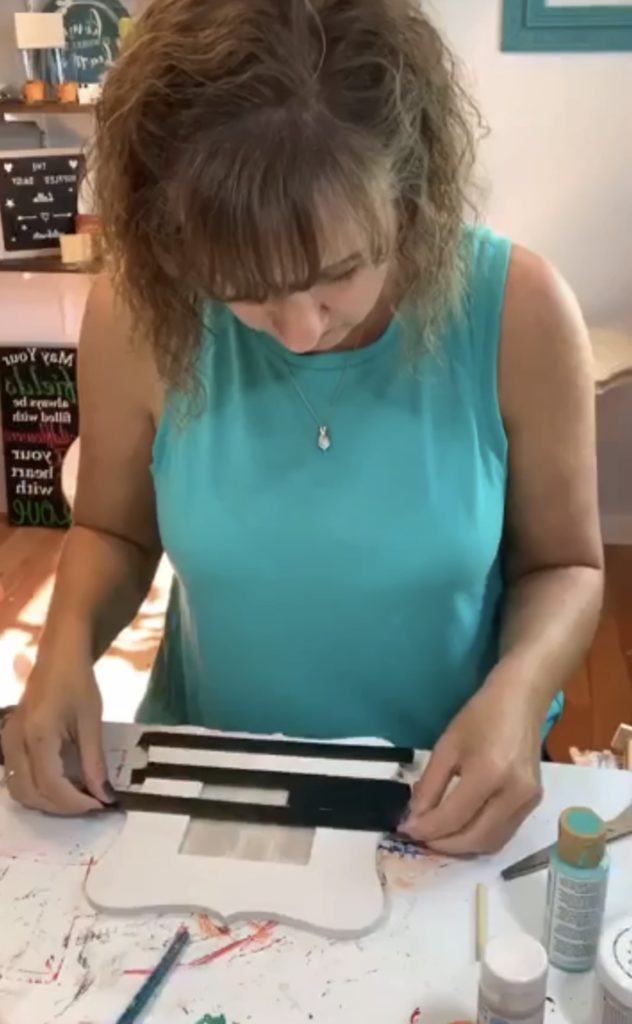
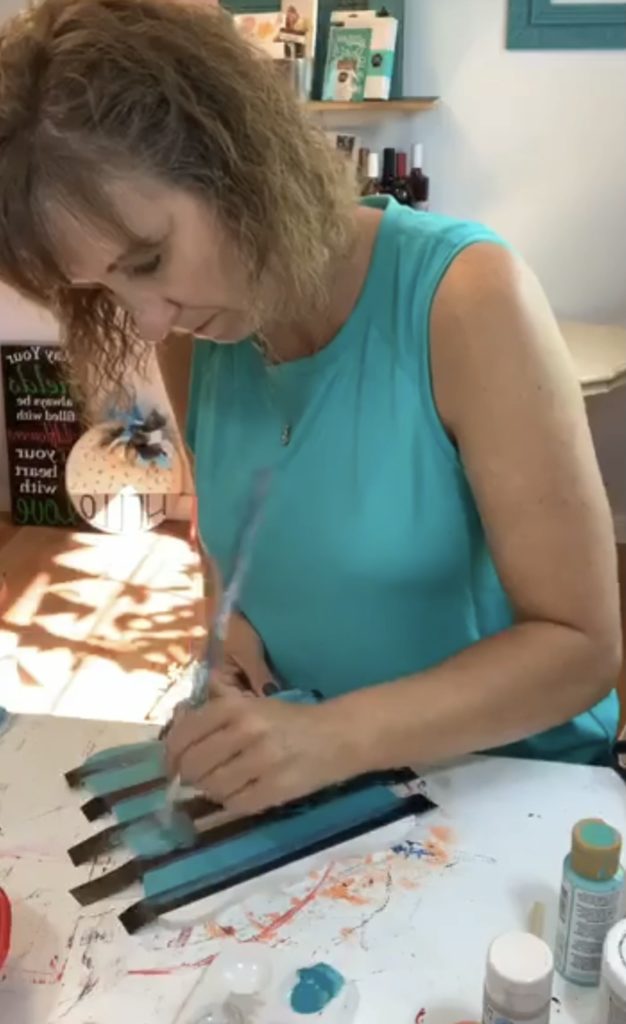
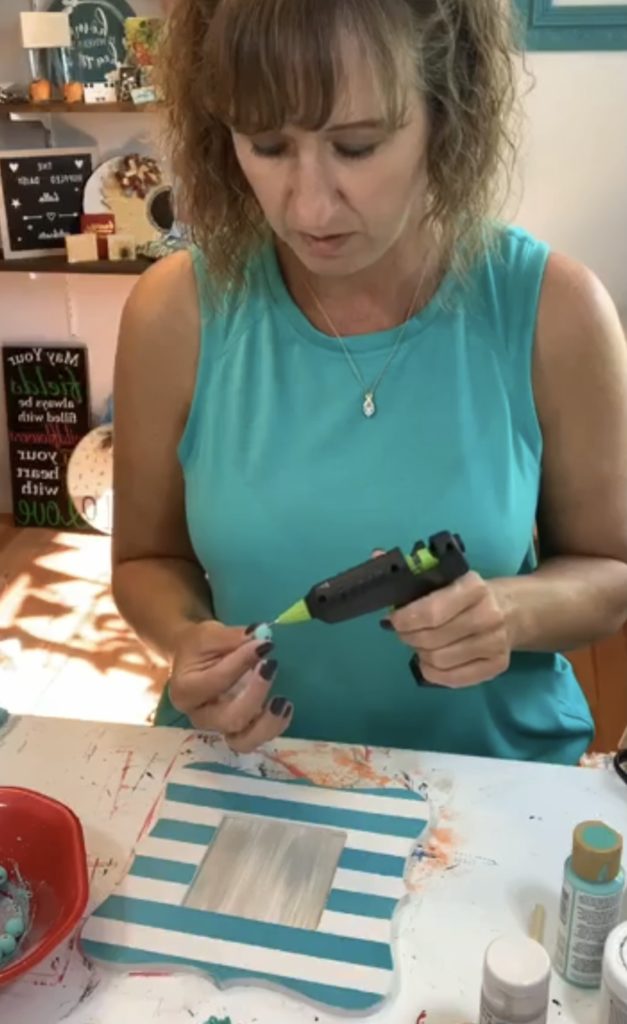
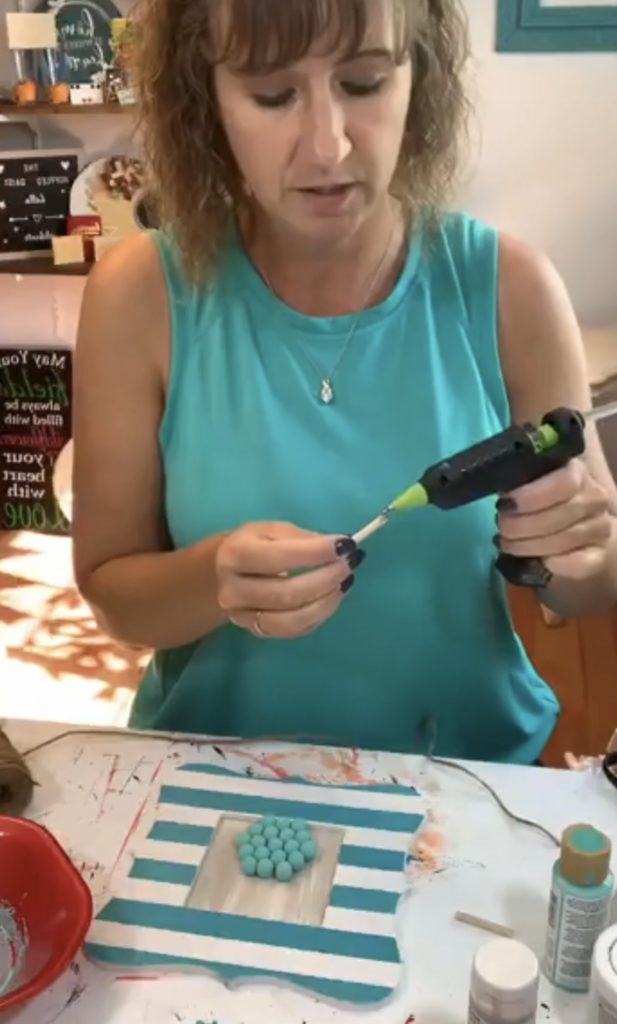
I knew that I wanted my Framed Beaded Pumpkin whimsical and so I thought it needed some stripes. I used some tape to create my lines and then painted them a bright aqua.
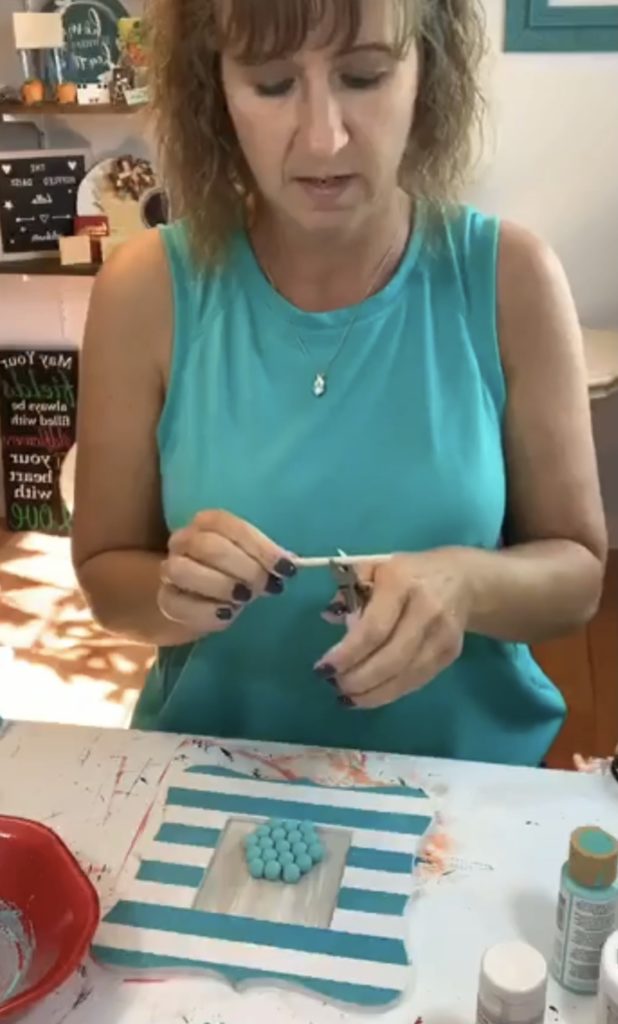
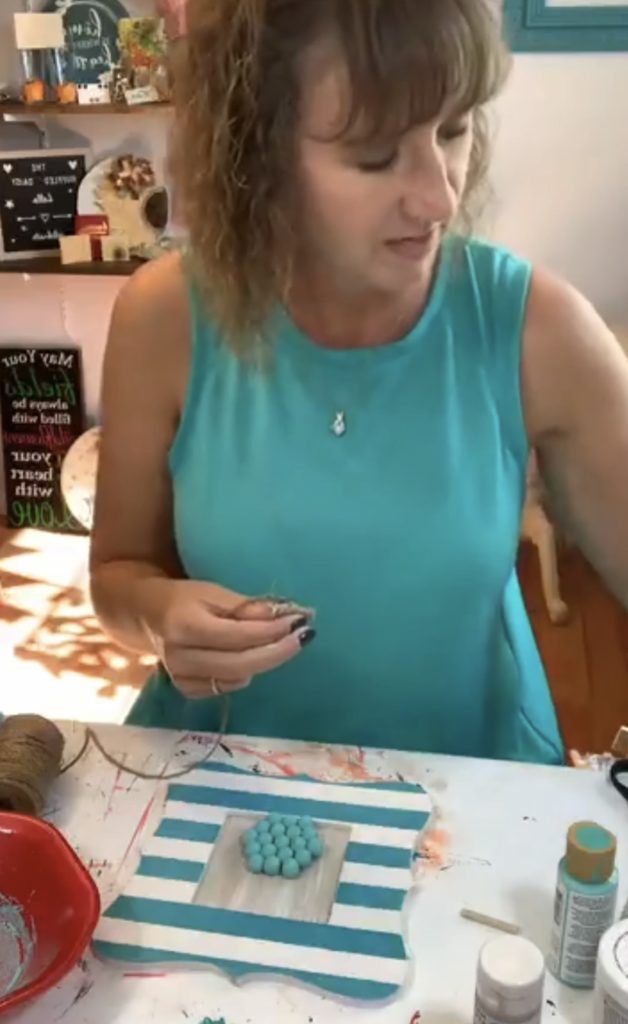
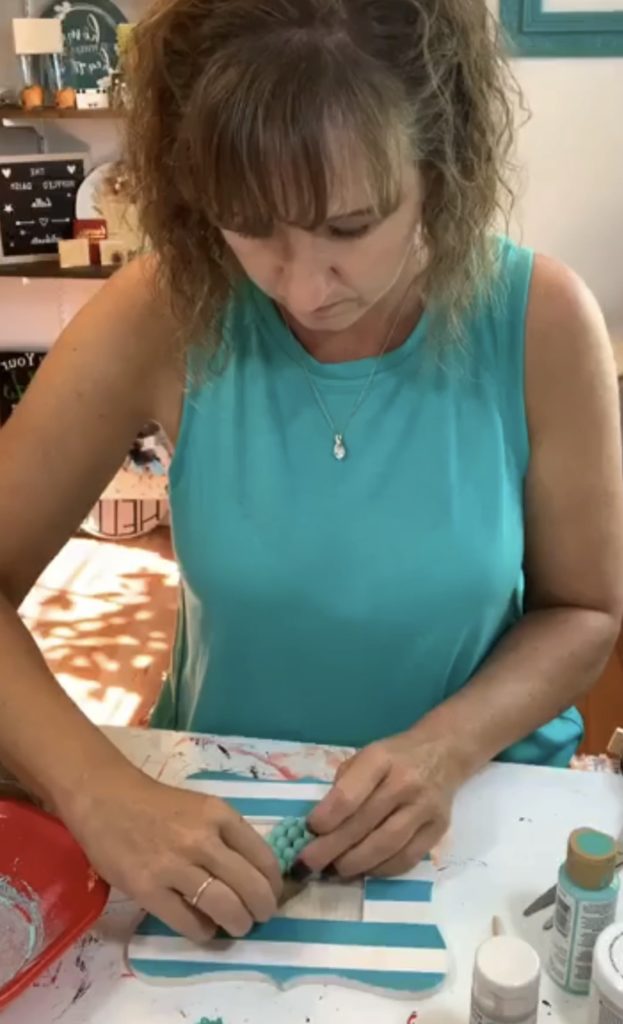
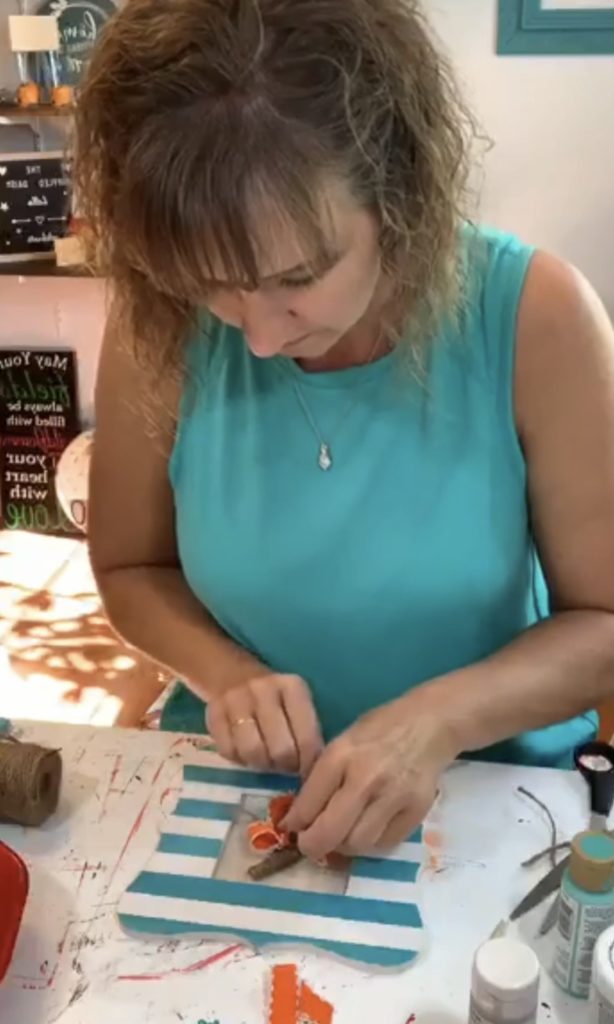
At this point, my beads were dry and so it was time to start creating the pumpkin. I simply glued them on into a pumpkin shape onto the cardboard backing piece I painted previously.
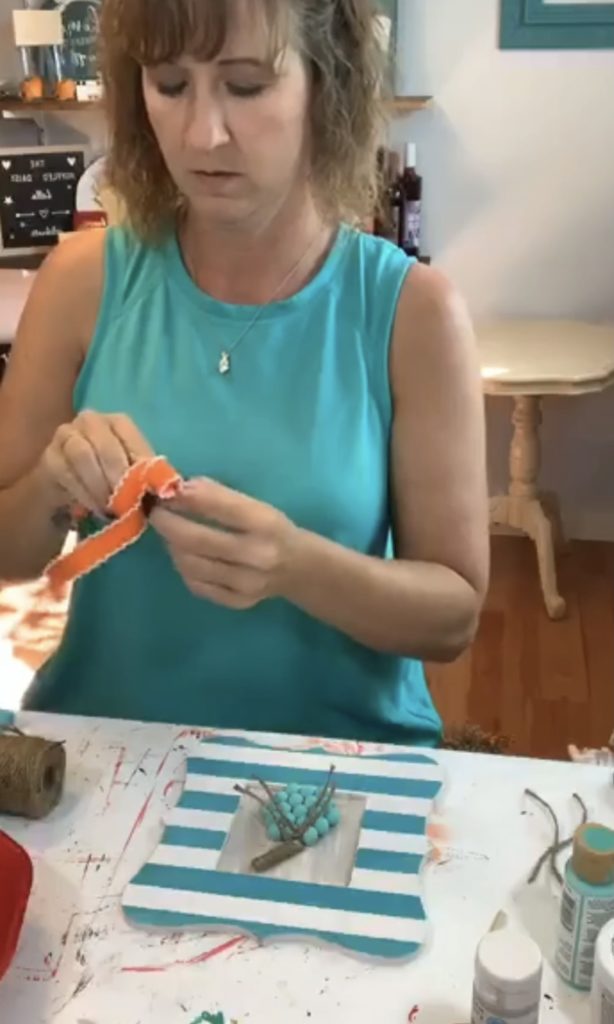
Once you’re good with the design and style of the pumpkin, I used a wooden skewer and cut it to size and wrapped it in twine!
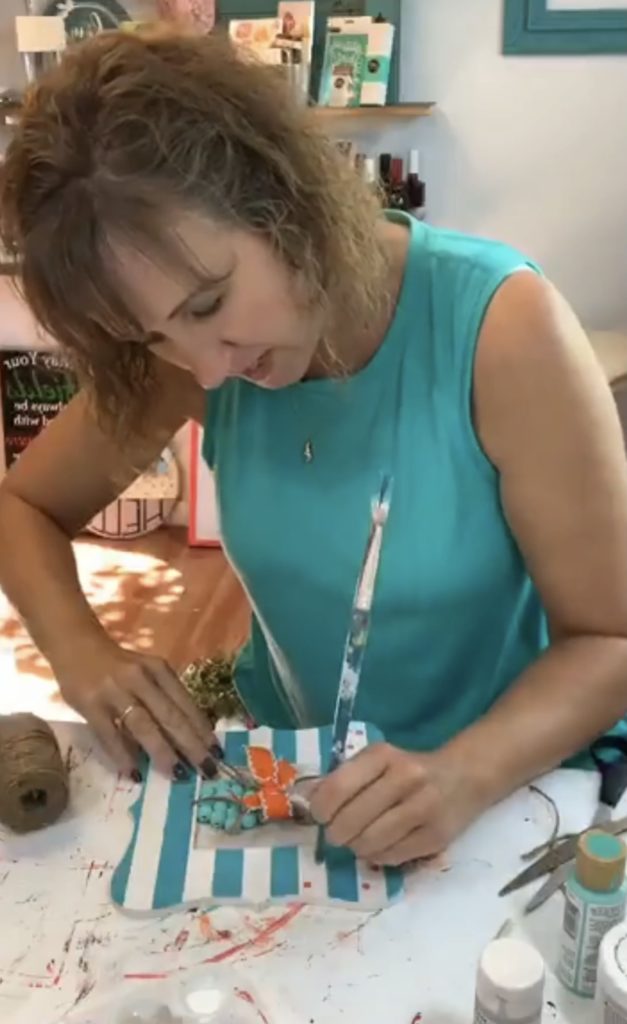
To finish it off I thought it needed a little more fanciness and so I create a twine bow and an orange bow and glued them to the base of the stem.
To make it all come together, since we used an orange ribbon, I used the handle of my paint brush and painted dots in between the stripes.
Oh my goodness, I am in LOVE!!!!
What do you think?
I know the colors are a little out of the norm but I want you to think about creating it in whatever colors make you happy!
Make it your own and have some fun!!!
If you love creating and learning new techniques, you would LOVE my monthly subscription box! You can check out all the details HERE and join the waitlist for the next time it opens! I’d love to welcome you in.
Leave a Reply Cancel reply
Tonganoxie • Kansas
©2026 Ruffled Daisy
Design by GLC
back to top
Crafting your
story
Ruffled
Daisy
@theruffleddaisyks
INSTAGRAM
email
beth@theruffleddaisy.org
CONNECT
