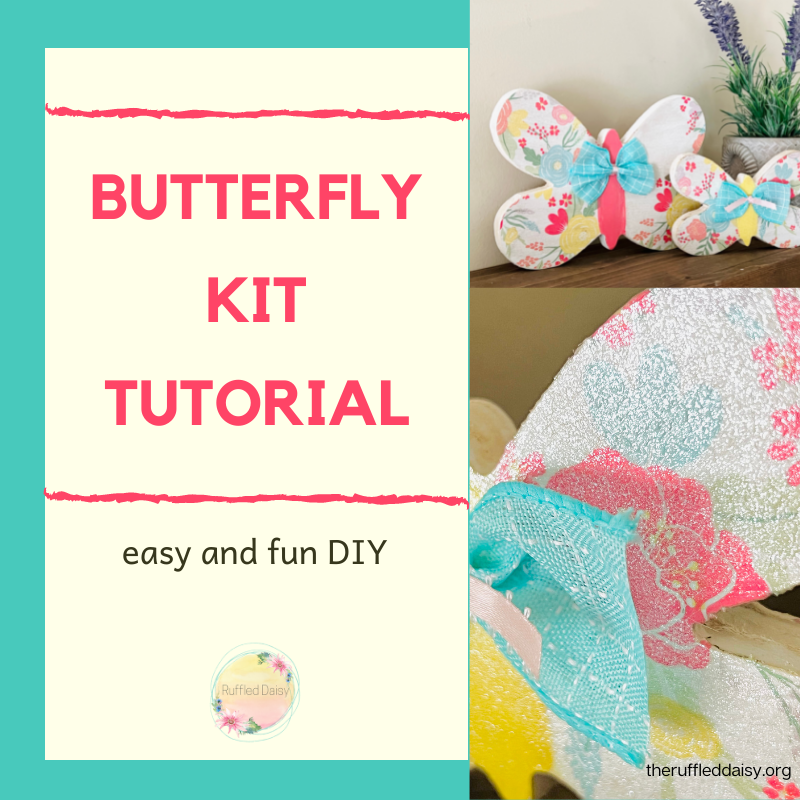
Butterfly Kit Tutorial
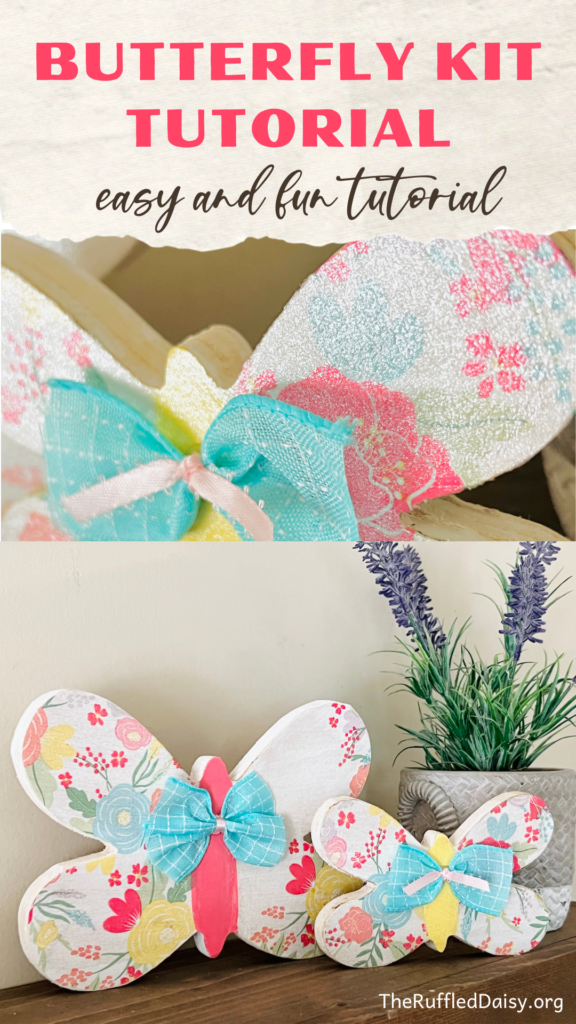
Butterflies seem to be a staple piece when decorating in the summer. Follow along as I share with you how to create one of our butterfly kits.
Butterflies have deep meaning to a lot of people. Butterflies are said to be the messenger of angels. When butterflies are around you, it means that the angels are approving your actions and that you are on the right path. It also means that angels are guiding you and that you need to stay faithful.
No matter if you view butterflies this way or not, I think we can all agree that they are a beautiful and unique creature. Because of that, people tend to use them when decorating during the spring and summer months.
Here is how you can create one of your own Butterfly kits:
- Butterfly kit
- Napkin
- Paint
- Mod podge
- Ribbon
- Parchment paper
- Iron
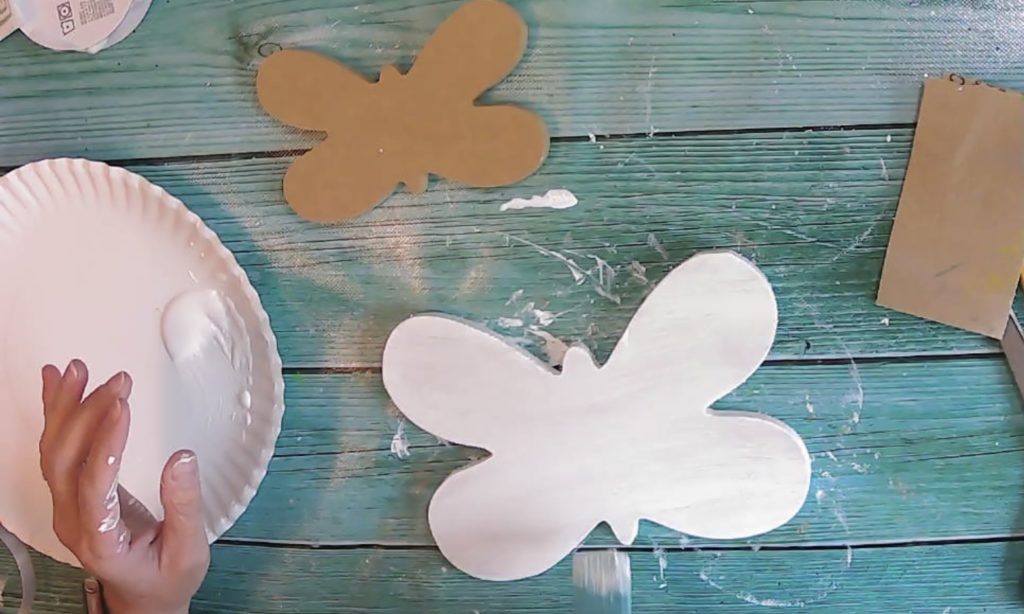
To start you’re going to want to paint your butterfly cutouts. We are going to cover these in some pretty floral napkins and so I always recommend using a coat of white paint when creating with napkins. It is going to make the colors of your napkin more vibrant on the finished project.
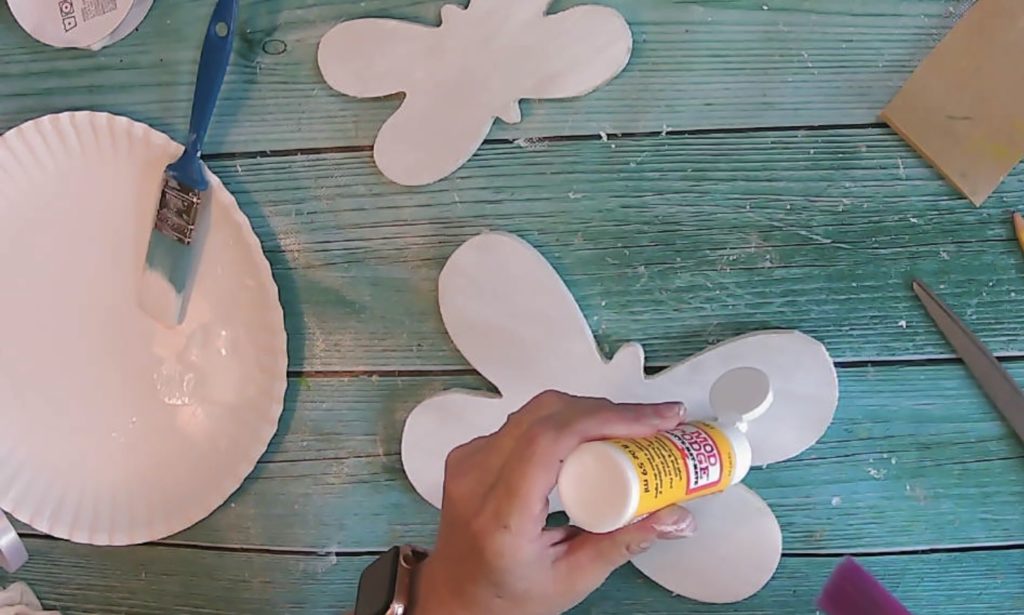
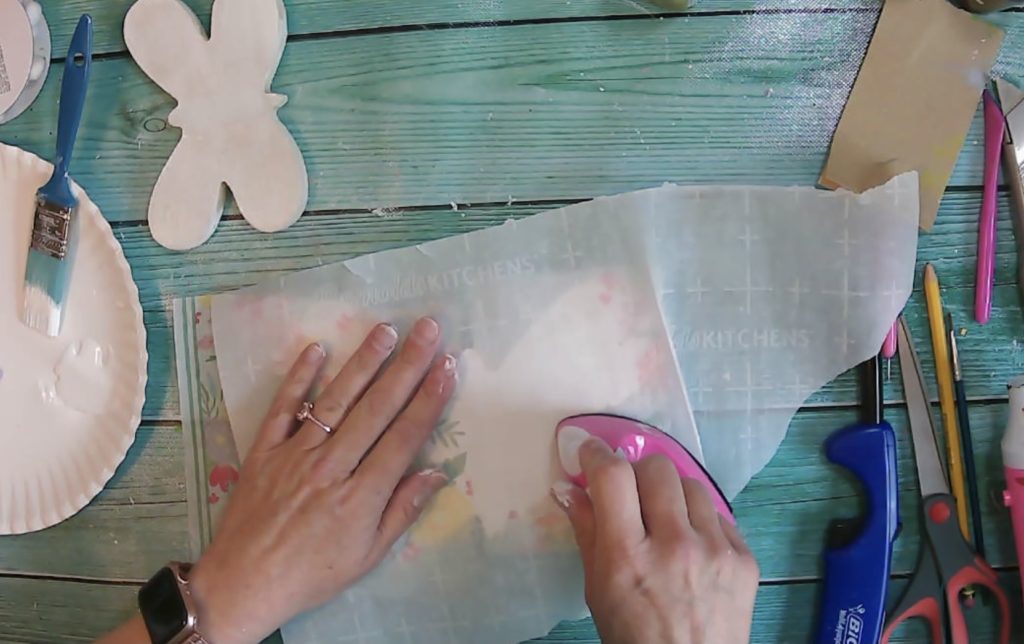
Once your white paint is dry, add mod podge to each wing. We are going to be using the DRY MOD PODGE METHOD that I teach here.
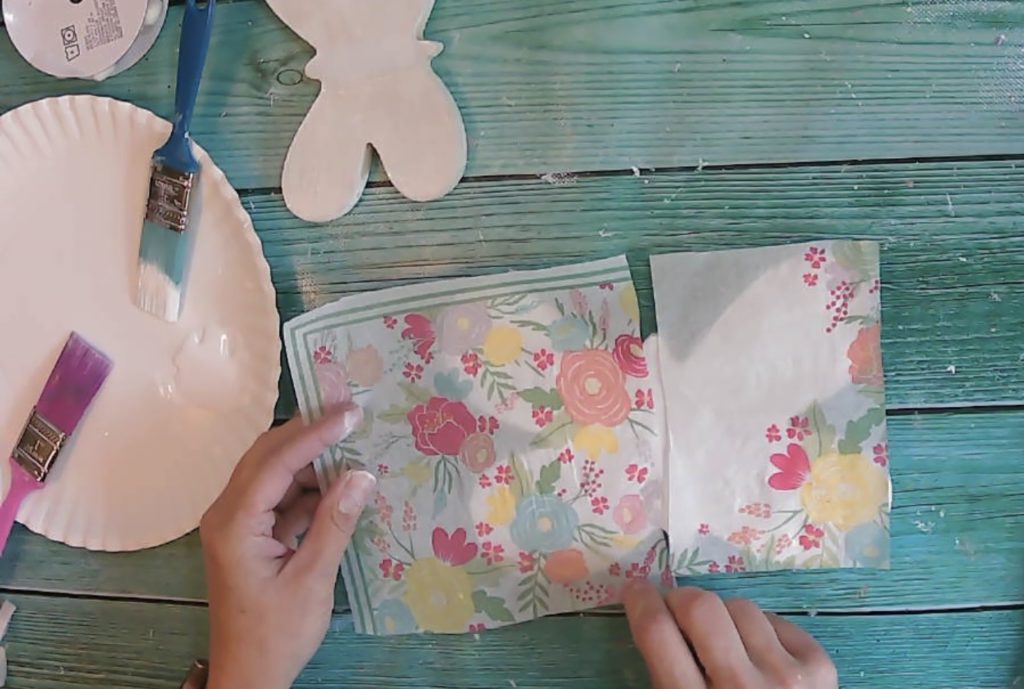
Make sure you separate all of your napkin layers before adhering them to your project.
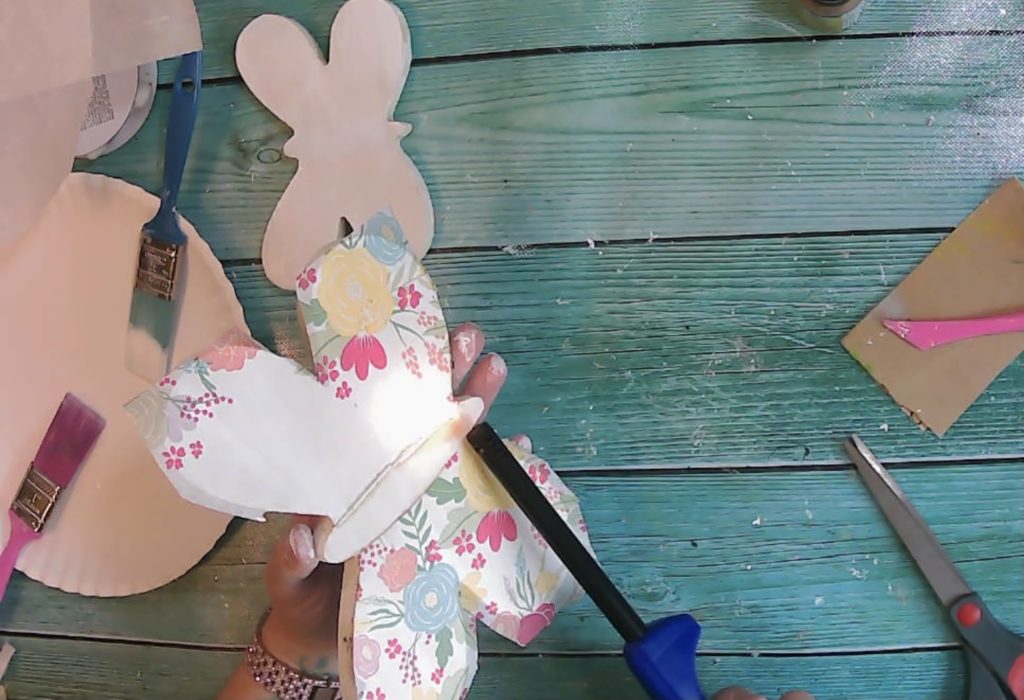
Once your napkin is adhered, you can burn or sand the edges.
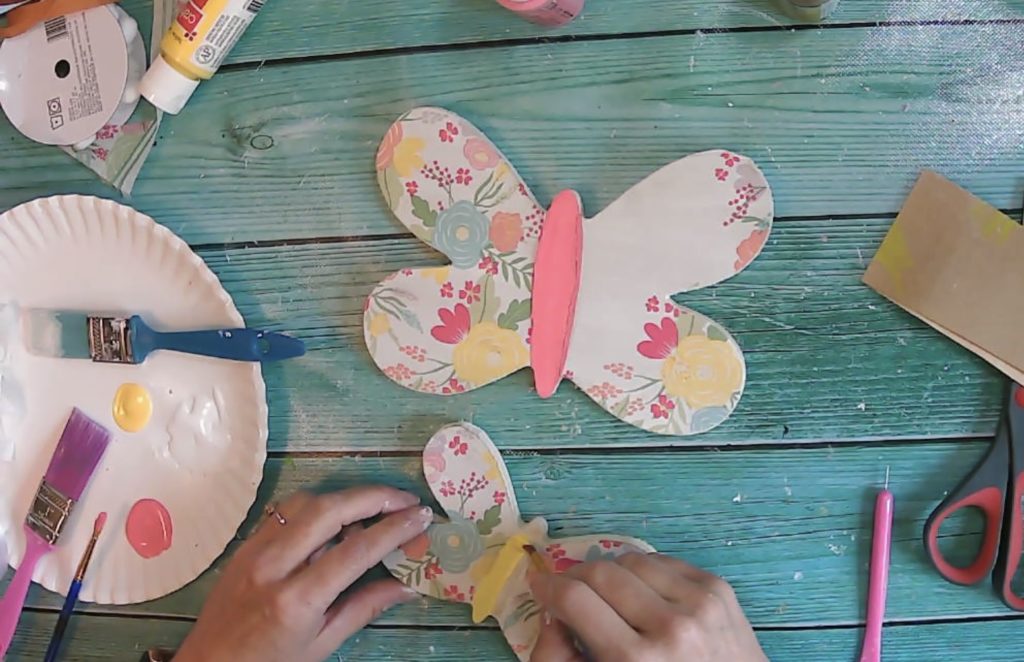
Now you’re ready to paint the butterfly body. I chose two colors that matched the napkin and my style of decorating.
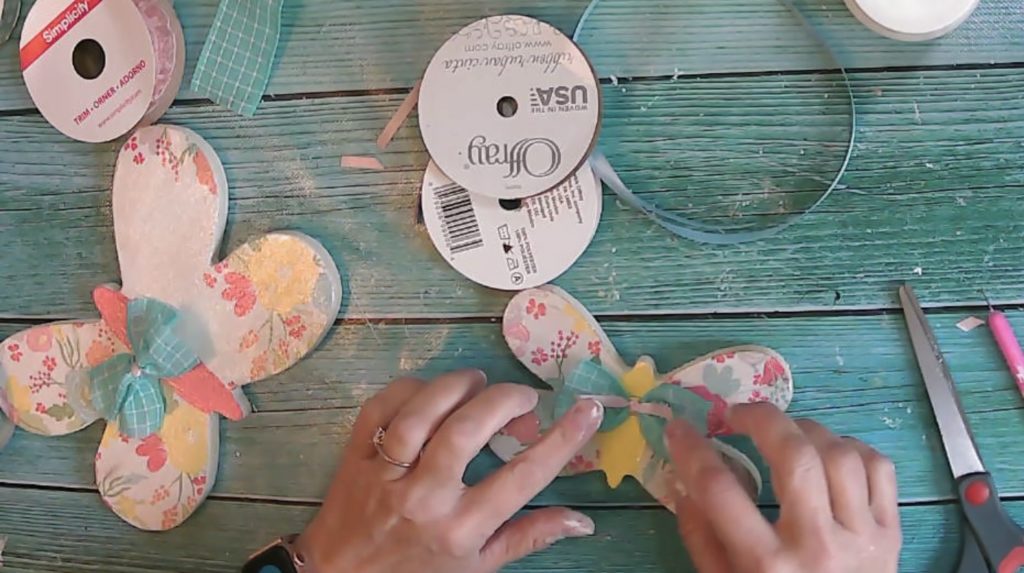
Add a simple bow and you’re DONE!
This Butterfly Kit is perfectly sized to display with your tiered tray items or on their own making them very versatile!
Do you love butterflies? What colors would you chose to create yours?
Leave a Reply Cancel reply
Tonganoxie • Kansas
©2024 Ruffled Daisy
Design by GLC
back to top
crafting
life
Ruffled
Daisy
@theruffleddaisyks
INSTAGRAM
email
beth@theruffleddaisy.org
CONNECT
I love butterflies 🦋. I think 🤔 this kit will sell quite well. Burt flies are always in. They never go out of style young or old.