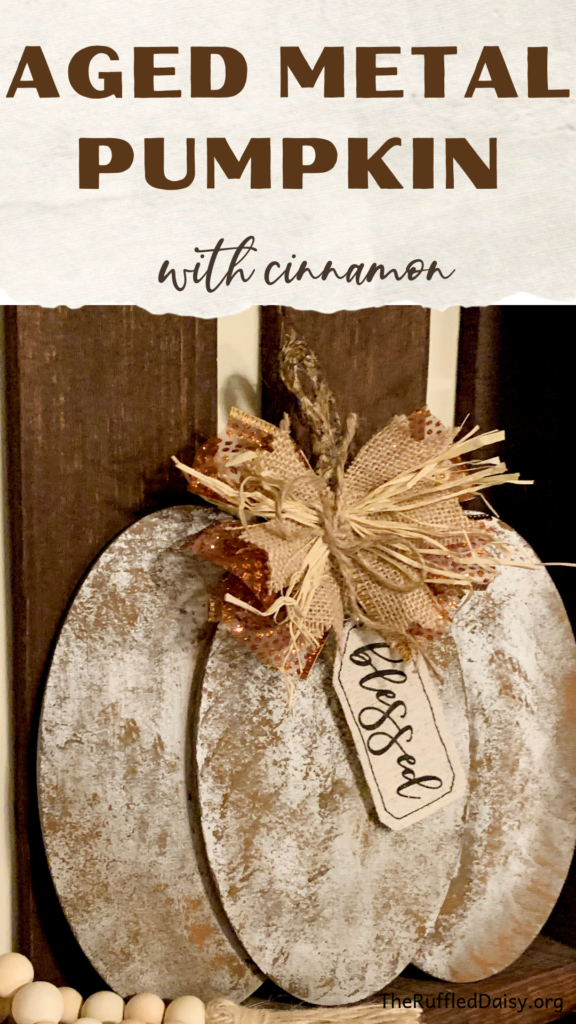
Aged Metal Pumpkin
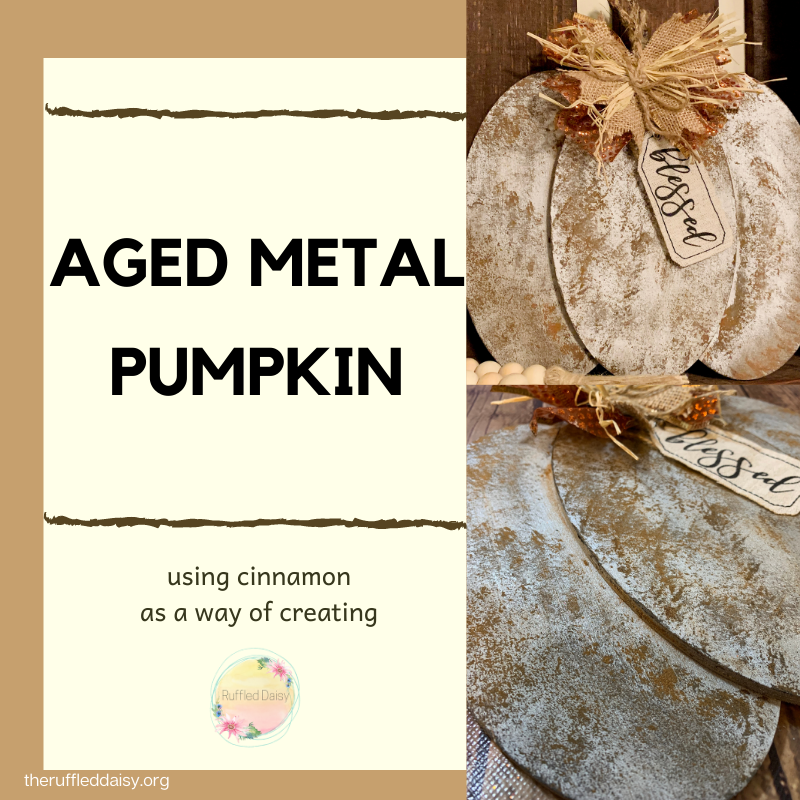
Creating a rusty metal look can be hard to achieve but you’re going to LOVE my easy steps to creating your own aged metal pumpkin!
I know you’re just like me and sometimes when you find something at an antique market that has an absolutely amazing aged finish on it, because of all the rust, you have to buy it!
I’ve wanted to create a technique like this for awhile and while I was browsing the internet trying to see if anyone else had done it for some ideas, I realized that I couldn’t find anything!
It was at that point that I KNEW I had to create and perfect the technique so I could share it with all of you.
The materials you will need to make this easy Aged Metal Pumpkin are:
- Any material to paint on.
- Silver paint
- Black paint
- Paper towel
- Cinnamon
- Rope
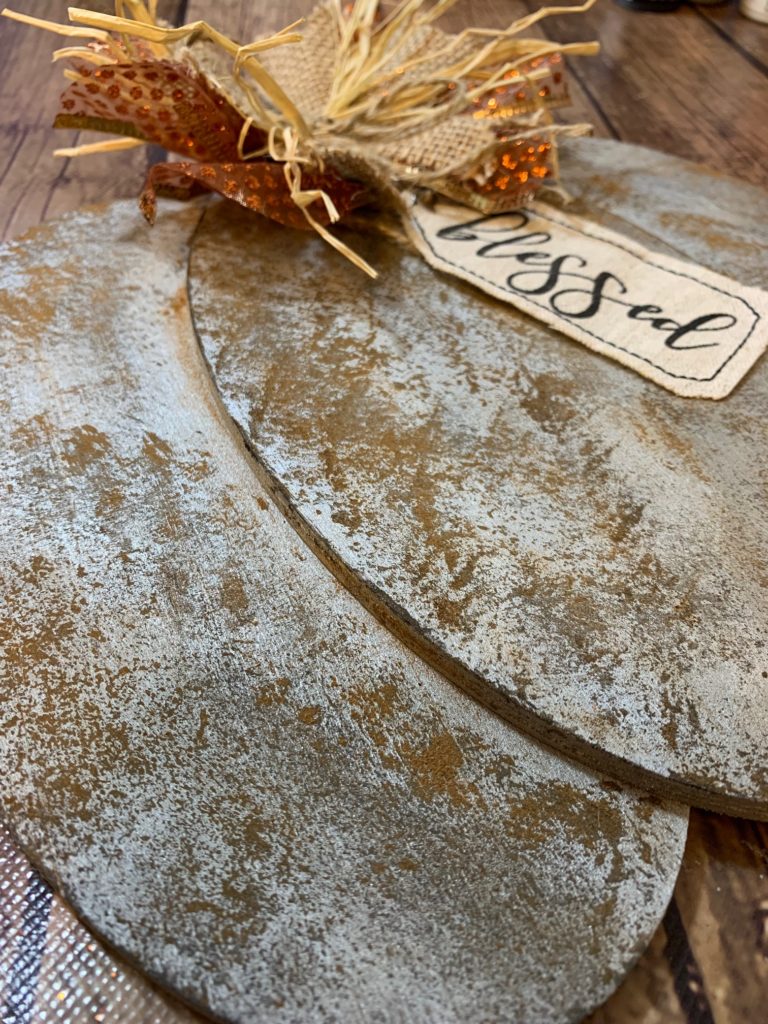
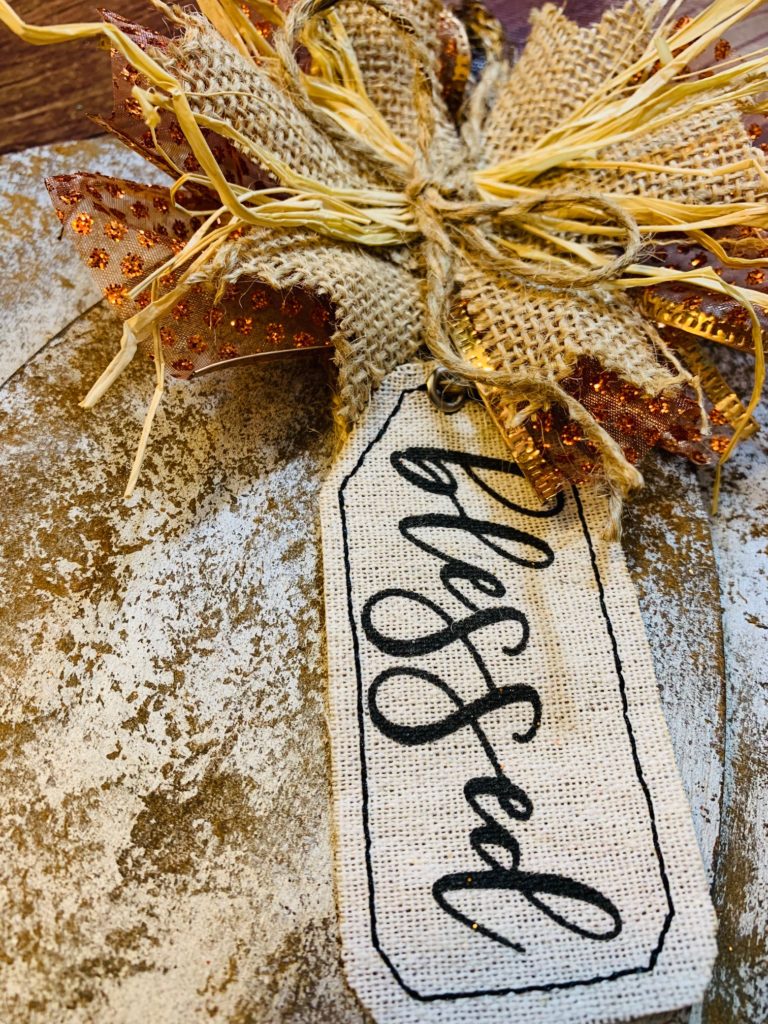
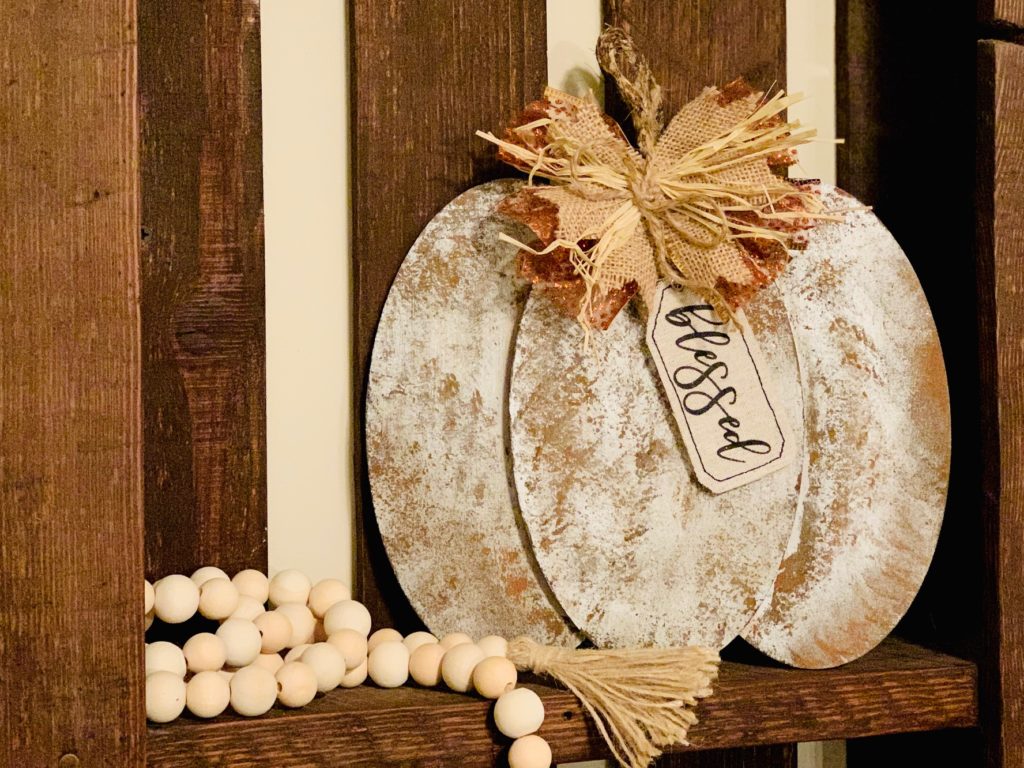
I really want you to check out the detail in this piece that we created with just paint and cinnamon!
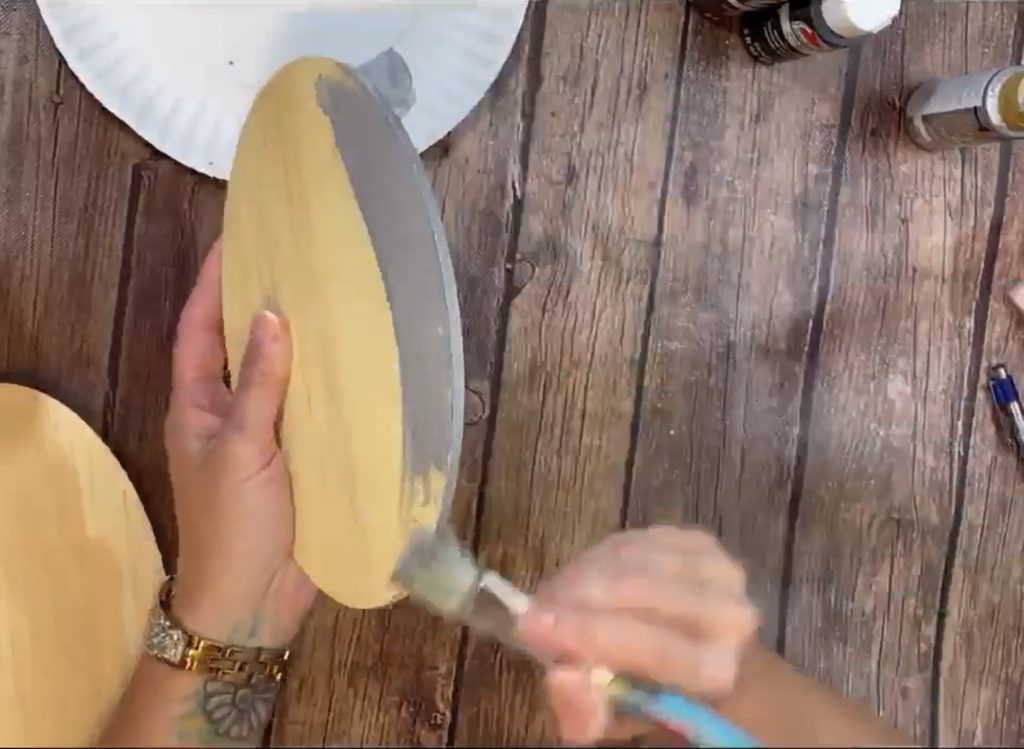
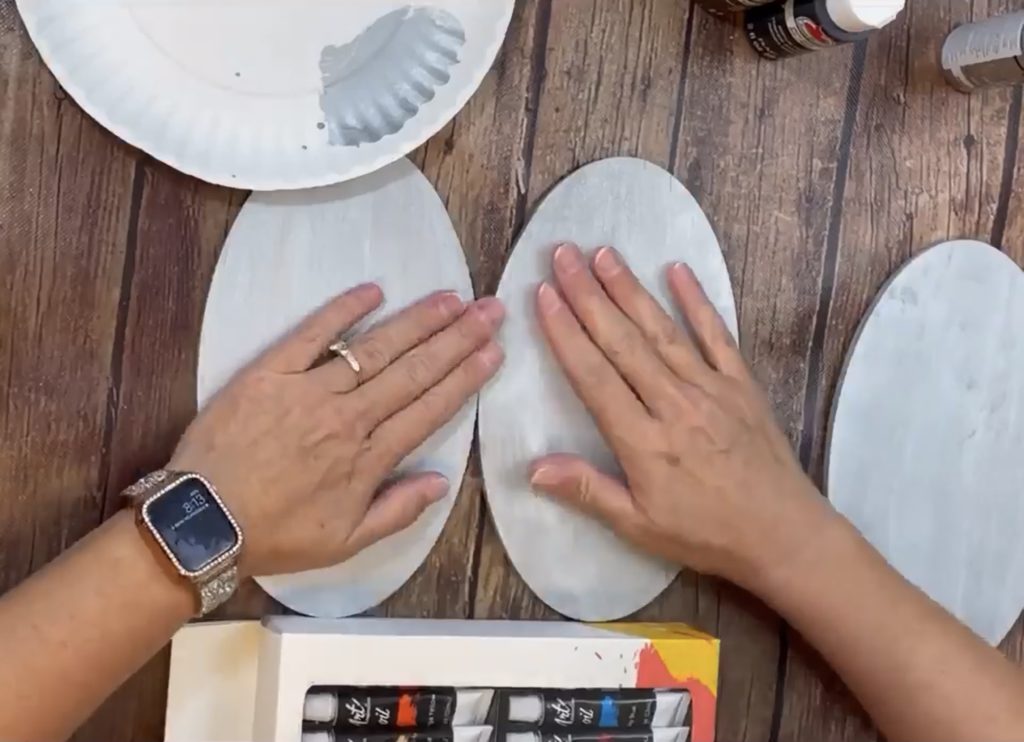
I got three oval blanks at Dollar Tree to create a layered look for this Aged Metal Pumpkin!
First, I coated the oval blanks with silver paint.
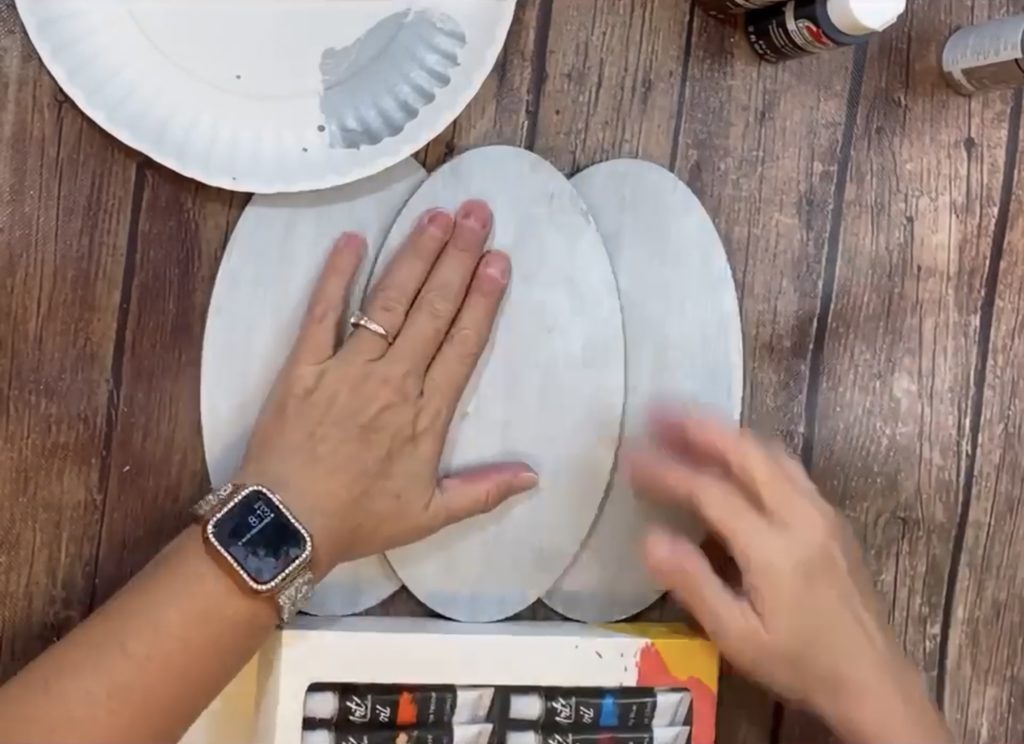
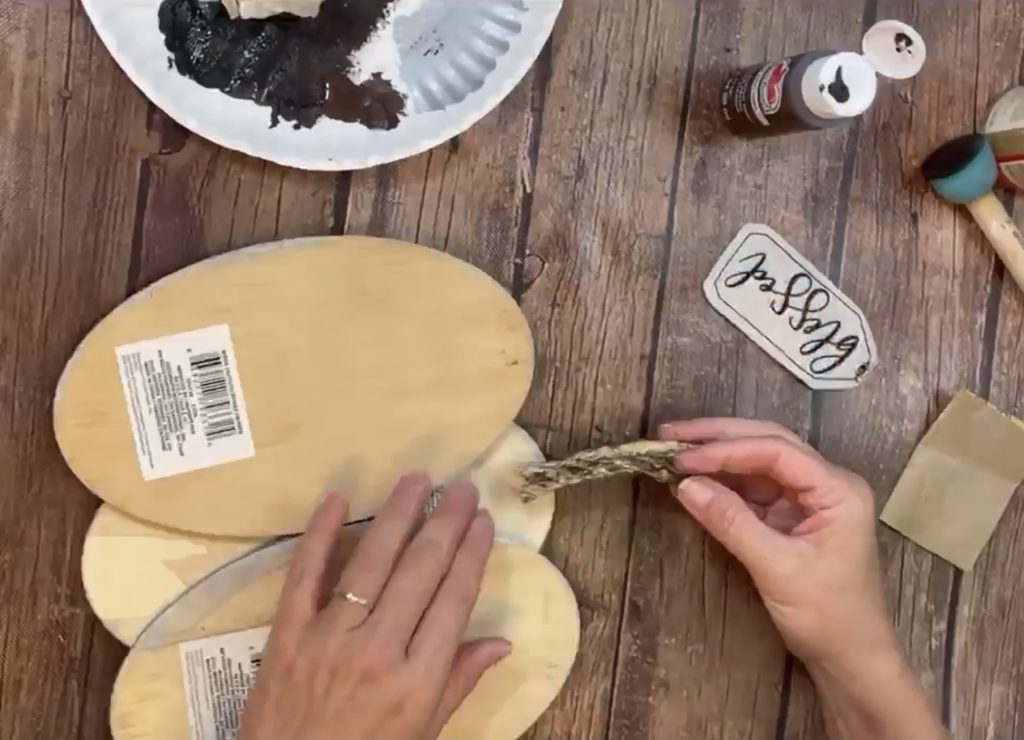
Once the paint was dry, I glued them together so they are layered like a pumpkin.
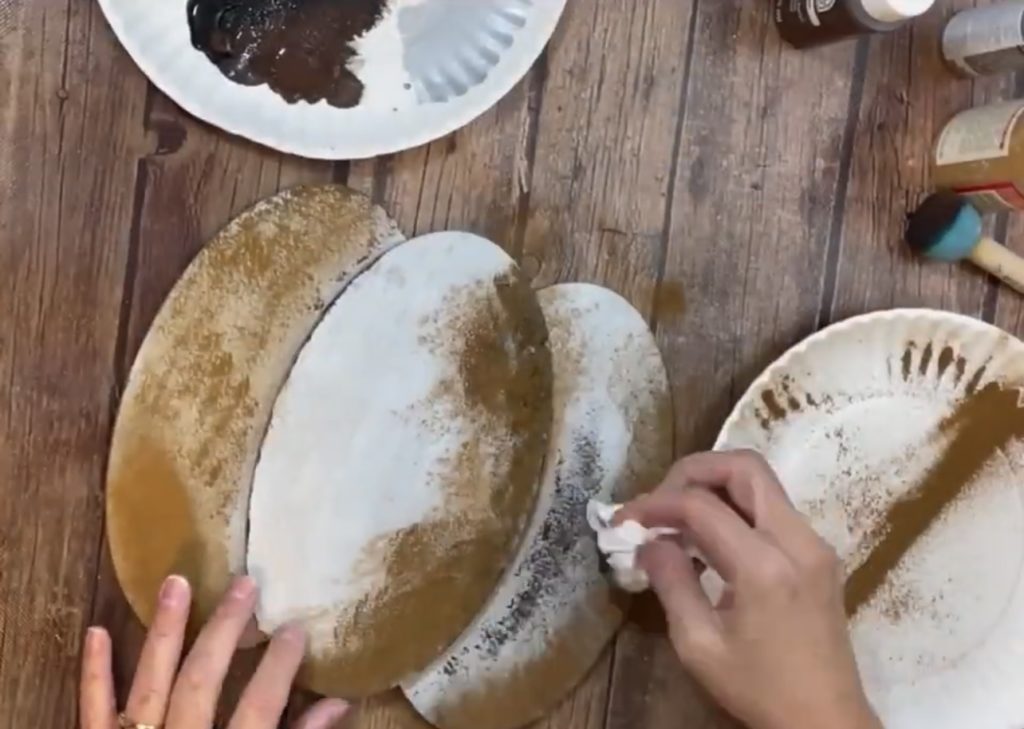
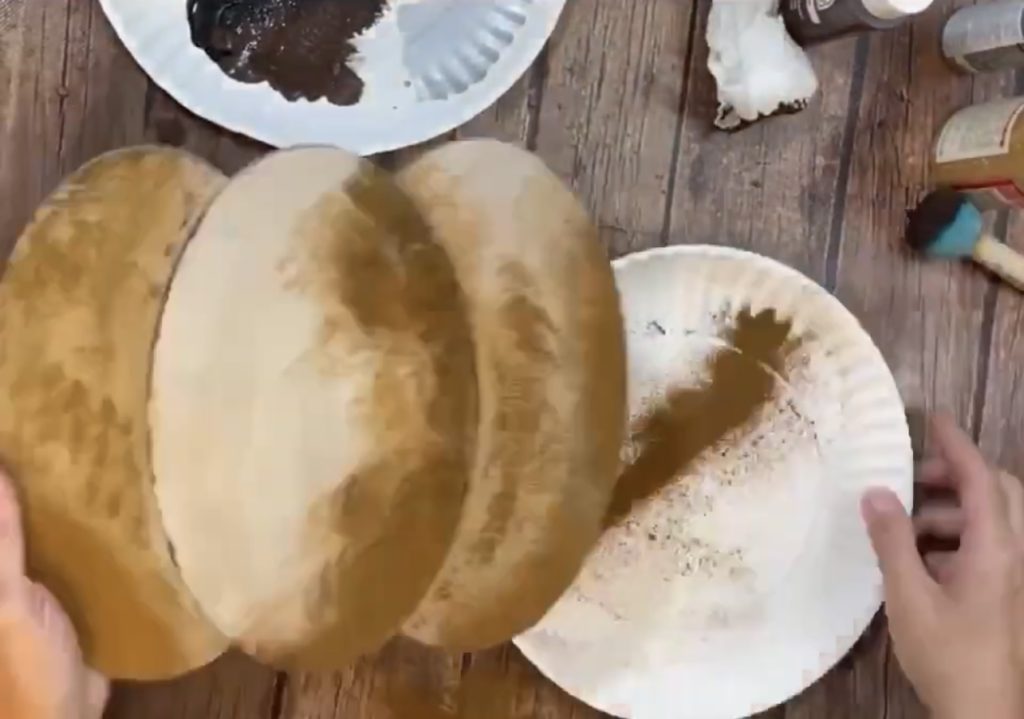
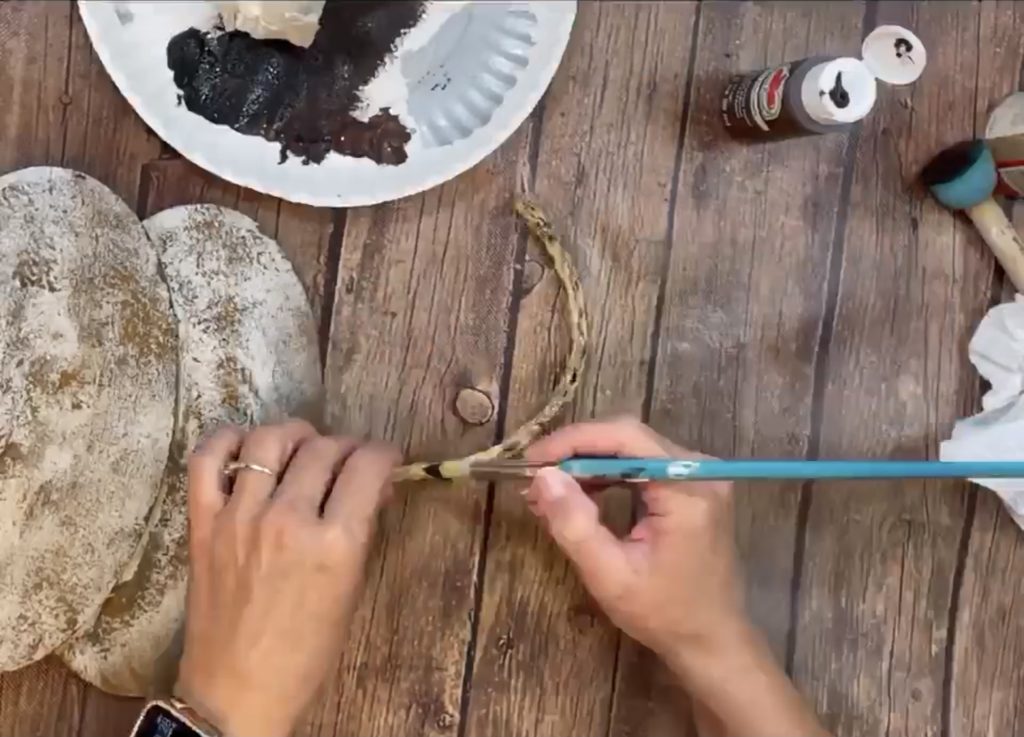
This is where the fun comes in. Using a paper towel, I dabbed black and brown paint where I wanted it to look rusted and aged. You’re going to want to do this part in sections.
While the paint is still wet, sprinkle some cinnamon over the paint.
If you are wanting a video to watch the process a little, here is my YOUTUBE video where I created this for you.
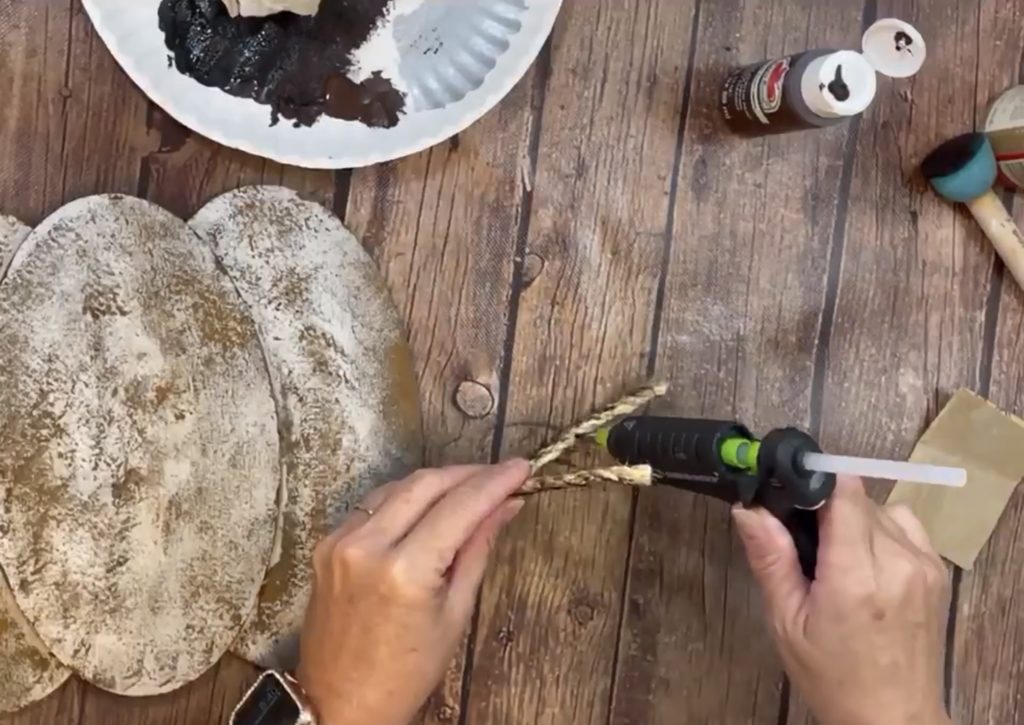
To create a stem, I took some rope and aged it a little with the brown and black paint. Once it was dry, I folded it in half to make it a slightly thicker and glued to the back.
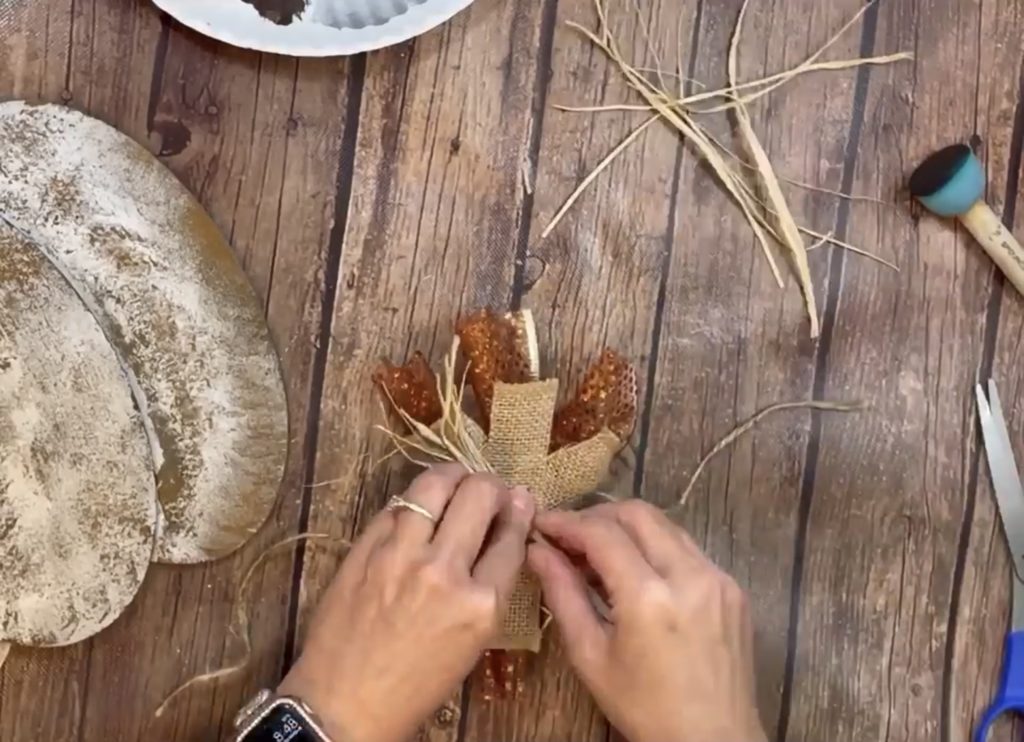
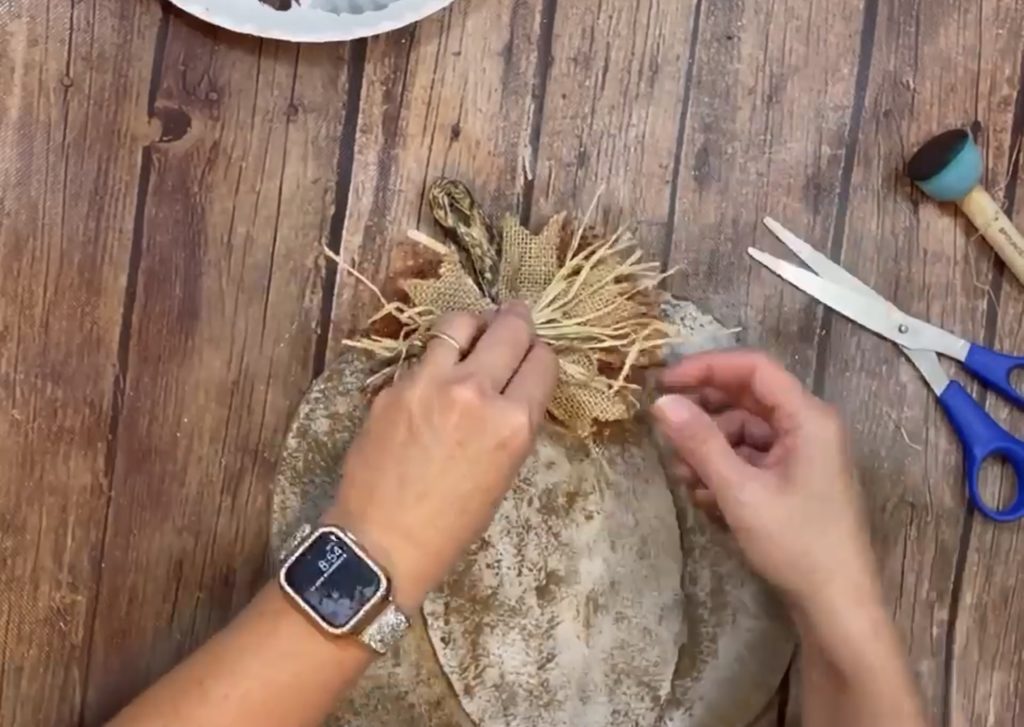
To dress it up, I created my traditional scrappy bow.
To finish the piece off, I found these fabric tags from Hobby Lobby and knew they would be the perfect addition!
What do you think? Have you every painted with cinnamon?
I tried a very similar technique a couple years ago on this Farmhouse Sign and fell in love with it! I encourage you to try it out and let me know what you think!
Leave a Reply Cancel reply
Tonganoxie • Kansas
©2026 Ruffled Daisy
Design by GLC
back to top
Crafting your
story
Ruffled
Daisy
@theruffleddaisyks
INSTAGRAM
email
beth@theruffleddaisy.org
CONNECT
[…] with the Ruffled Daisy shows us how to create an Aged Metal Pumpkin with simple supplies and a full […]
[…] with the Ruffled Daisy shows us how to create an Aged Metal Pumpkin with simple supplies and a full […]
[…] with the Ruffled Daisy shows us how to create an Aged Metal Pumpkin with simple supplies and a full […]