Painted Fall Gnome
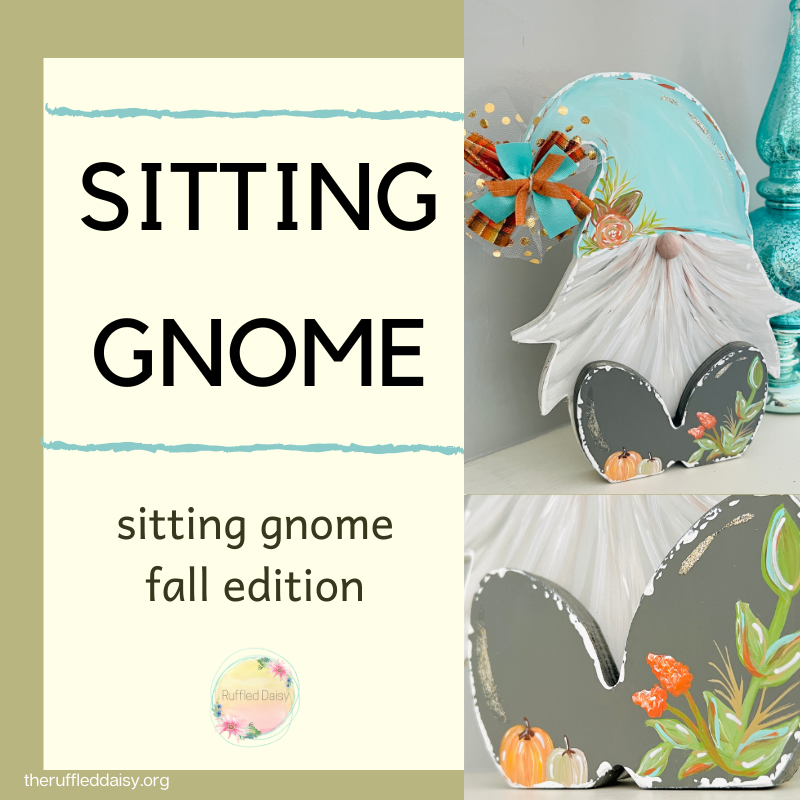
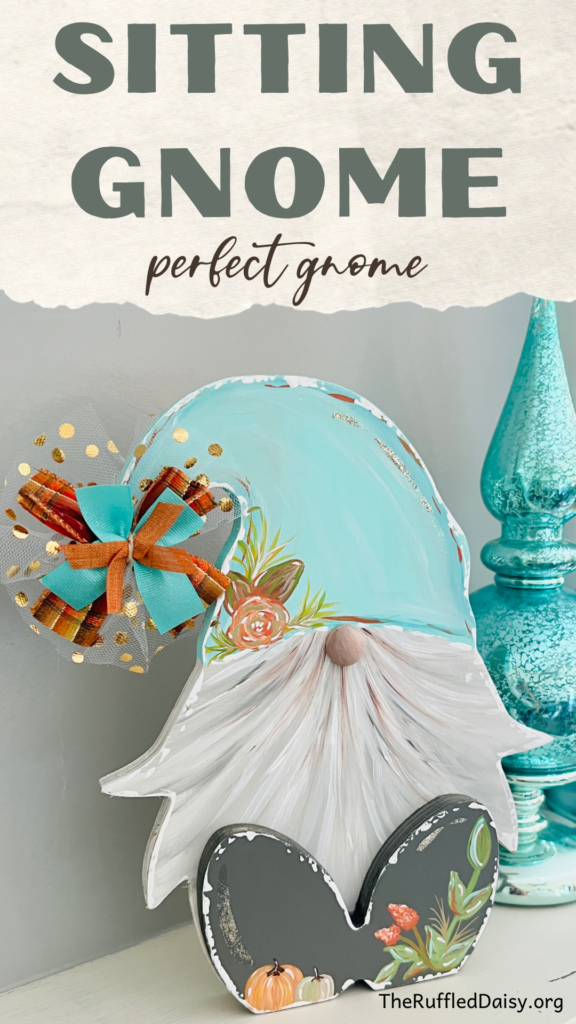
Gnomes are still all the rage and tis DIY kit is perfect for creating a Painted Fall Gnome. Grab a few and make some for every season!
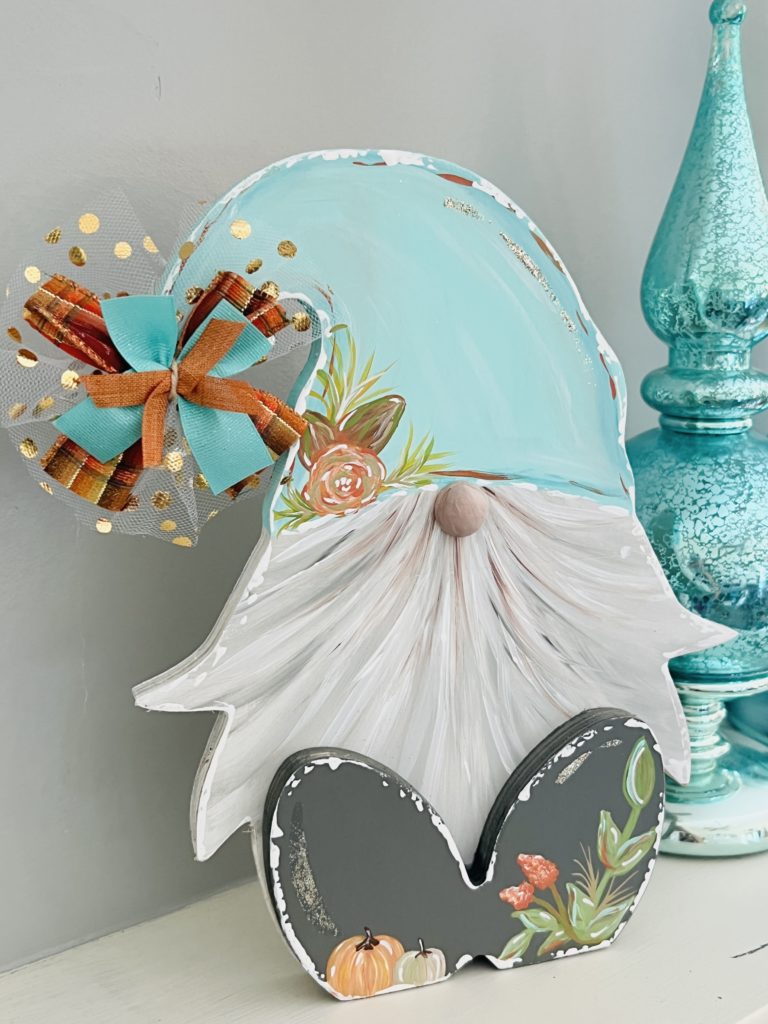
I’ve told my husband for a few years now that I don’t really care for gnomes. But he says whenever I go somewhere and see some, I love them. So maybe I am a secret lover of gnomes and I didn’t really know! I do have to say, I just adore this Painted Fall Gnome that I did with one of our kits.
Here is what you need to create your own Painted Fall Gnome:
- Sitting Gnome Kit
- Assorted Ribbon
- Gold Glitter
- Assorted Paint colors (I used orange, white, brown, green, teal, grey)
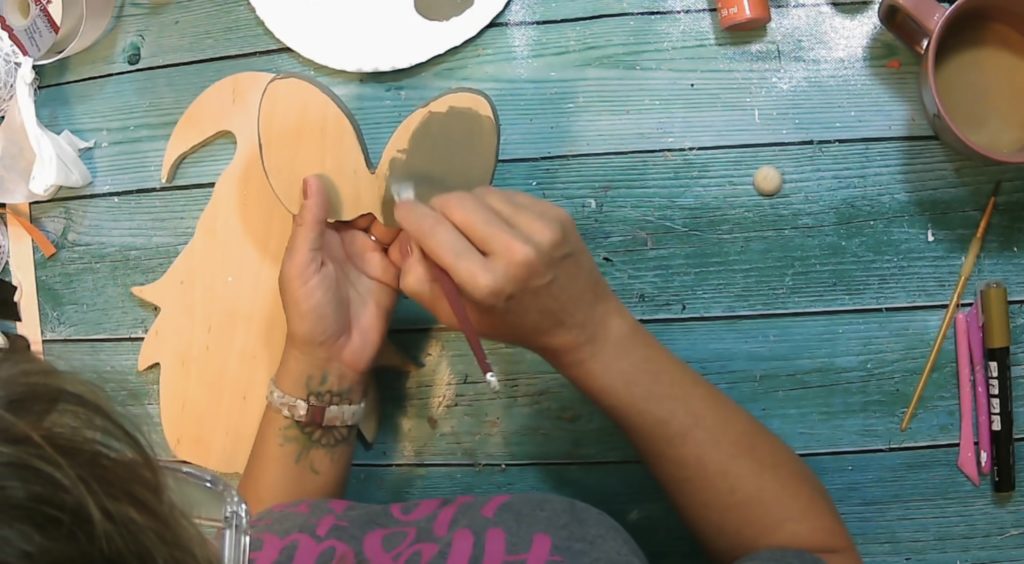
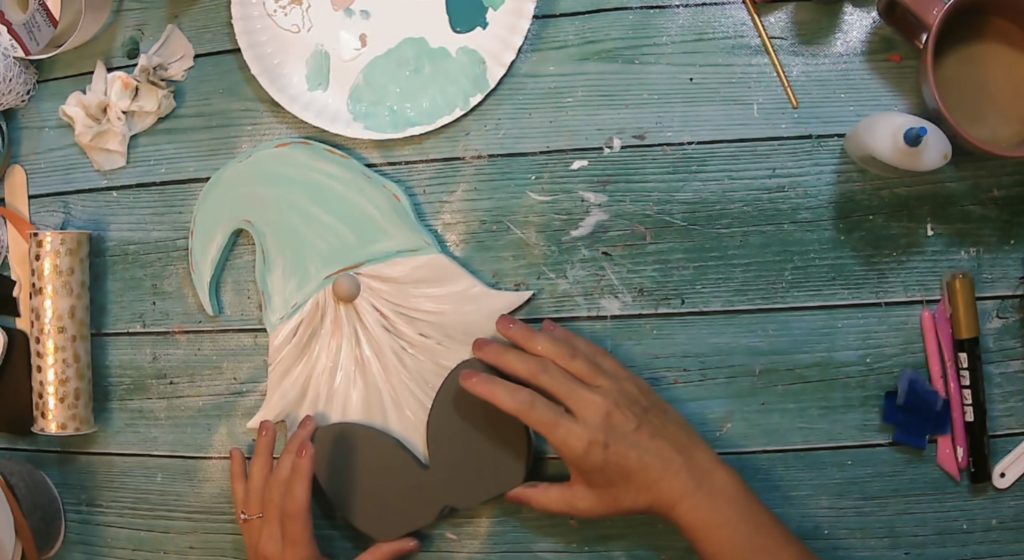
You’re going to begin by painting the feet (base). I used a gray for mine.
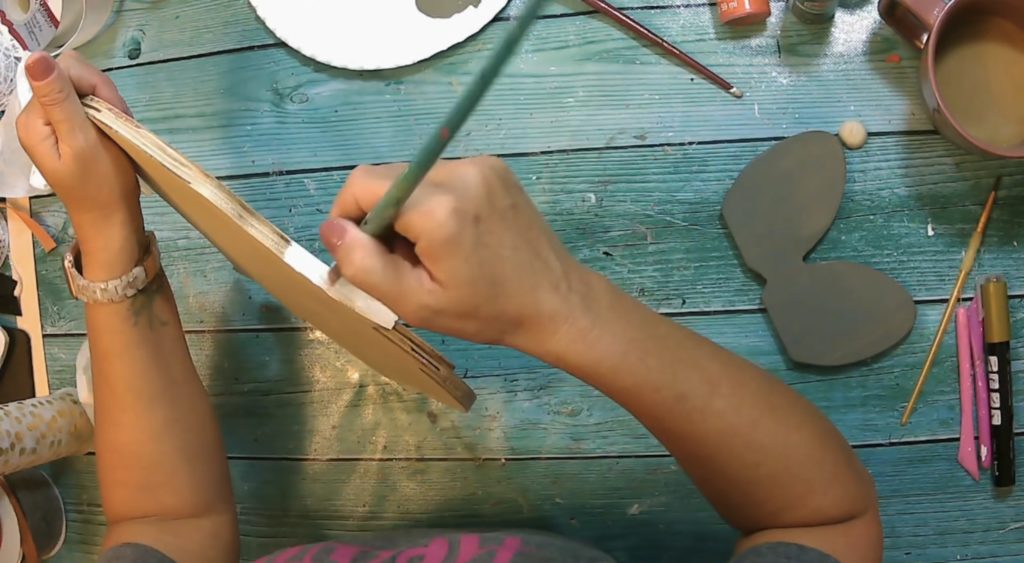
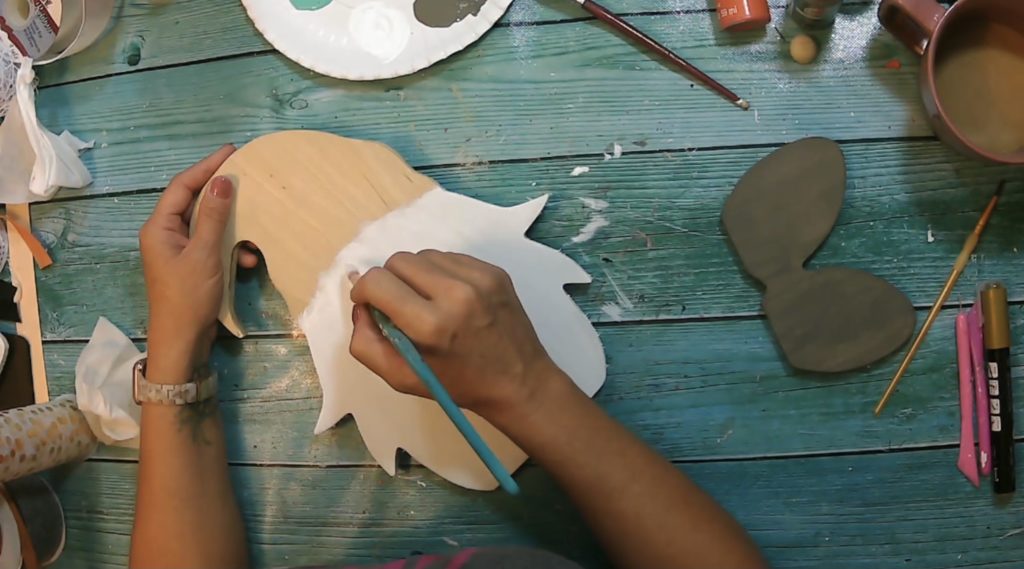
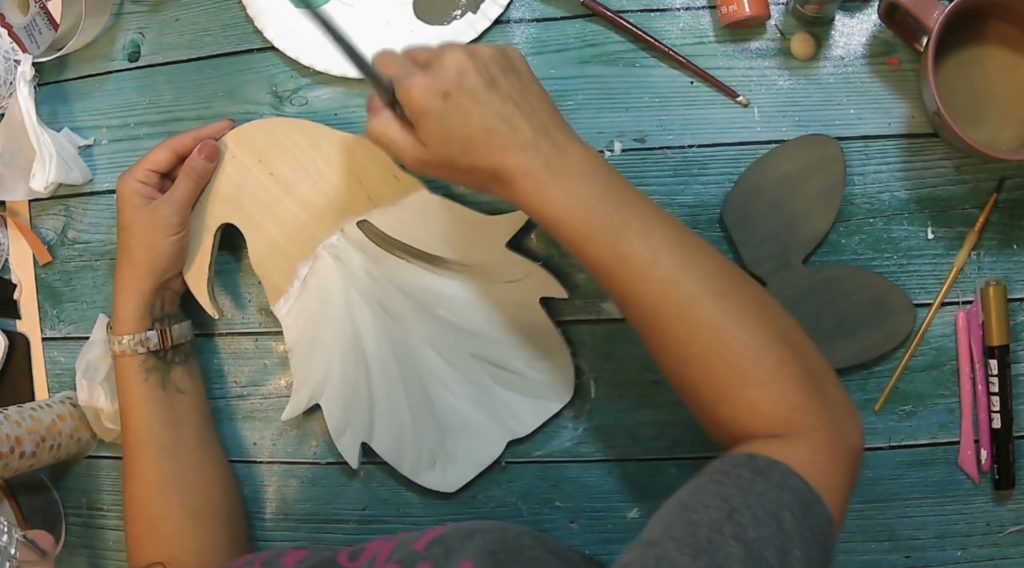
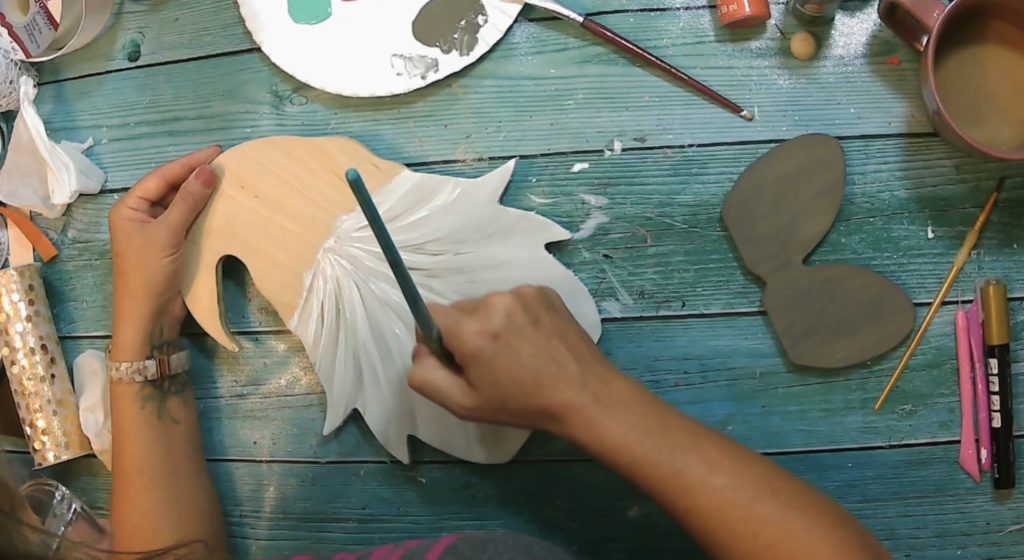
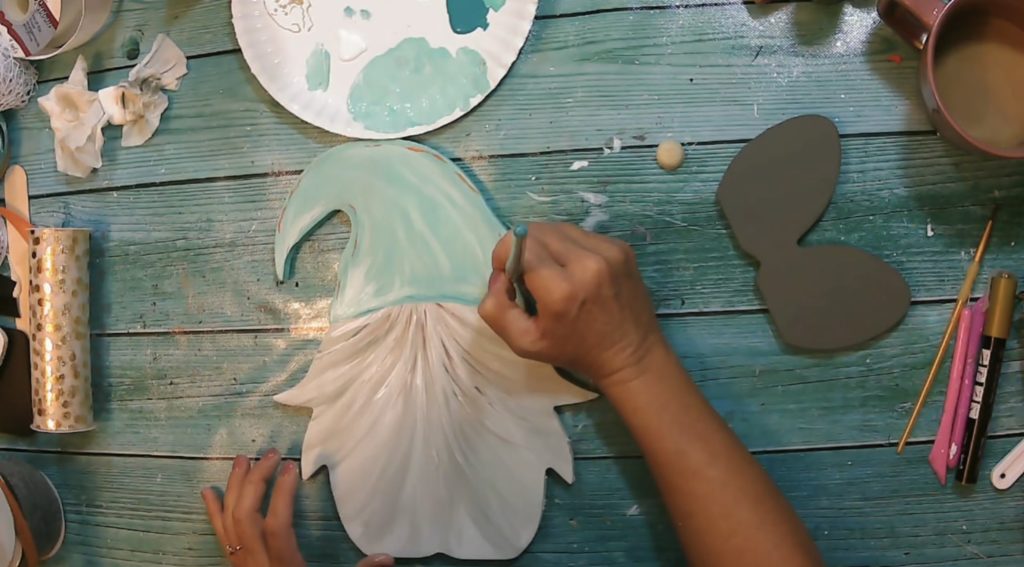
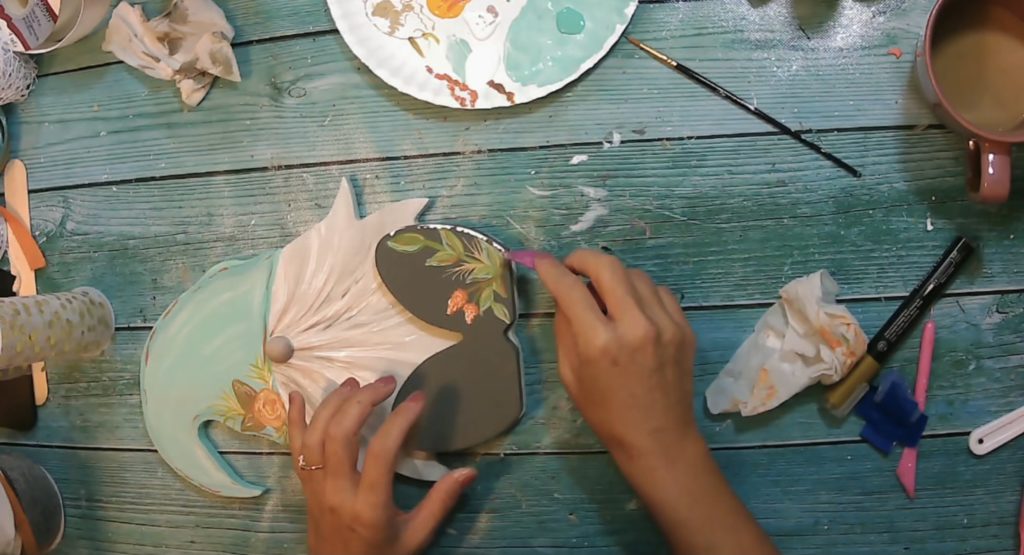
Next you’re going to paint the beard on the gnome. Make sure you paint the sides of the wood kit so that it looks finished from the side too. You can see that I used white paint and only painted as far as where the beard starts under the hat.
Without rinsing the white from your brush, start layering some gray in the beard. You will do this while the white is still wet. This is going to create a blending effect that will begin to look like hair. If you get it too dark, add some more white on the top and blend in.
This is a step that may take some playing around with but the more you try it, the more you will become comfortable doing it.
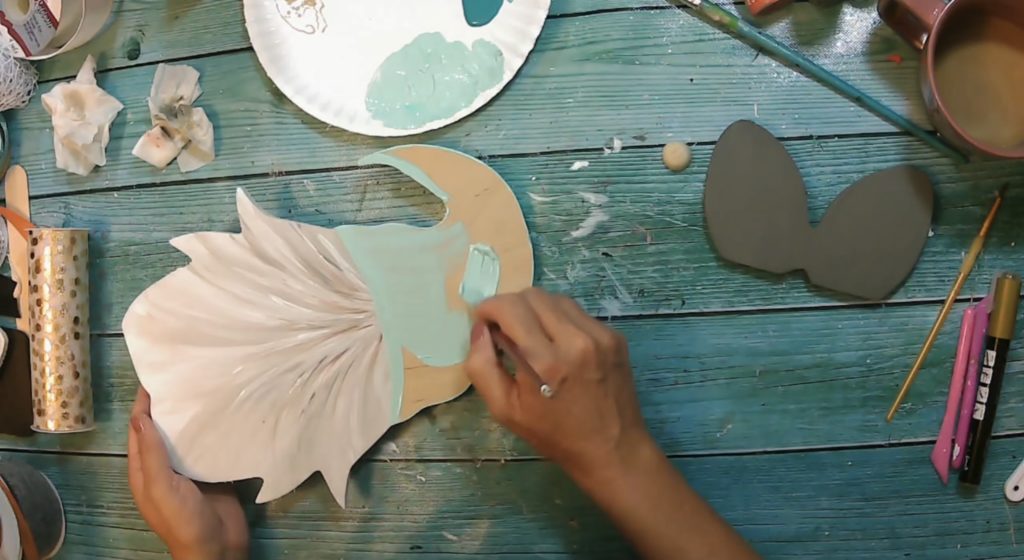
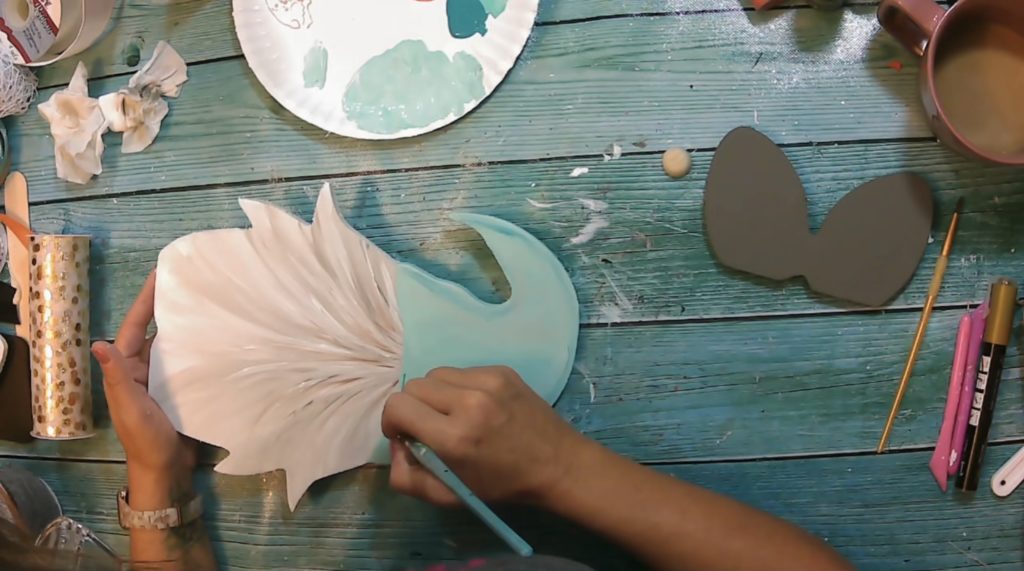
Now it’s time to pick the color for the hat. It’s no secret that I would choose a teal or aqua.
I painted the base with an aqua and then blended some darker teal and white to give the hat a little more dimension.
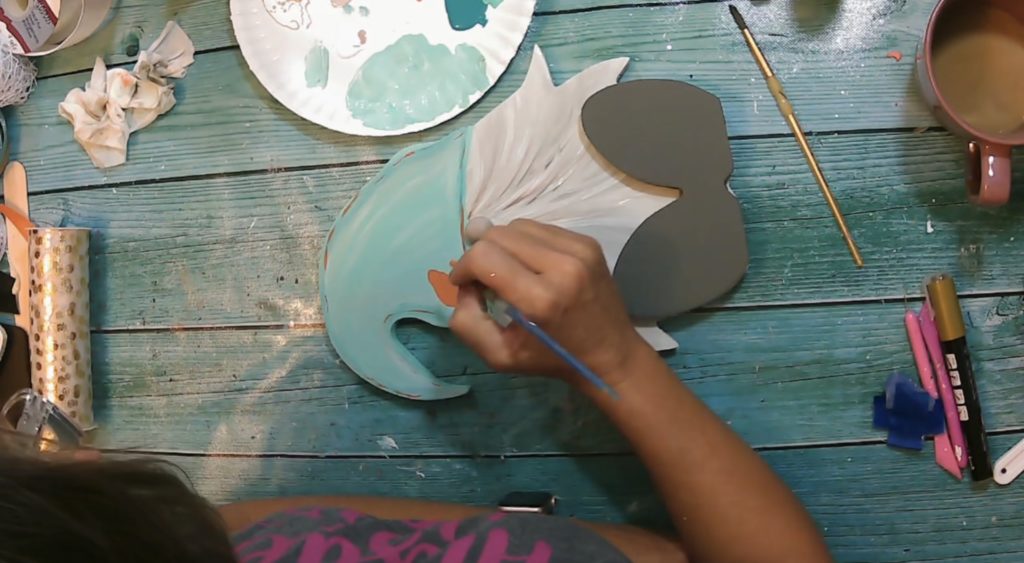
To bring some orange into the project since that always a fall color, I lightly outlined the hat.
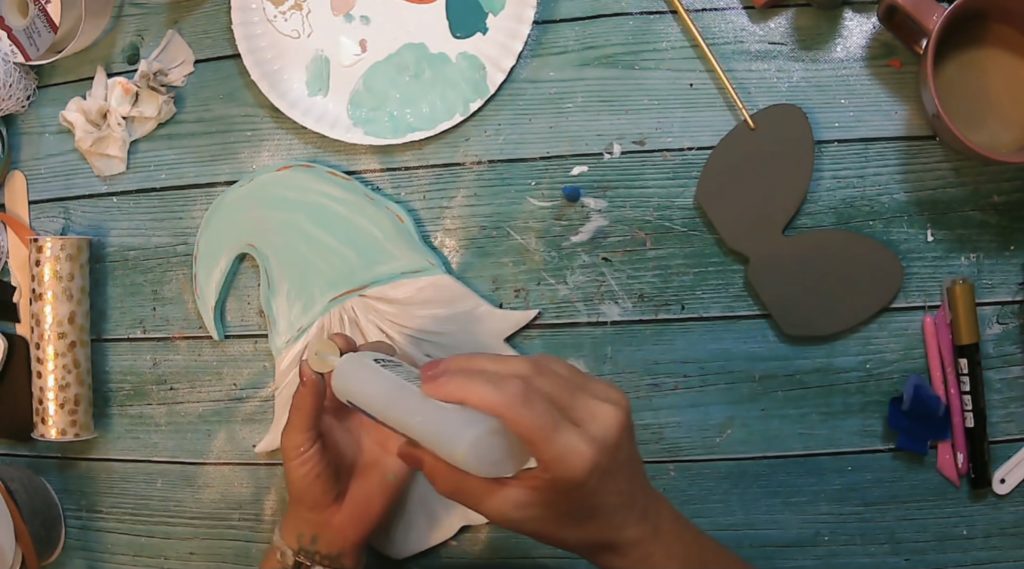
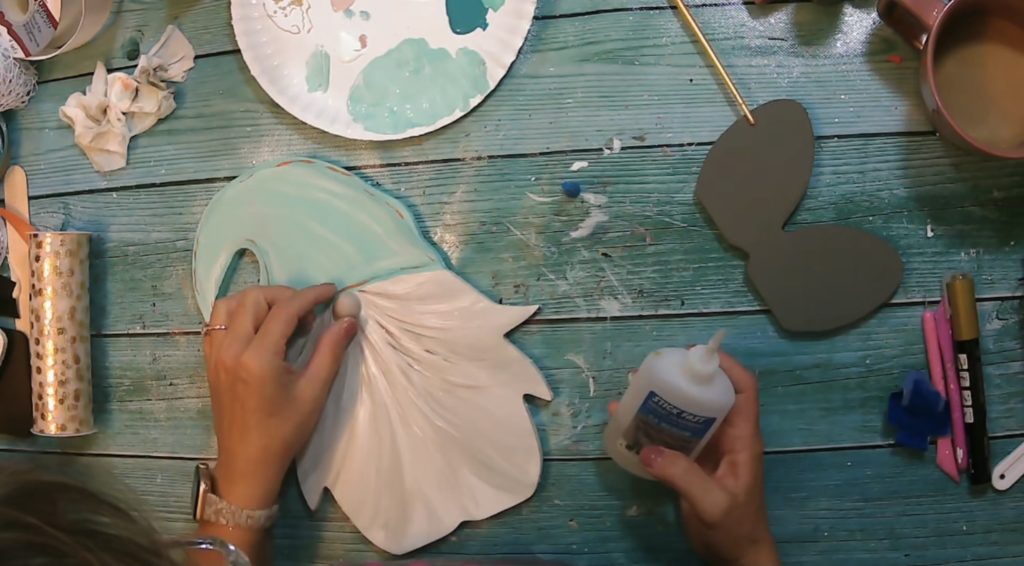
To create the hat, paint the wooden circle nose a cream color and glue just under your hat.
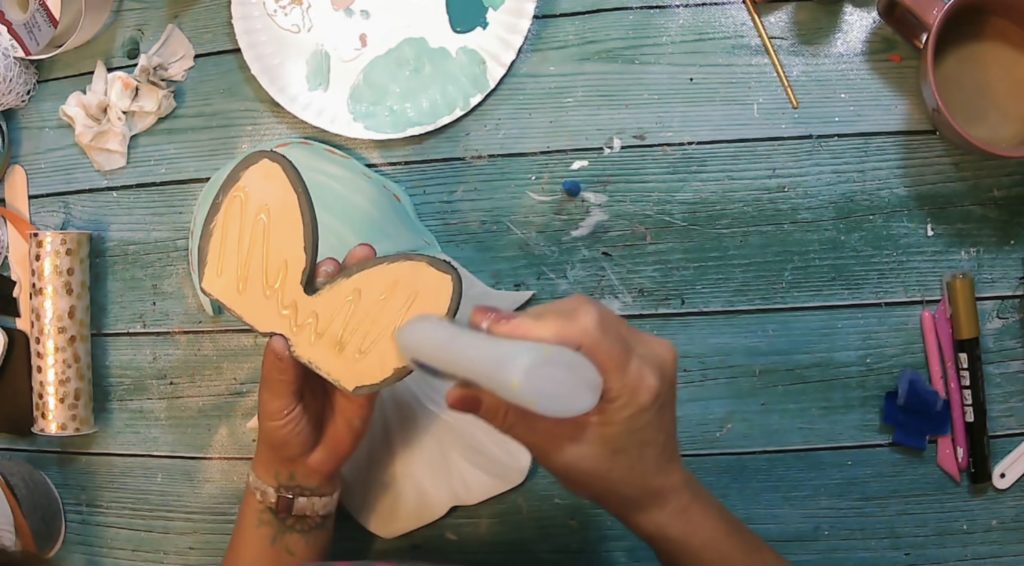
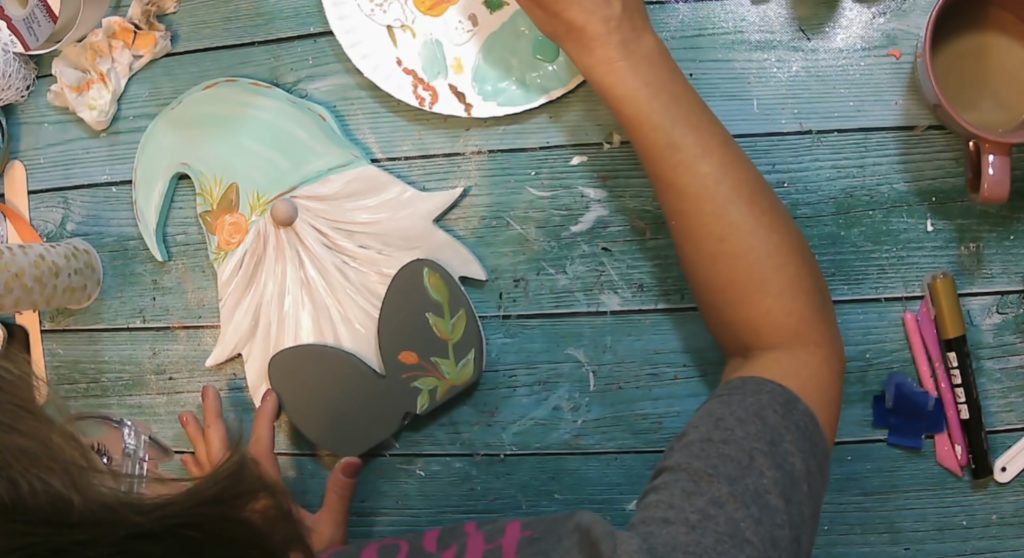
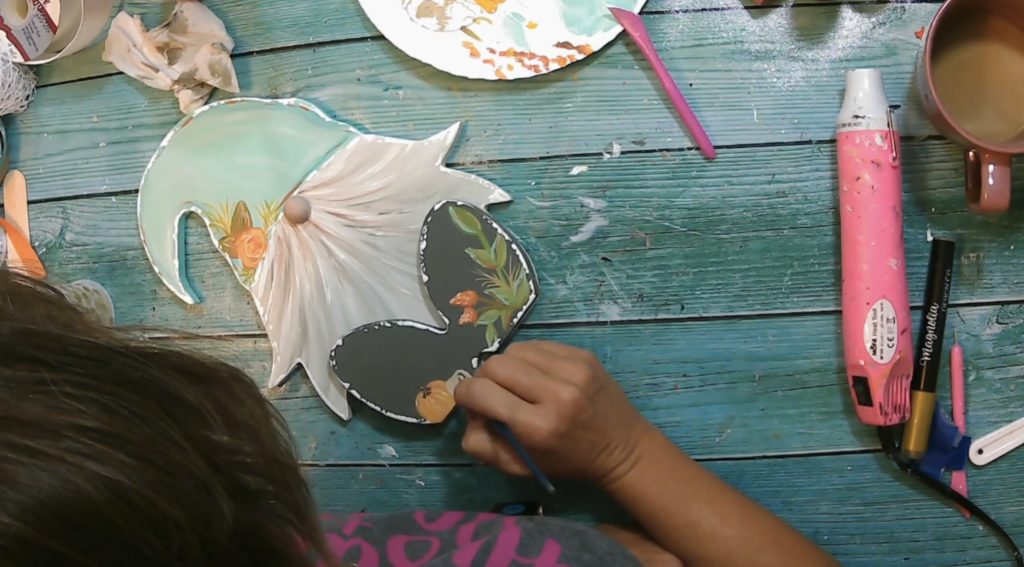
To add the feet, I glued them to the front so you it looks like he’s sitting and you can see the bottom of his feet. You can also glue it onto the bottom so it looks like it’s standing.
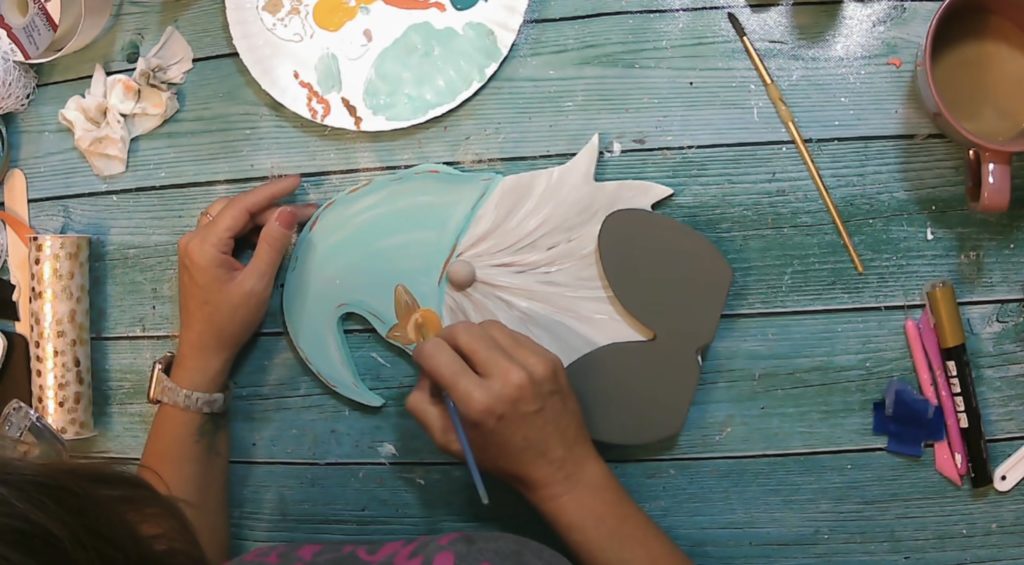
Now we’re just adding some character and color. You can go simple here or make it a little more extravagent!
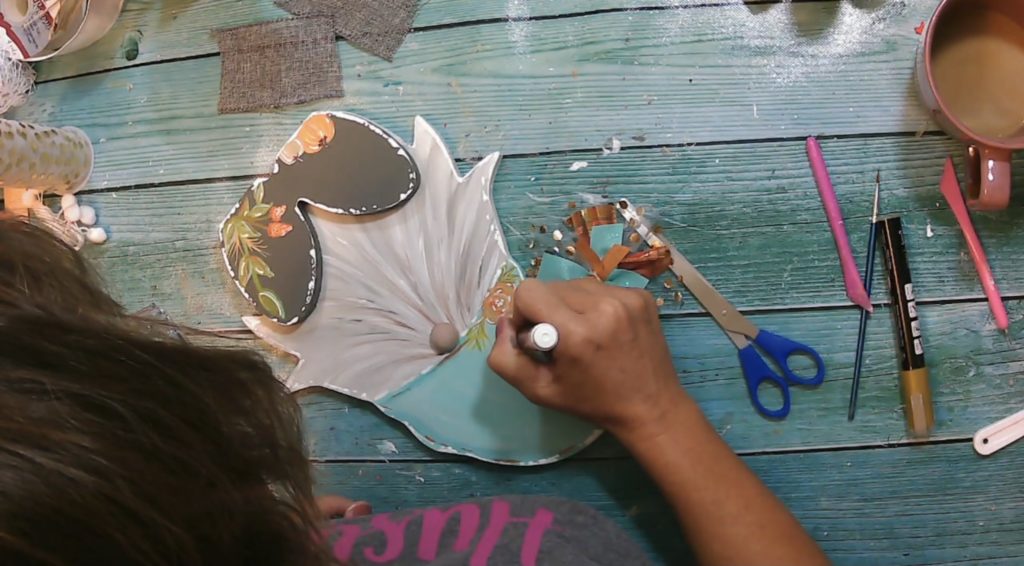
I did paint this LIVE on FB and you can see it right here. It’s a little easier to show how to do the actually design painting.
To finish the painting, add the perfect signature edge!
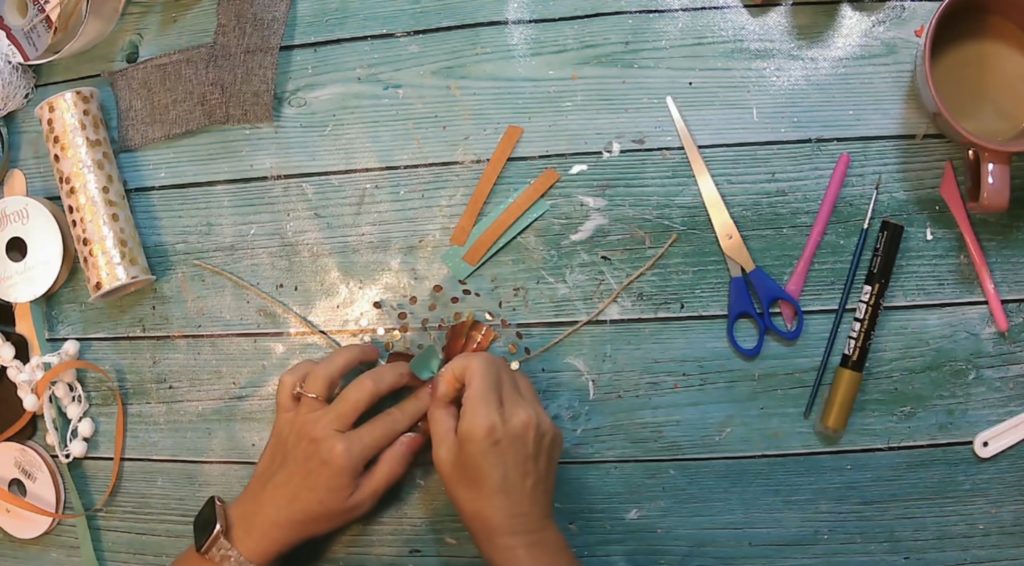
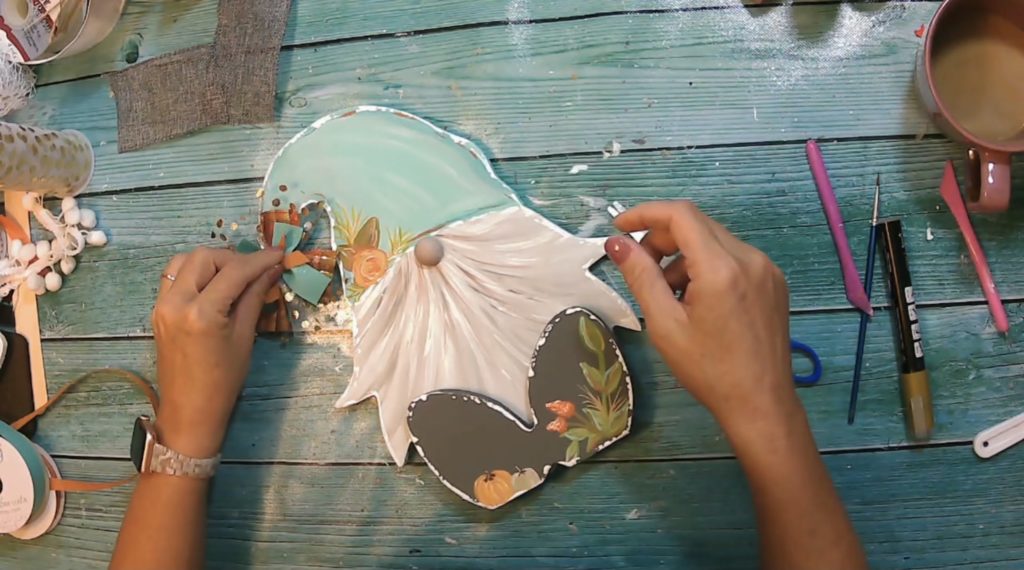
Now it’s time to add my signature scrappy bow! You can create whatever bow style is your favorite. Once you’re happy with your bow, hot glue it down to the hat.
To finish the piece off, I took my white paint pen and added some dimension to the flowers and pumpkins.
I absolutely LOVE how ti gnome turned out. You can probably see from the picture that I did go back and add some glitter. I simply painted some mod podge onto the areas I wanted the glitter and sprinkled it on.
The amazing thing about this Fall Painted Gnome kit is that you have the ability to create this in so many different ways. I can’t wait to make a Christmas one, a Valentine’s one, a 4th of July one, AND SO MUCH MORE!
What do you think of this Fall Painted Gnome? Is it something you would be comfortable creating with my kit?
Leave a Reply Cancel reply
Tonganoxie • Kansas
©2026 Ruffled Daisy
Design by GLC
back to top
Crafting your
story
Ruffled
Daisy
@theruffleddaisyks
INSTAGRAM
email
beth@theruffleddaisy.org
CONNECT
