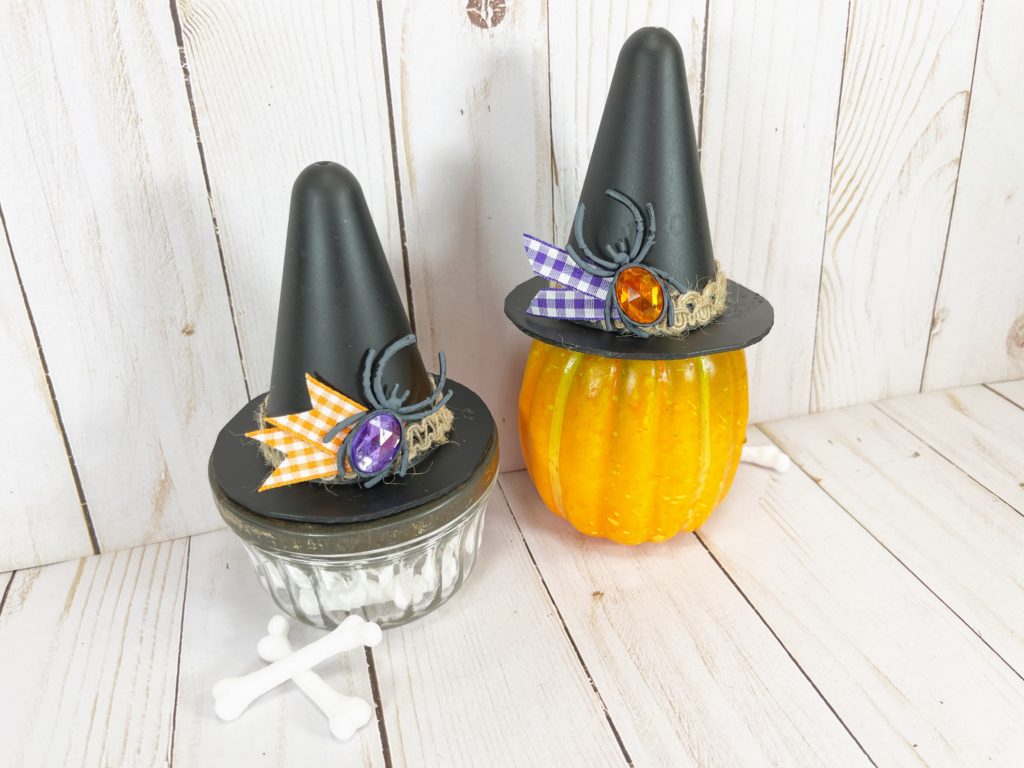
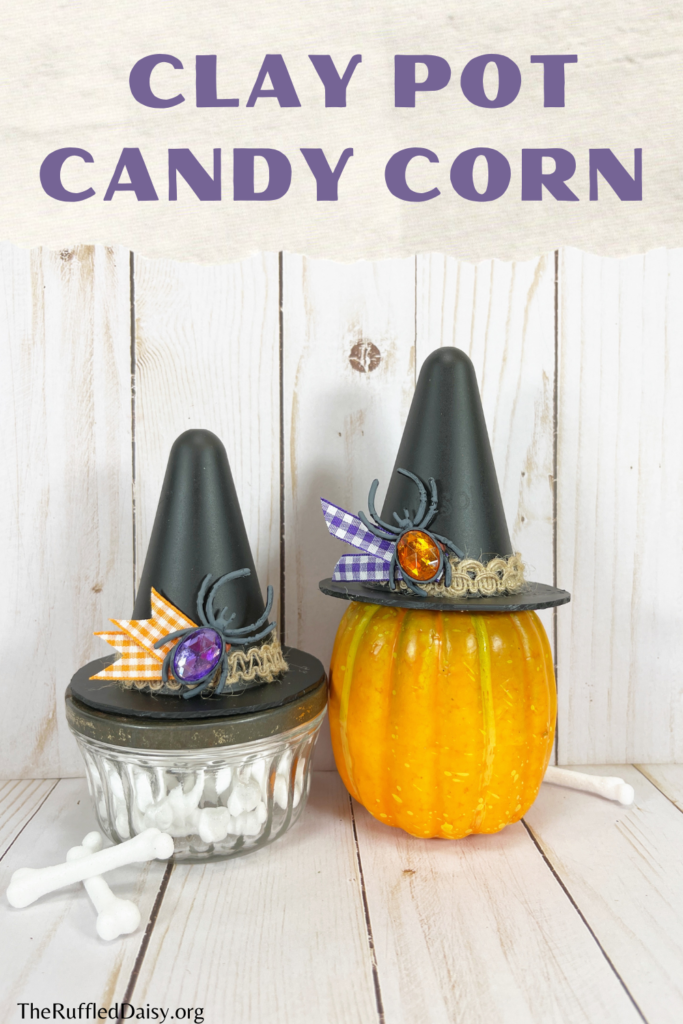
Mini Cone Witch’s Hat
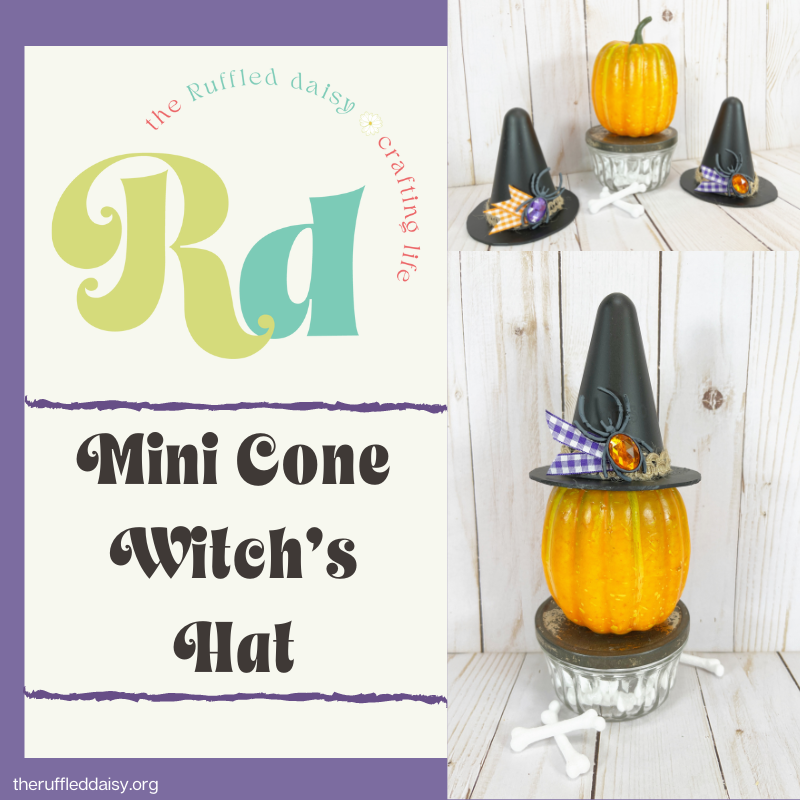
Create this Mini Cone Witch’s Hat with just a few simple supplies from the dollar store. Fun for a tiered tray, or a spooky sweet gift!
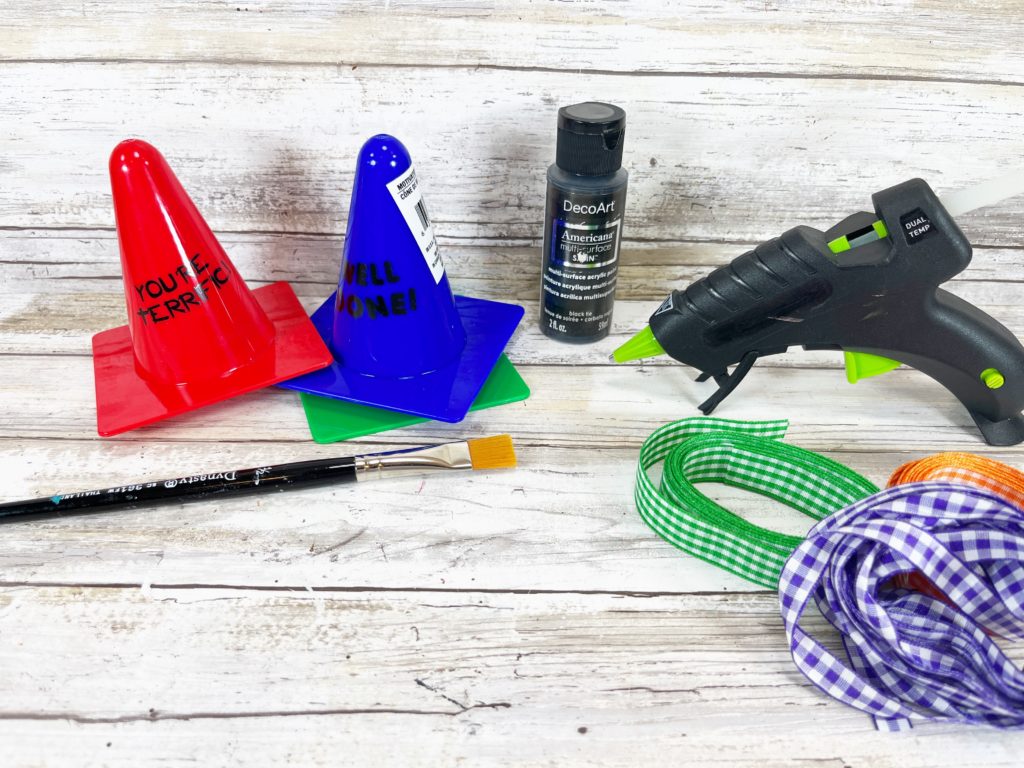
Here is what you need to make your own Mini Cone Witch’s Hat:
- Mini Inspirational Word Cones
- Multi-Surface Craft Paint – Black
- Acrylic Craft Paint – Light Grey
- Burlap Trim
- Ribbon, Gingham
- Spider Rings
- Permanent Black Marker
- Glue Gun and Glue Sticks
- Circle Template – 3.5”
- Paintbrush
- Ruler
- Scissors
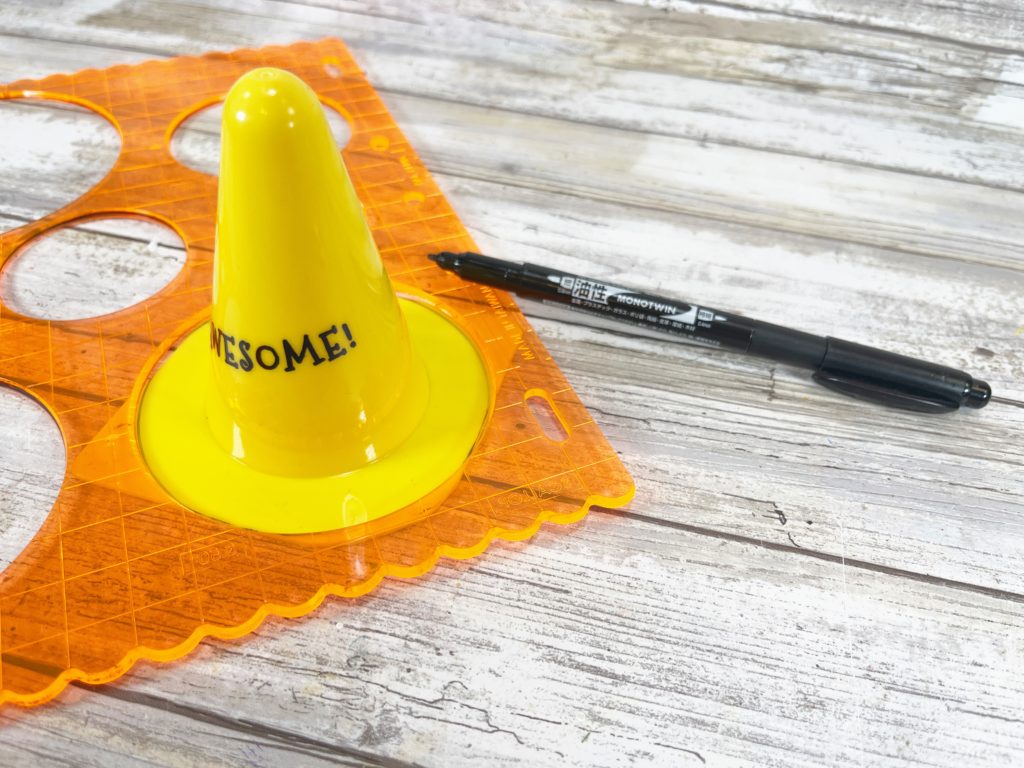
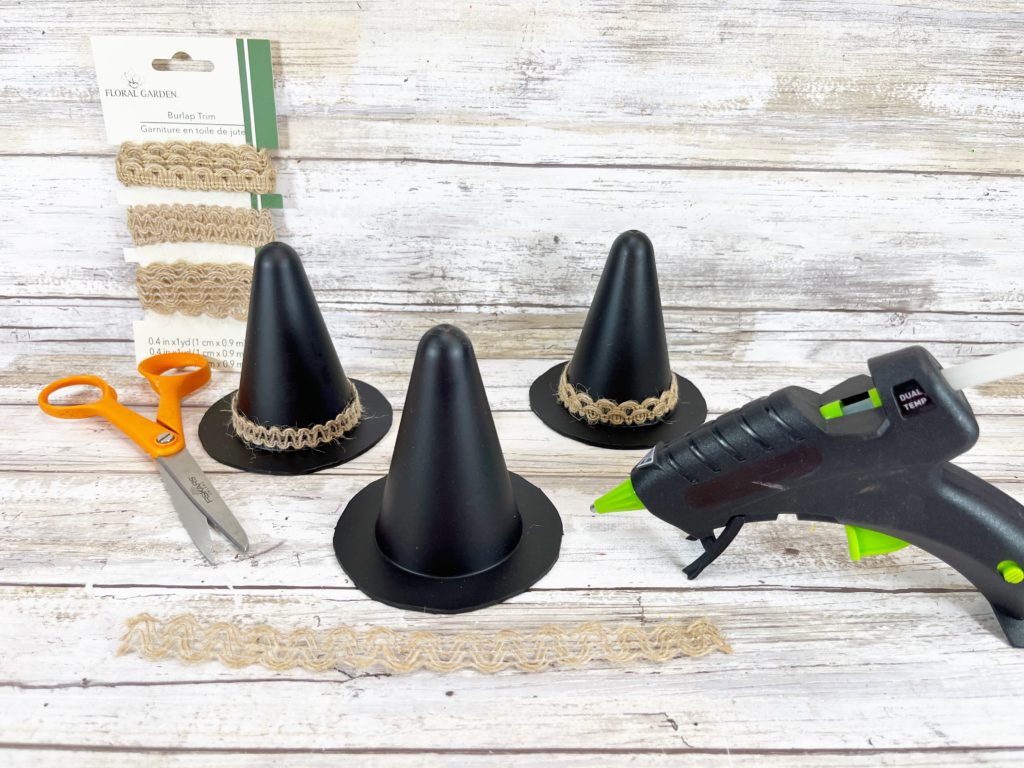
Gather all supplies. Place a 3.5” circle template over the plastic cone and trace the circle with a permanent black marker.
Trim the excess plastic away from the base of the cone with a pair of scissors. This will take a little bit of strength, but not a lot.
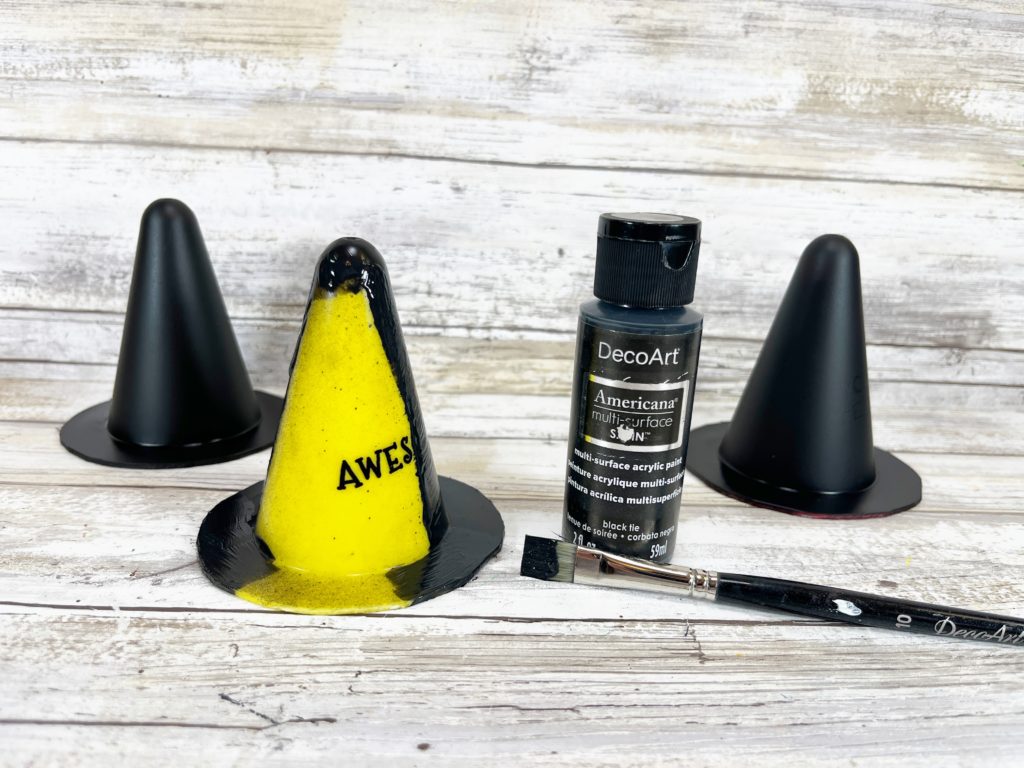
Basecoat the plastic cones with black multi-surface acrylic craft paint. Let dry and apply a second coat, if necessary. You can also use black spray paint in a well-ventilated area.
Measure and cut 8” lengths of burlap trim. Attach around the base of the cone using a glue gun and glue sticks. Trim any excess with scissors.
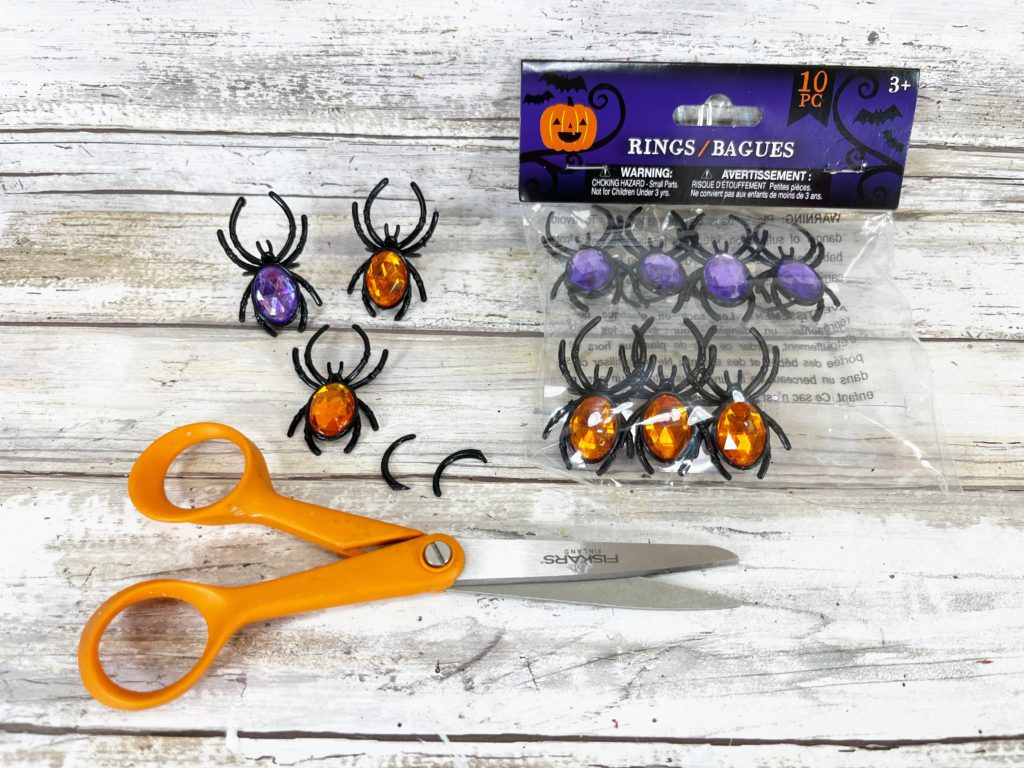
Cut the plastic circle from the back of three jeweled spider rings.
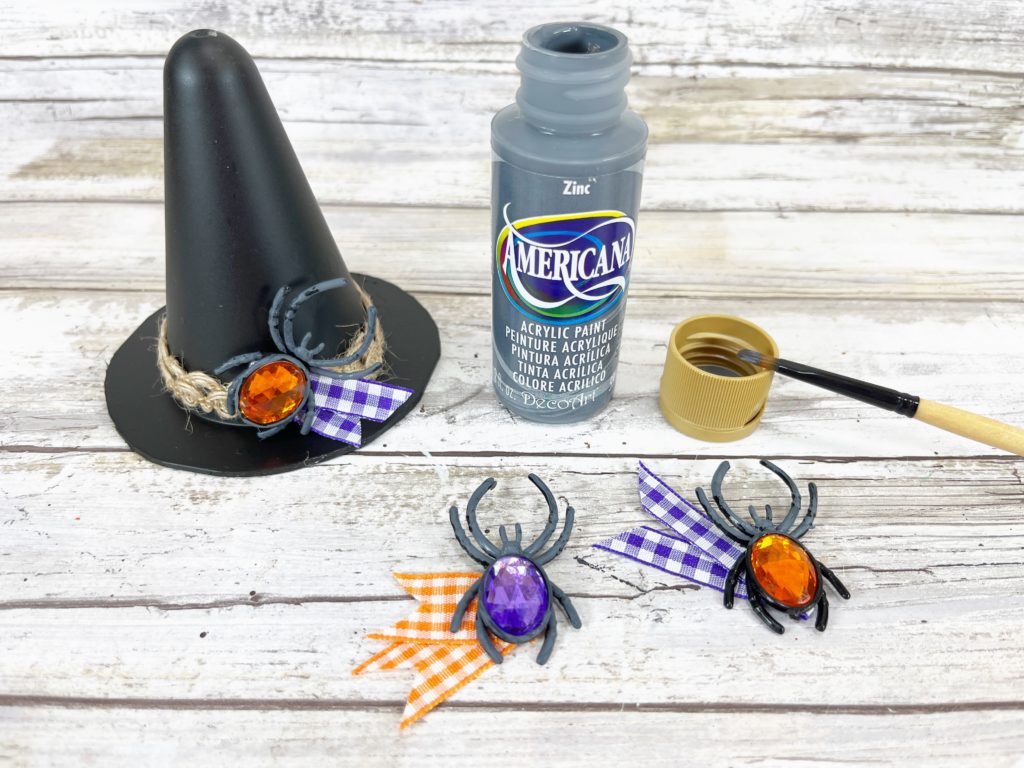
Paint the legs and body of the spiders with light grey acrylic craft paint. Measure and cut 4” lengths of ribbon, fold in half and attach to the back of the spiders with a glue gun and glue sticks. Trim the ends of the ribbons with notches.
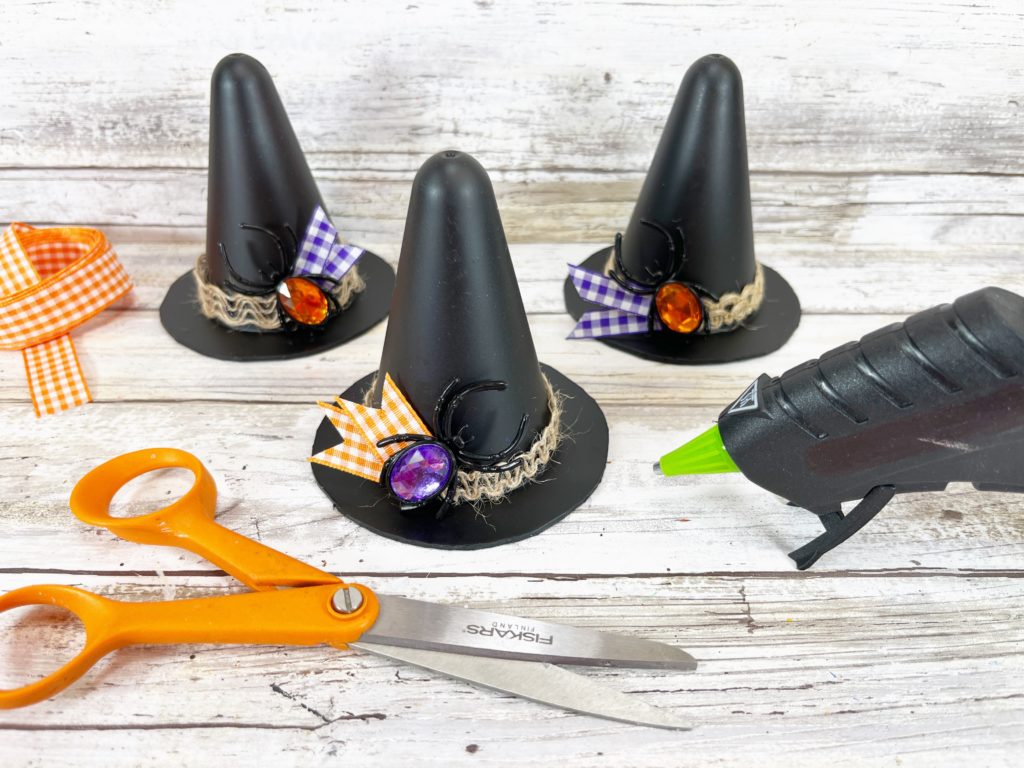
Attach the decorative spider jewel and ribbon to the hat band of the witches’ hats with a glue gun and glue sticks.
Create these super cute not spooky Mini Cone Witch Hats in just about 30 minutes (not including drying time)!
A fun craft to add to your Halloween home décor and tiered tray.
What do you think of this Mini Cone Witch’s Hat?
Grab some of the supplies this weekend and grab the kids or grandkids and let them have fun creating!
If you loved creating this Mini Cone Witch’s Hat, then you’ll love these ideas:
Leave a Reply Cancel reply
Tonganoxie • Kansas
©2026 Ruffled Daisy
Design by GLC
back to top
Crafting your
story
Ruffled
Daisy
@theruffleddaisyks
INSTAGRAM
email
beth@theruffleddaisy.org
CONNECT
