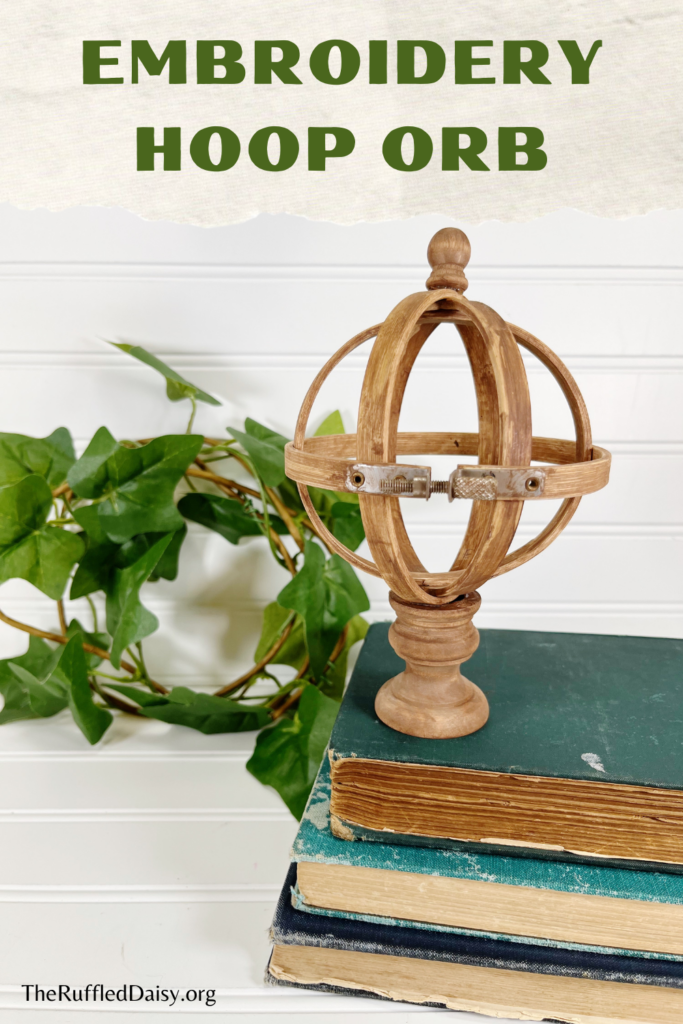
Embroidery Hoop
Create a stunning Embroidery Hoop Orb in just 30 minutes using simple supplies from the craft store. This quick and easy craft adds a touch of style to any home decor. Learn how to make one today!
Looking for a fun and creative craft project that can elevate your home decor? Look no further than the Embroidery Hoop Orb! With just a few supplies from your local craft store and 30 minutes of your time, you can create a beautiful decorative piece that suits any style of decor. Whether you’re a seasoned crafter or a beginner, this craft is perfect for you. Let’s dive into the steps and materials required to make this stunning Embroidery Hoop Orb.
Here is what you need to make your own Embroidery Hoop Orb:
- Wooden Embroidery Hoops, 4” in diameter – Two
- Wooden Candlestick, 2.75” – One
- Wooden Finial, ½” – One
- Acrylic Craft Paint – Dark Brown
- Glue Gun and Glue Sticks
- Paintbrush
- Paper Towels or Baby Wipes
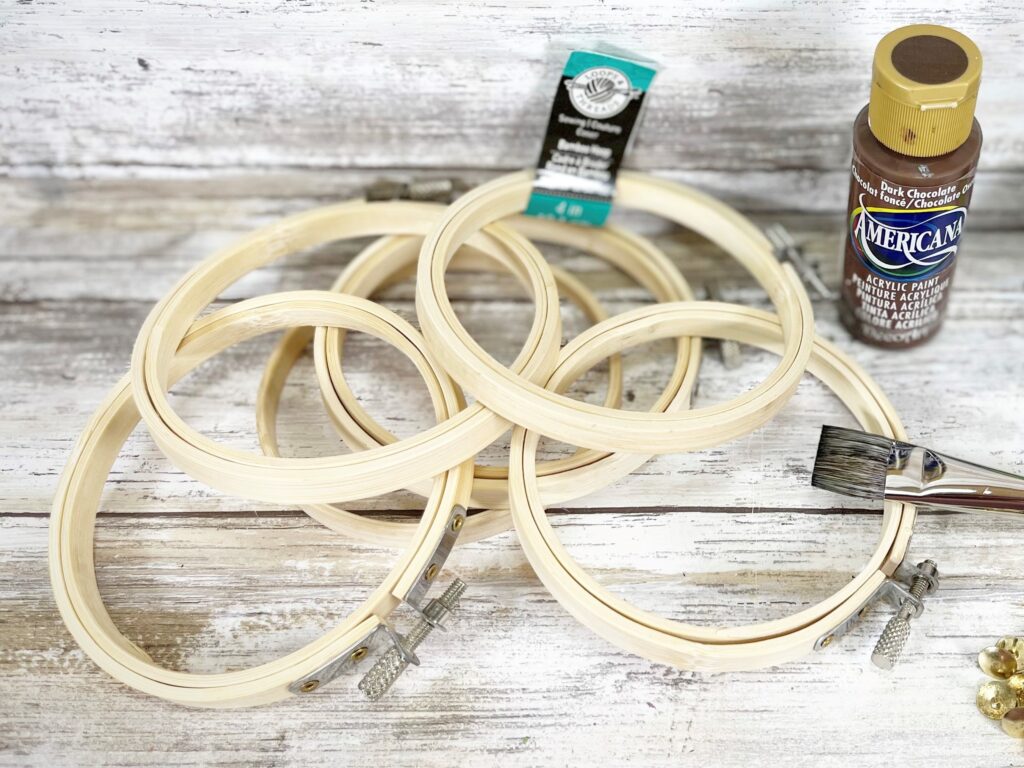
Gather all supplies. Wooden embroidery hoops can be found in the stitching area of the craft store. Unfinished wooden candlesticks and finials can be found in the craft section. Loosen the metal screws and separate the inner and outer hoops so you have four total.
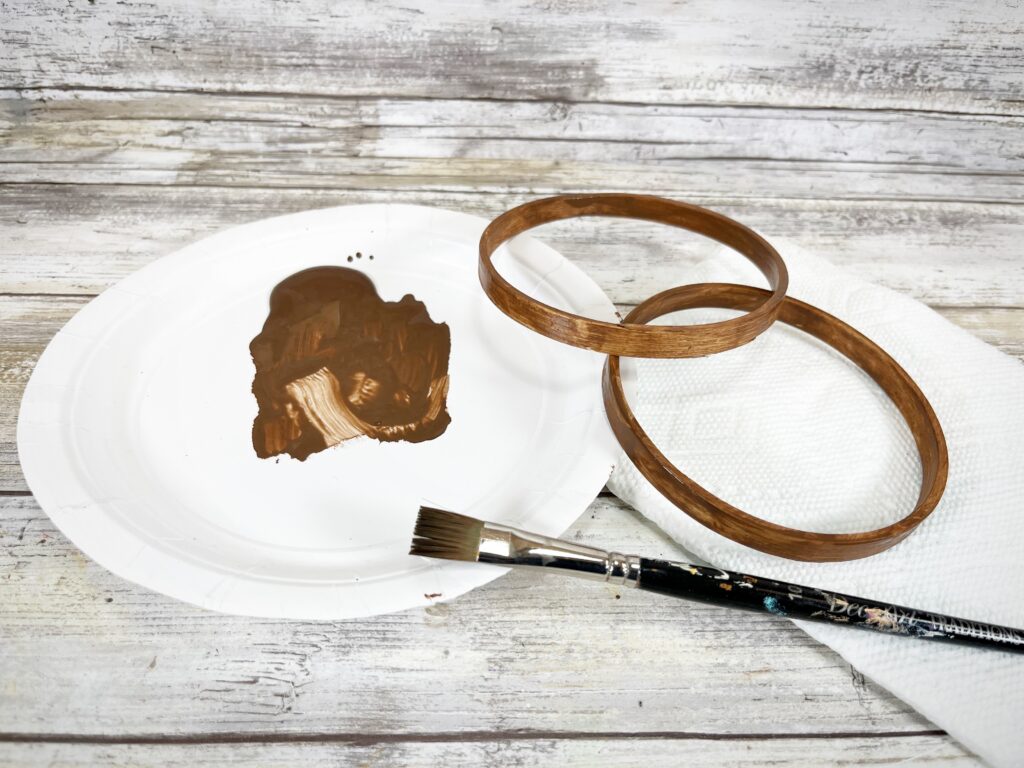
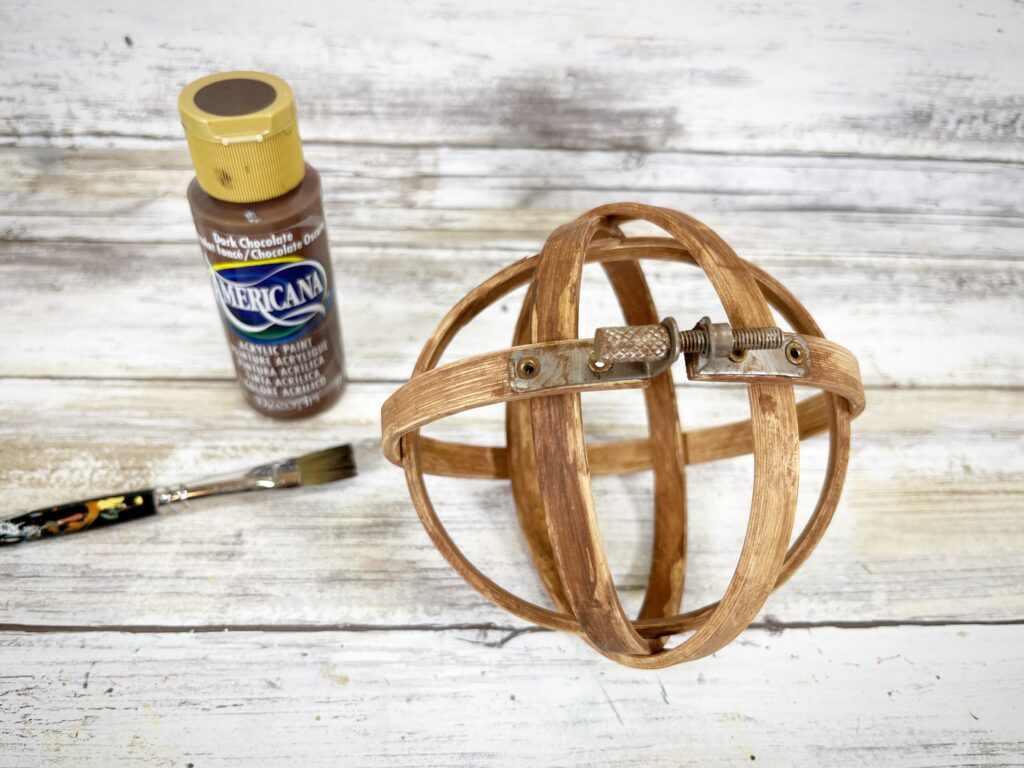
Mix dark brown acrylic craft paint with some water on a paper plate. Roughly and quickly paint all surfaces of the four unfinished wooden embroidery hoops with the watered-down paint mixture, making sure to get into all the nooks and crannies. This will give the unfinished wooden hoops a stained effect without having to use messy oil-based stain.
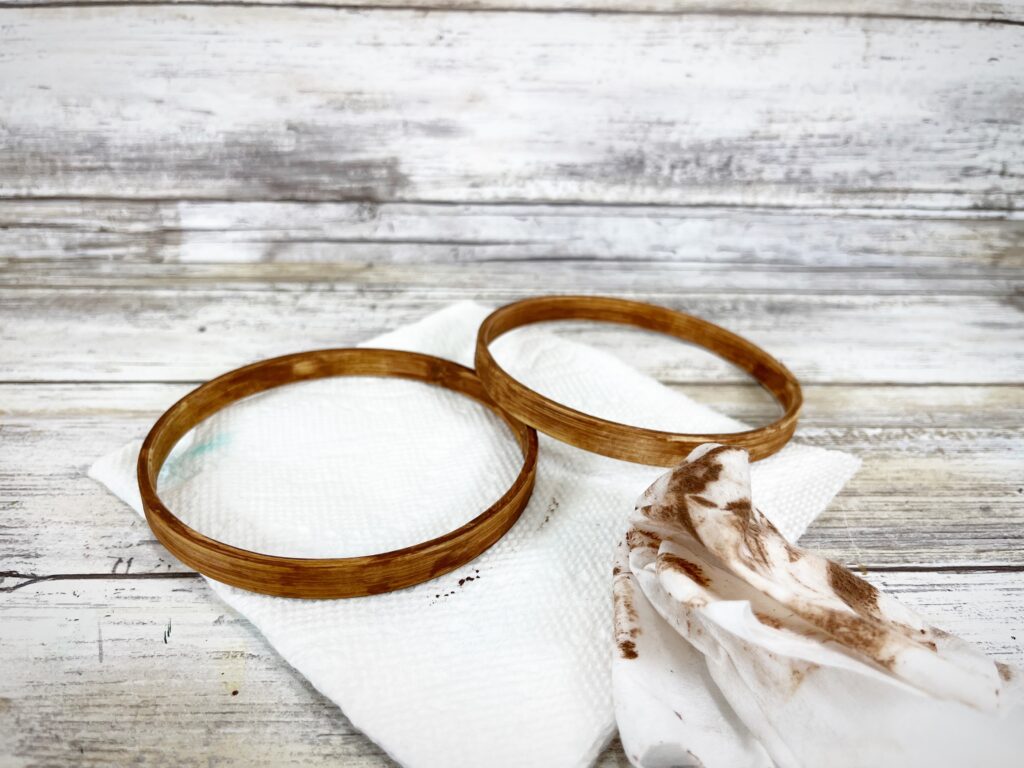
You can either leave the hoops dark brown or wipe off some of the excess paint with a wet paper towel or baby wipe before it dries completely. Set aside to allow the paint to dry completely.
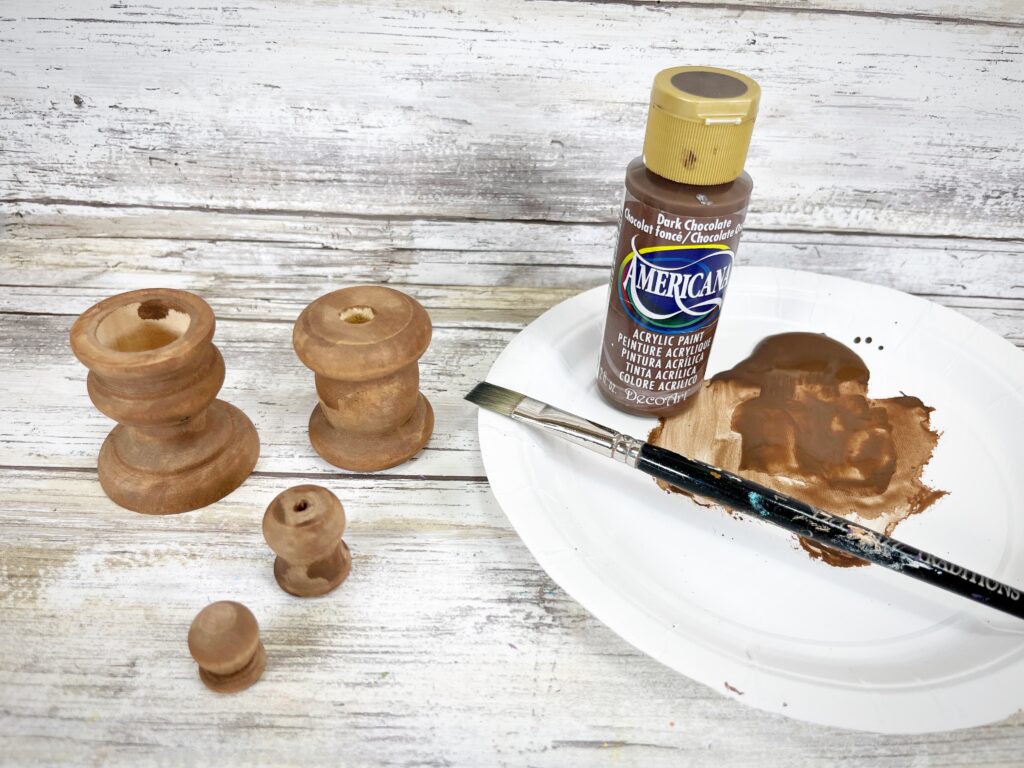
Repeat the above step with the unfinished wooden candlestick and finial. Painting on the watered down dark brown paint and then wiping away any excess. Set all wooden parts aside to dry.
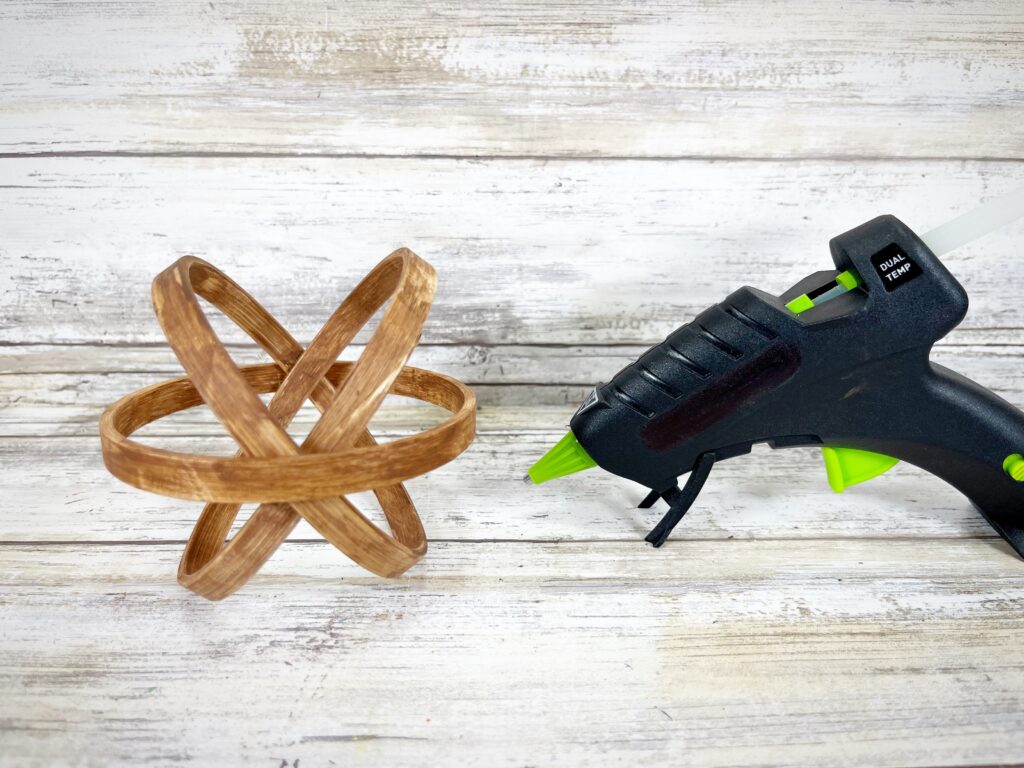
Starting with the two solid wood embroidery hoop pieces, insert one inside the other forming an “X” shape. Loosen the metal screw on the third hoop and slide it over the first two forming a line through the “X” as shown in the photo. Tighten the metal screw until the hoop is snug.
Loosen the metal screw on the fourth embroidery hoop as far as it will go, then slide it over the first three hoops horizontally around the middle. Tighten the metal screw until the hoop is snug. Apply daps of dark brown acrylic craft paint to the metal screws, so they blend into the project.
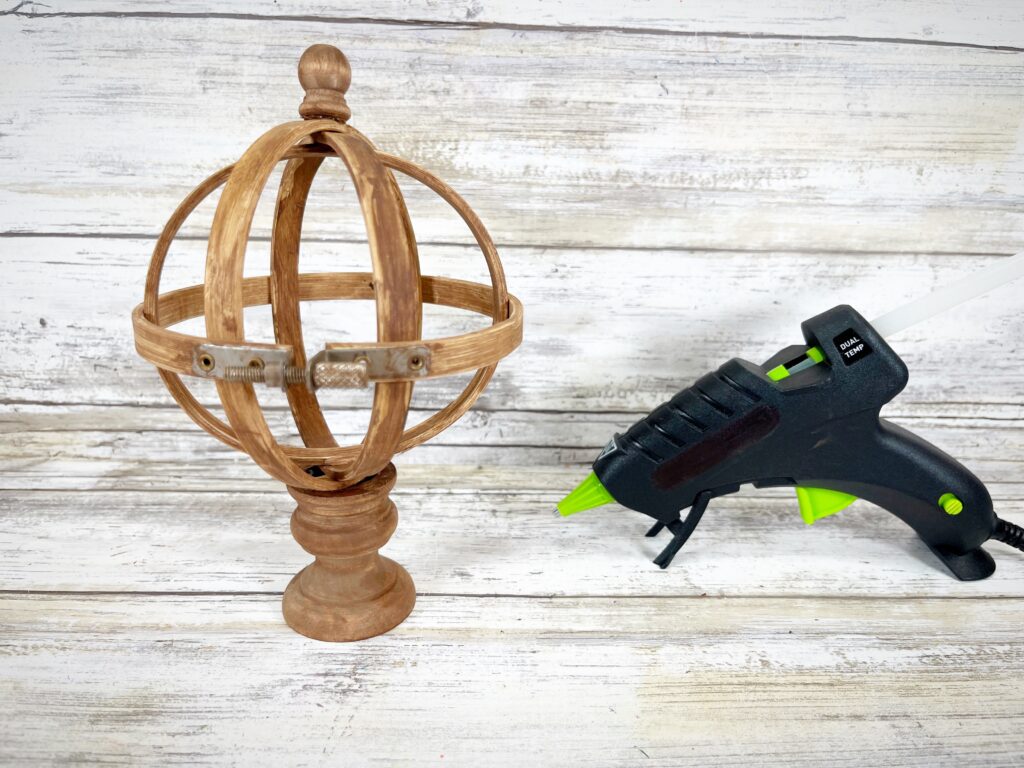
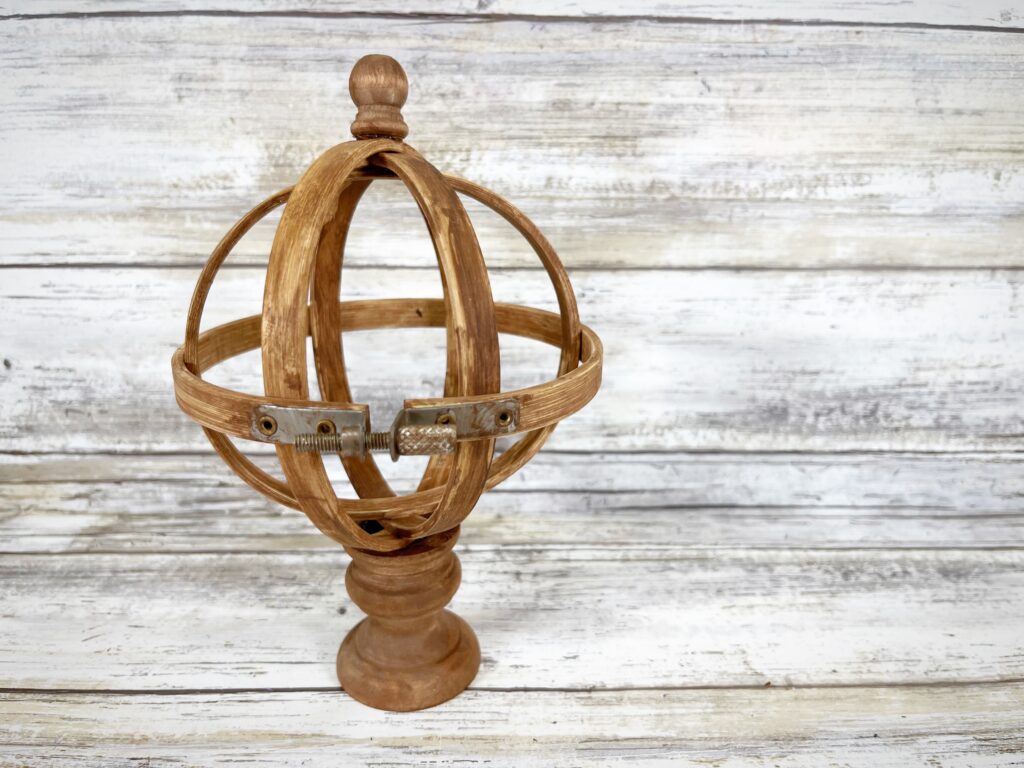
Secure the intersections of the embroidery hoops with glue, if necessary. Attach the candlestick to the bottom of the hoop orb with a glue gun and glue sticks. To complete the Embroidery Hoop Orb, glue the finial to the top of the orb.
This quick and easy Embroidery Hoop Orb goes together in just about 30 minutes each with limited supplies. It is the perfect size for a tiered tray decoration. Make additional orbs in a variety of sizes.
In just about 30 minutes, you’ve successfully crafted a gorgeous Embroidery Hoop Orb using simple supplies and a bit of creativity. This versatile decor piece can be displayed in various ways, making it an ideal addition to a tiered tray or as a standalone centerpiece. Feel free to experiment with different sizes and colors to create a collection of these orbs that truly reflect your personal style. Get ready to impress your guests with your crafting skills and enjoy the satisfaction of creating something beautiful for your home!
If you’re looking for some other FUN and EASY DIY projects, you will love these:
- Fabric and Embroidery Hoops Make Decorating Easy
- Lace Spiderweb Hoop Craft
- Ghost Felt Scrap Wreath
- Sunflower Door Hanger
Leave a Reply Cancel reply
Tonganoxie • Kansas
©2026 Ruffled Daisy
Design by GLC
back to top
Crafting your
story
Ruffled
Daisy
@theruffleddaisyks
INSTAGRAM
email
beth@theruffleddaisy.org
CONNECT
