Jenga Block Pumpkins
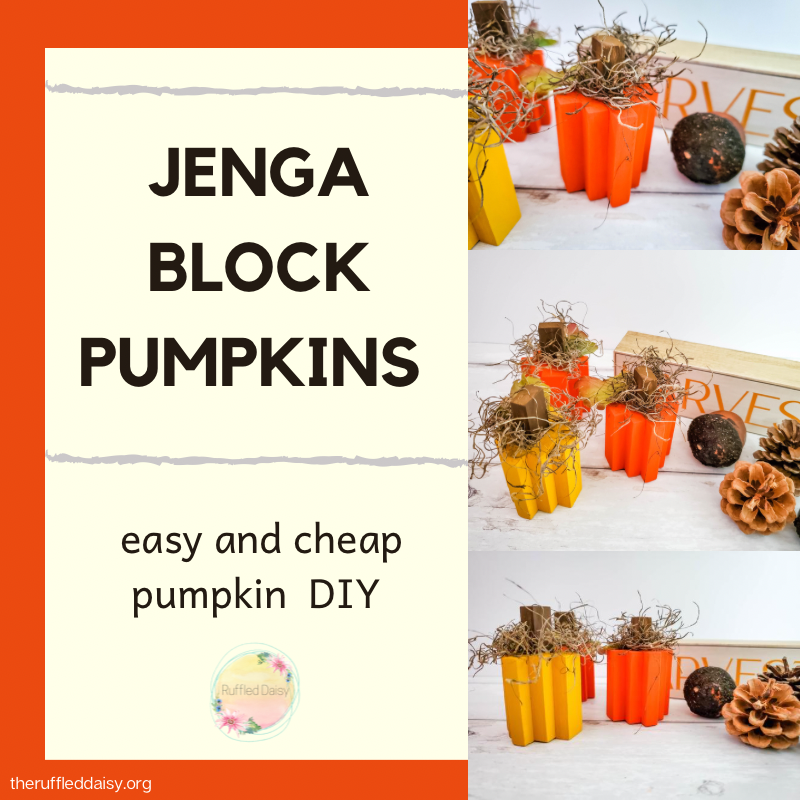
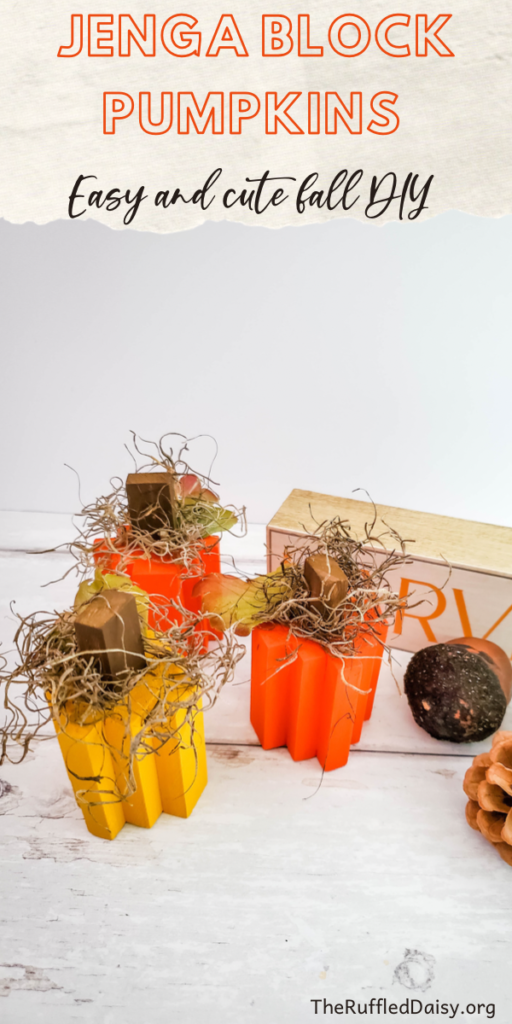
Let’s transform the popular Jenga block game into some Jenga Block Pumpkins with just a few additional supplies!
No matter if you love game nights or craft nights, you’re going to want to grab a set of these Jenga Blocks from the Dollar Tree next time you’re there. These Jenga Block Pumpkins are fun to create for yourself or with the kids!
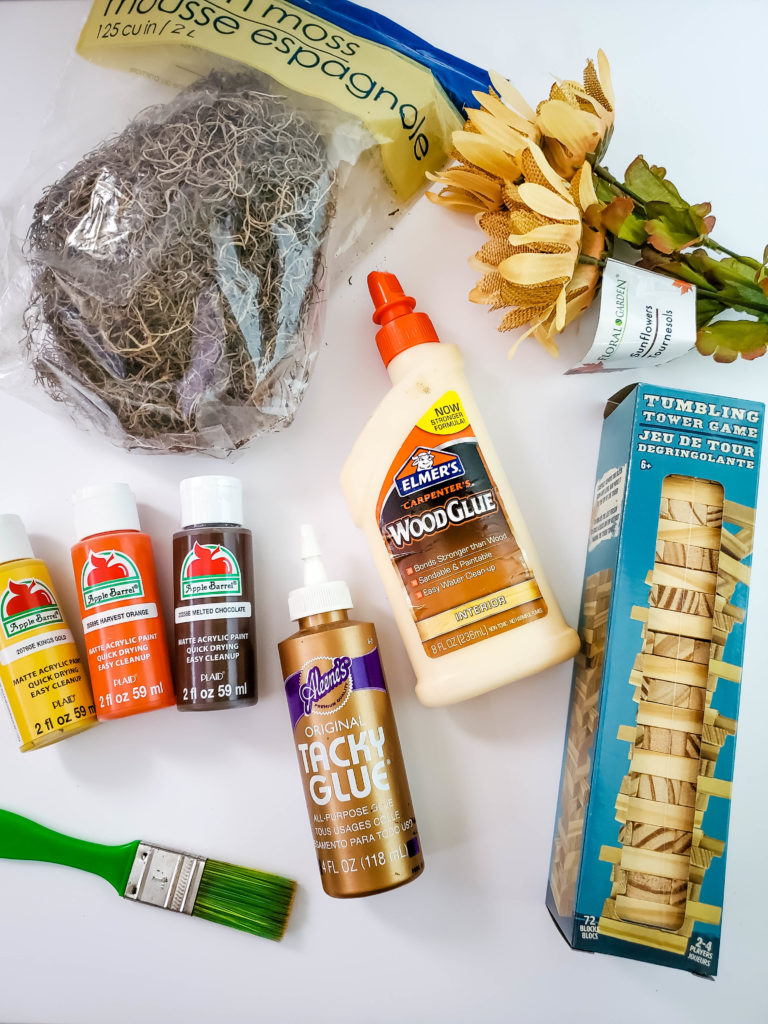
Here is what you need to make these cute Jenga Block Pumpkins:
- Blocks from Tumbling Tower Game (Dollar Tree)
- Wood glue
- Small paint brush
- Paint (colors used were Apple Barrel brand: Kings Gold, Harvest Orange, and Melted Chocolate)
- Paint brush
- Tacky glue
- Moss (Dollar Tree)
- Leaves from sunflowers (Dollar Tree)
- Scissors
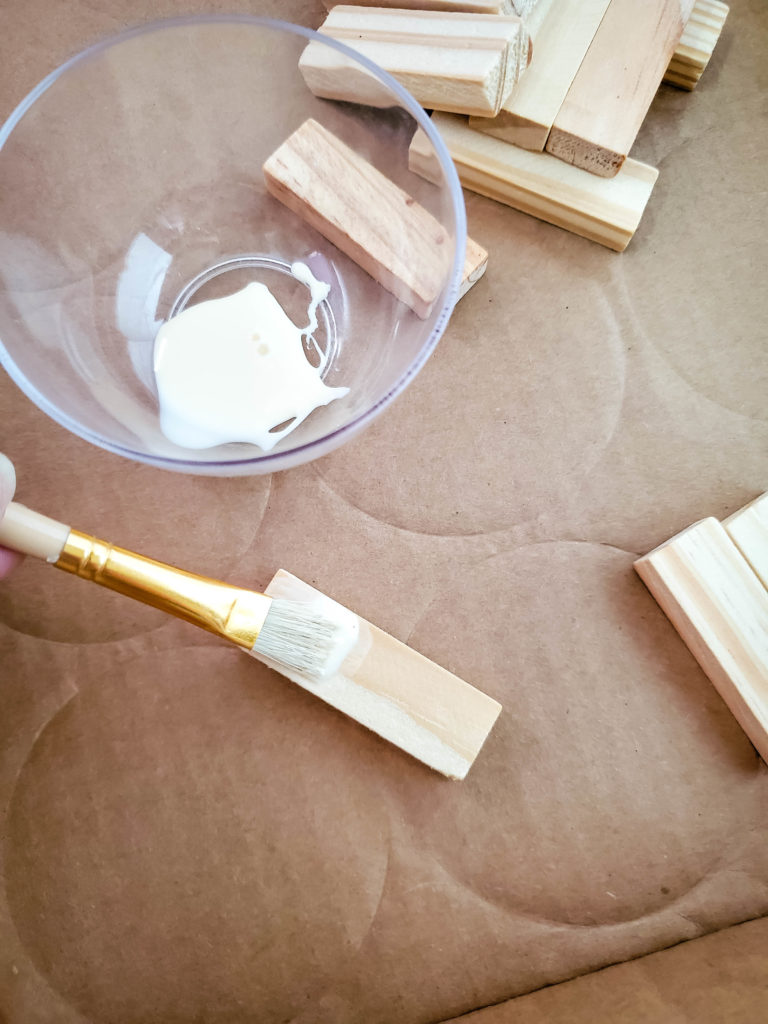
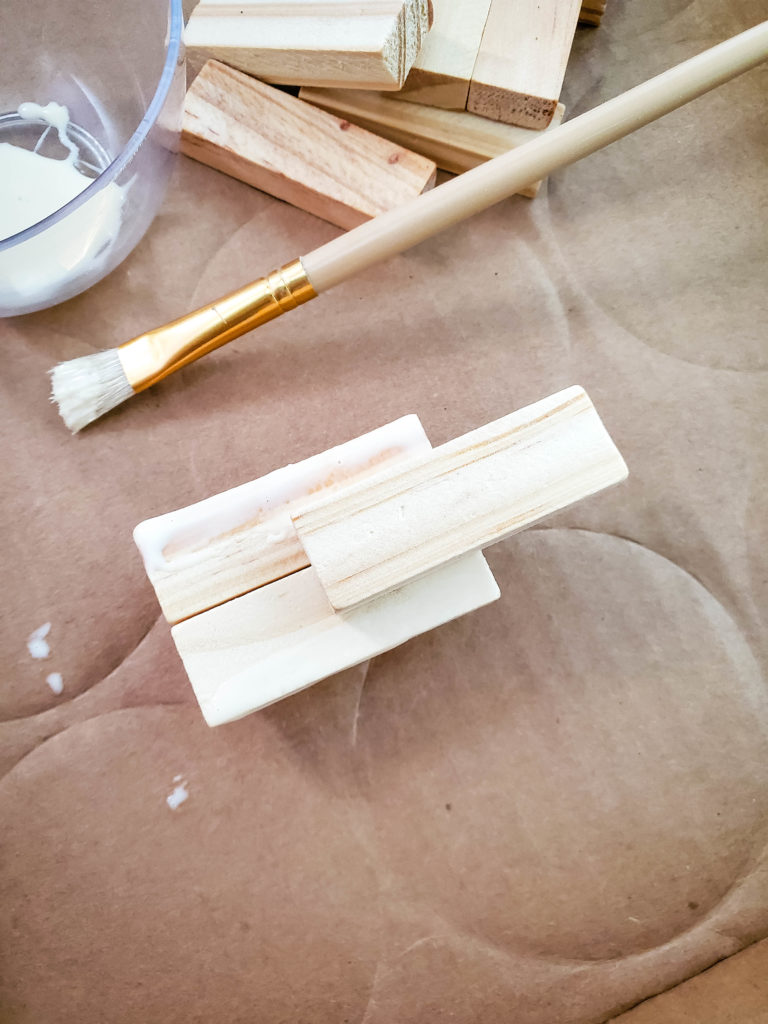
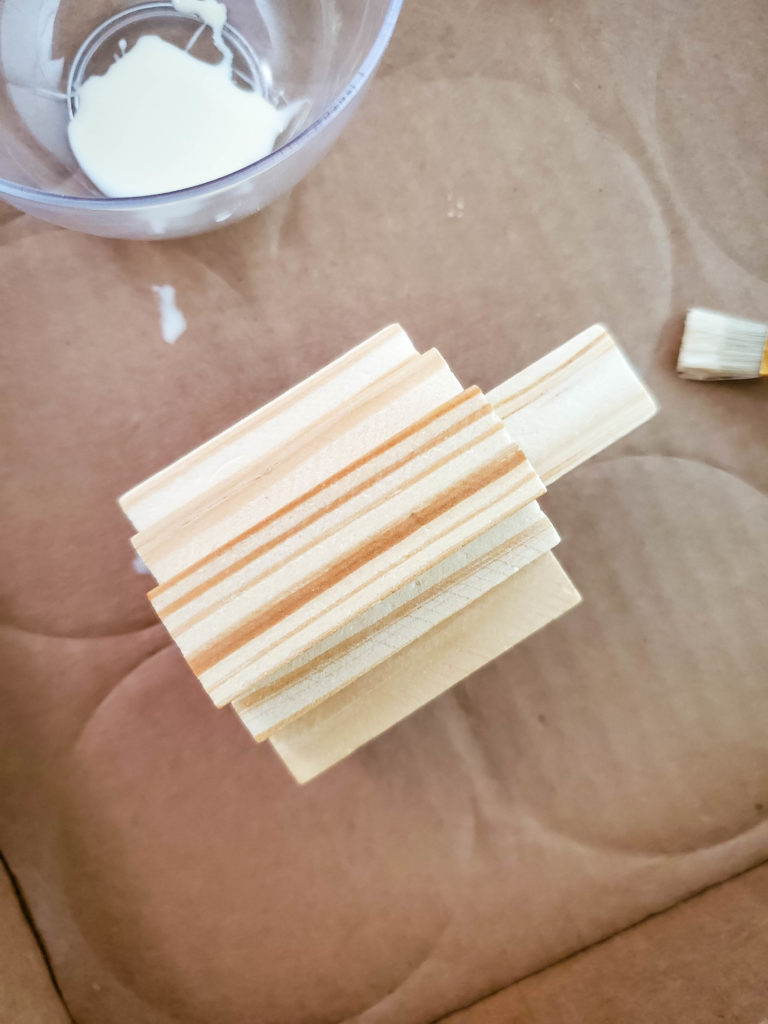
Using the wood glue and small paint brush, apply glue to the entire front surface of one block.
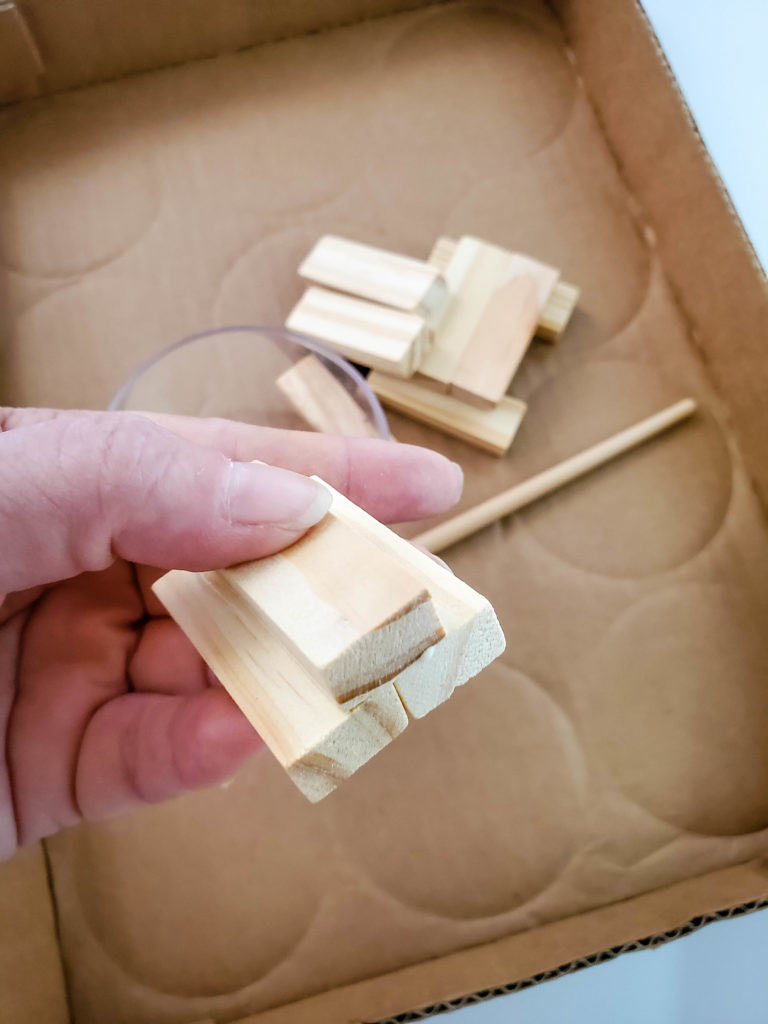
Set two blocks on top of that block, each half on the block, and half overhanging. .
Apply glue to the sides and top of the two blocks that you just glued to the other block.
Set one block in the center of those two blocks, halfway up, on the glued portion. This will be the stem.
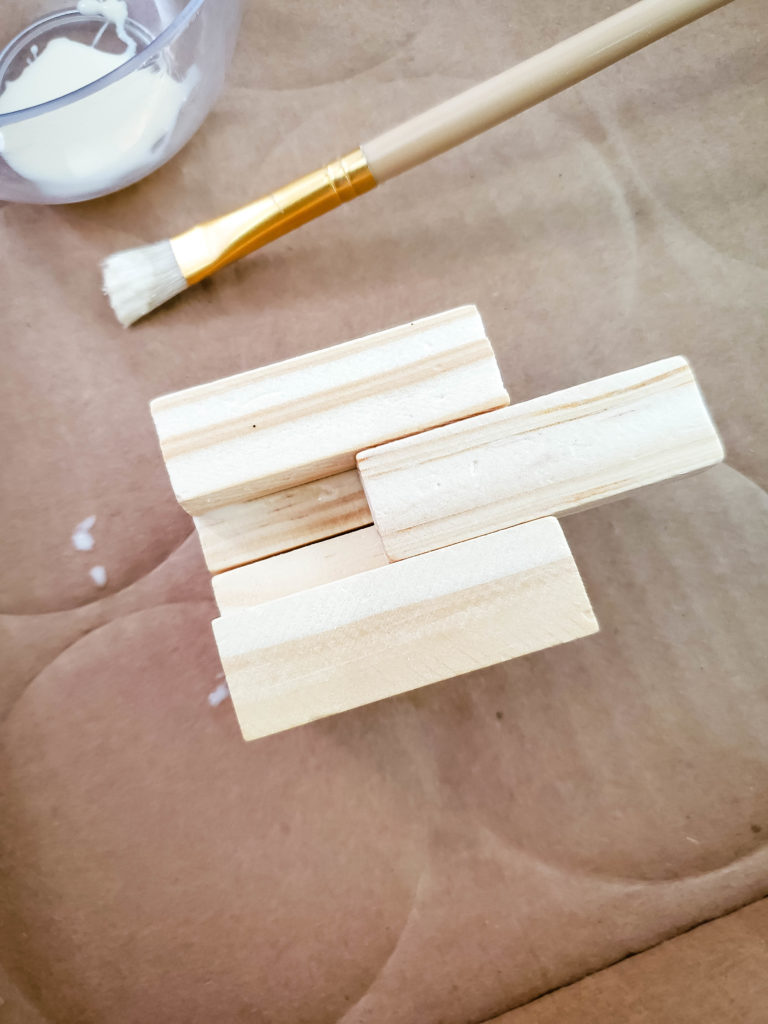
Set two more blocks on either side of that stem, flush with the top and bottom of the two blocks you glued in step 2, but overlapping the sides slightly.
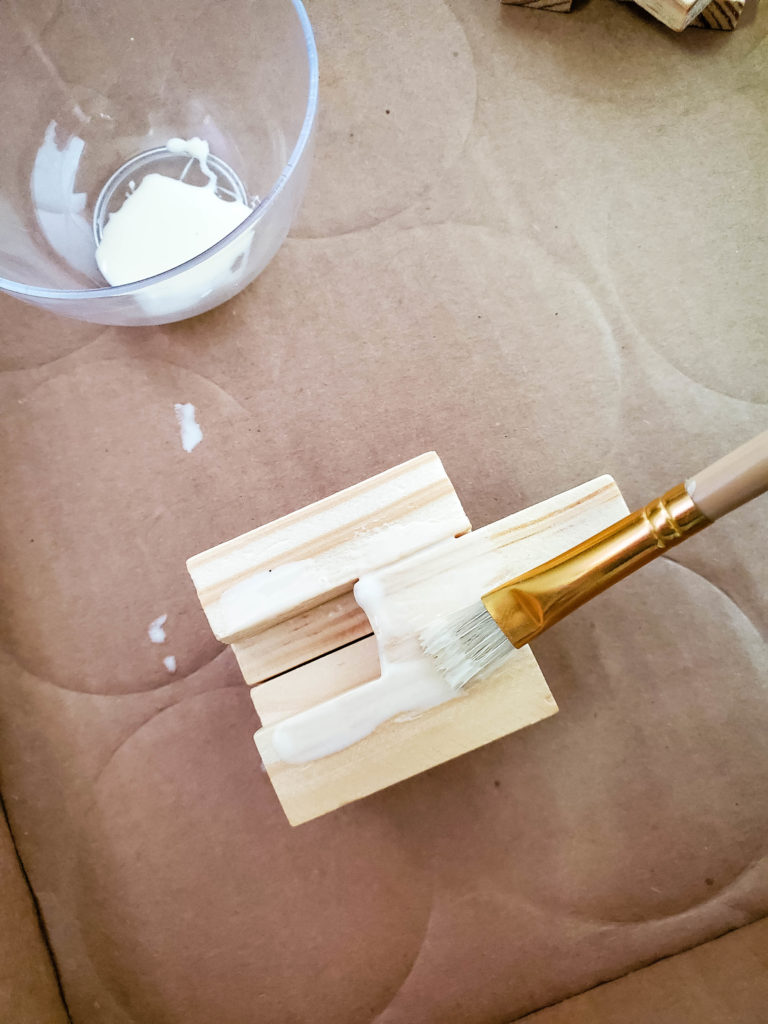
Apply glue to the inner sides of the two blocks you just glued, and the bottom portion of the stem that sticks up from step 4.
Set two blocks centered between those three blocks.
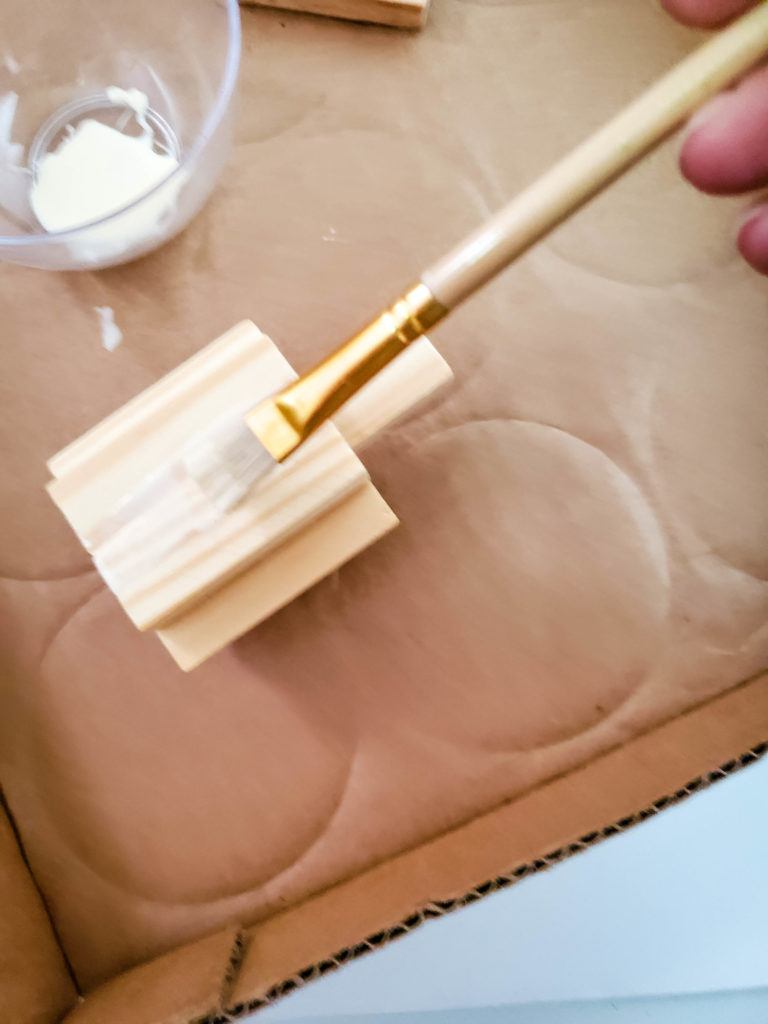
Apply glue to the middle of those two blocks.
Set one block, centered between those two blocks. You’ve made the pumpkin form. Stand upright to allow the glue to completely dry.
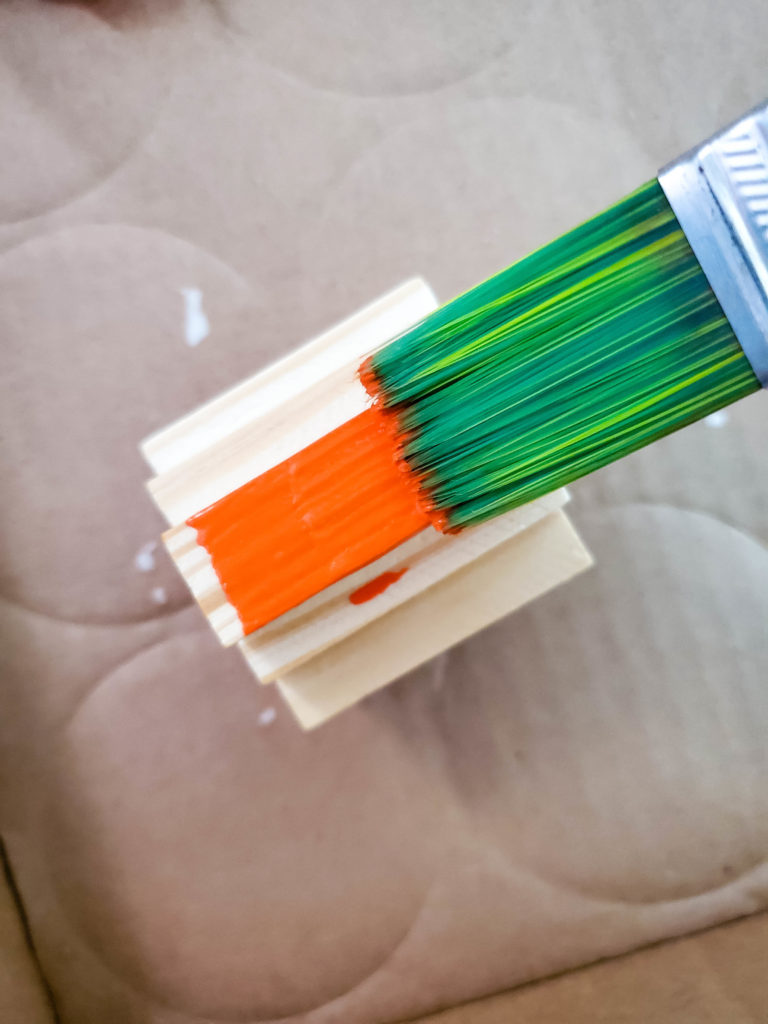
Using Kings Gold or Harvest Orange paint, paint the entire pumpkin, except for the one block that sticks up.
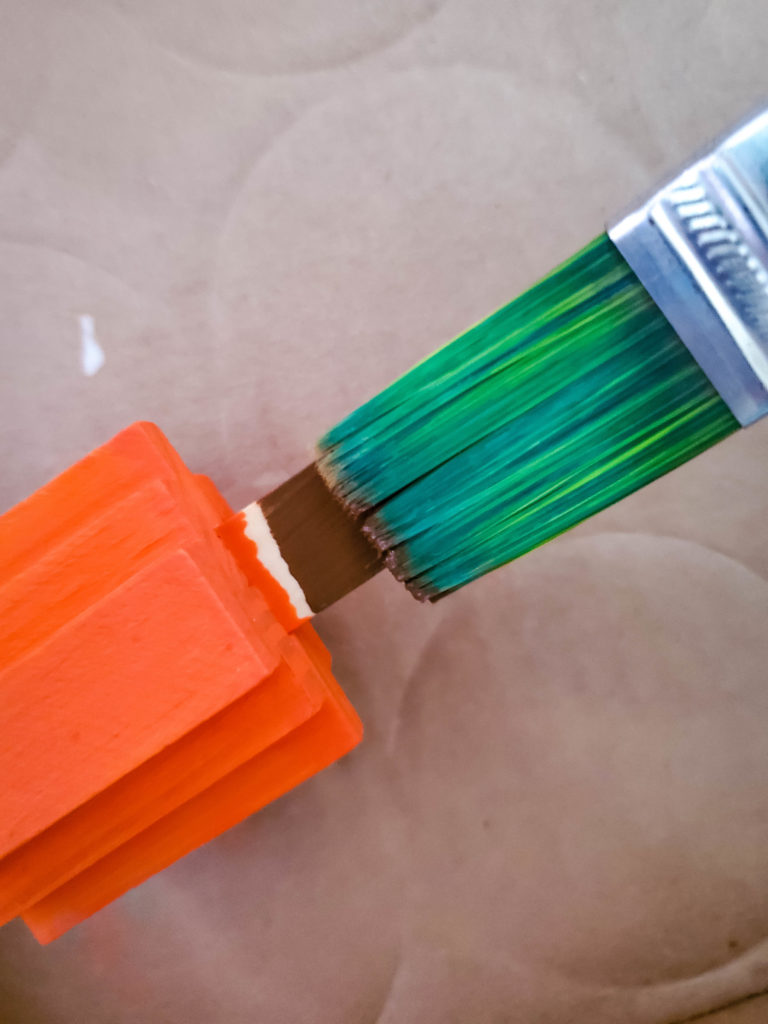
Using Melted Chocolate paint, paint the stem.
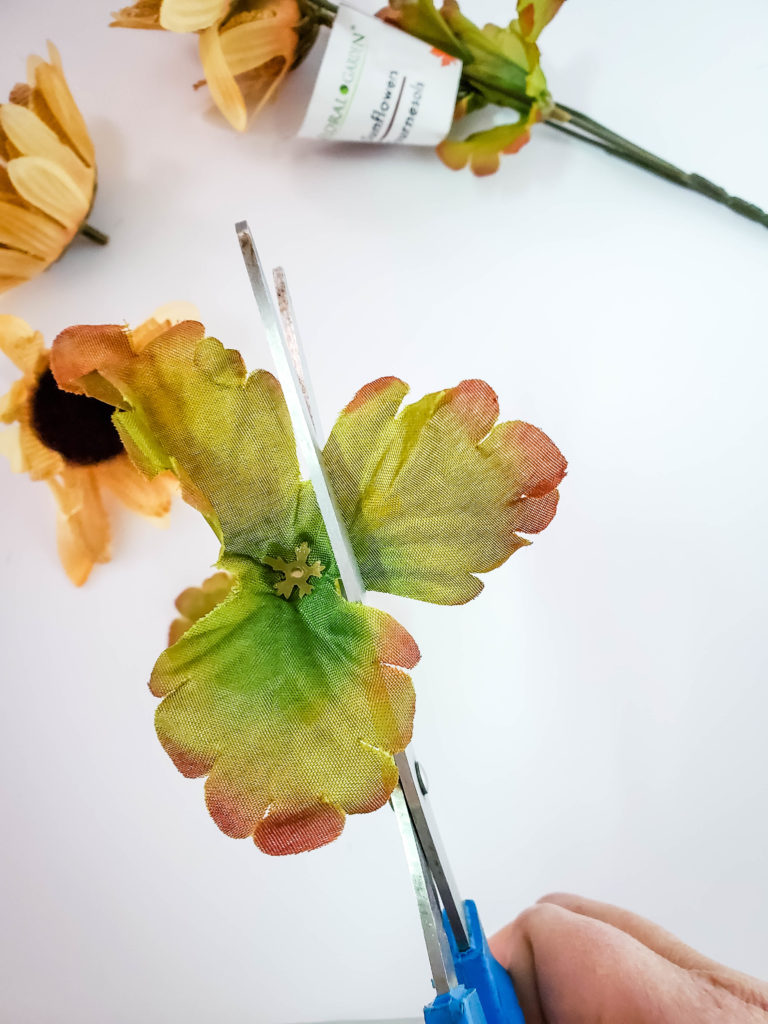
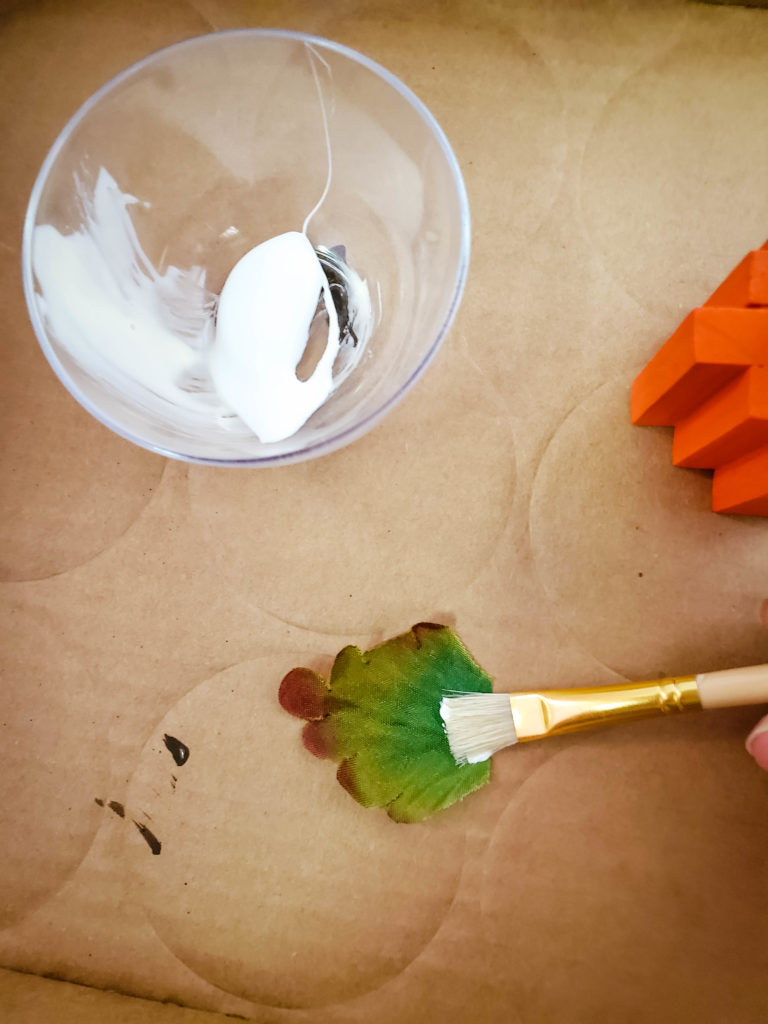
Remove the leaves from the flower stems and cut each of the three leaves off of the main leaf bunch.
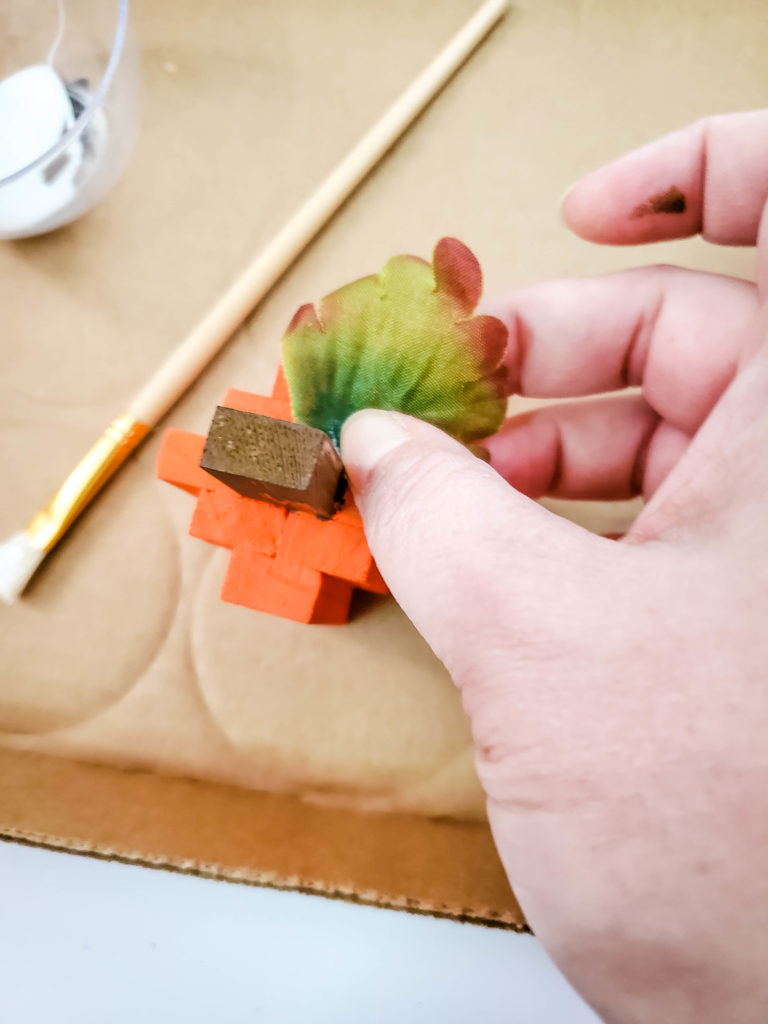
Using the tacky glue and small paint brush, add a small amount of glue to the bottom of the back of the leaf.
Attach it behind the step, slightly off to the side.
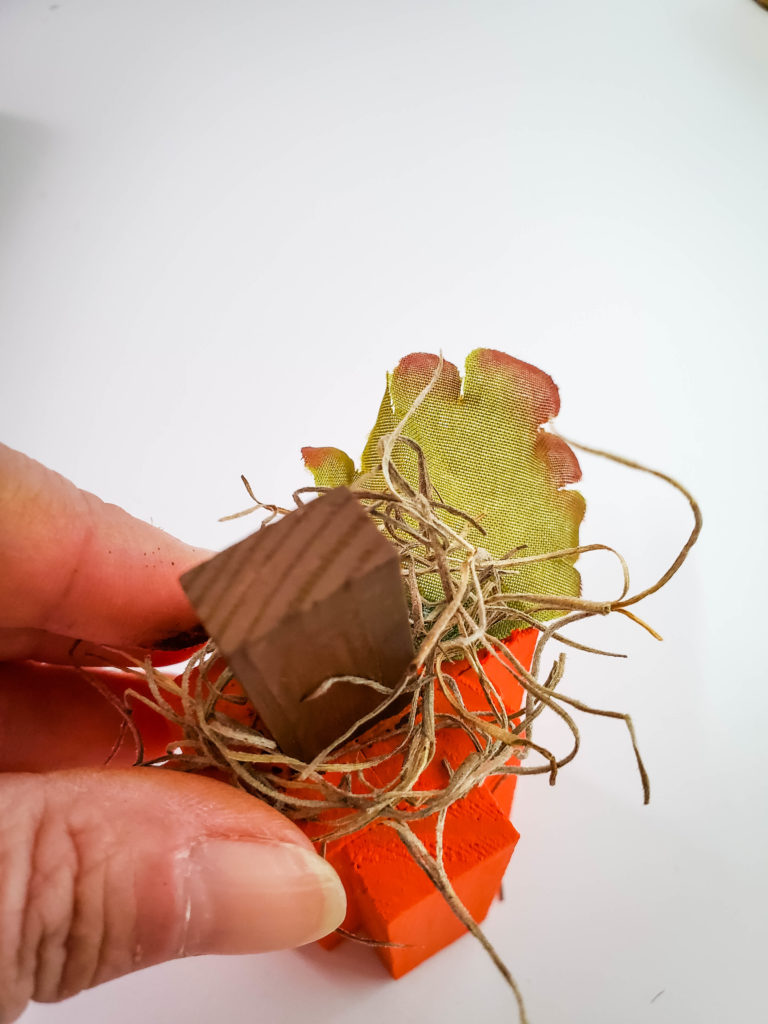
Gather a small amount of moss, and bunch it together, then slip it over the stem.
That’s it!
So easy and adorable! Now, I think I’m goin to create an entire pumpkin patch in various colors!
Leave a Reply Cancel reply
Tonganoxie • Kansas
©2026 Ruffled Daisy
Design by GLC
back to top
Crafting your
story
Ruffled
Daisy
@theruffleddaisyks
INSTAGRAM
email
beth@theruffleddaisy.org
CONNECT
Nice!! Seems like a fun craft for me to do with my nephews and niece!