Handmade Woodland Gift Wrap with Gift-able Ornament
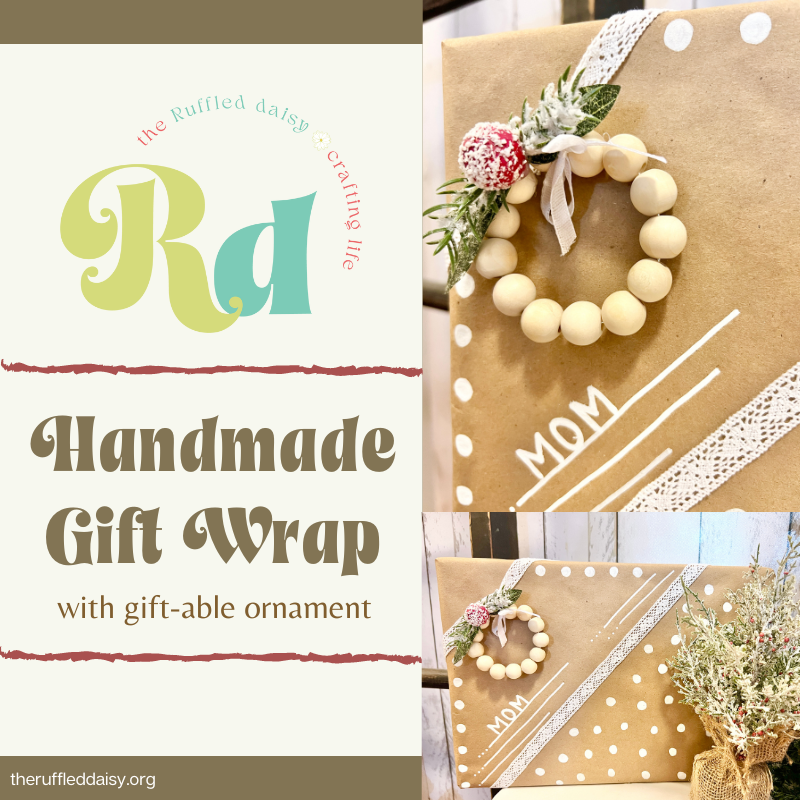
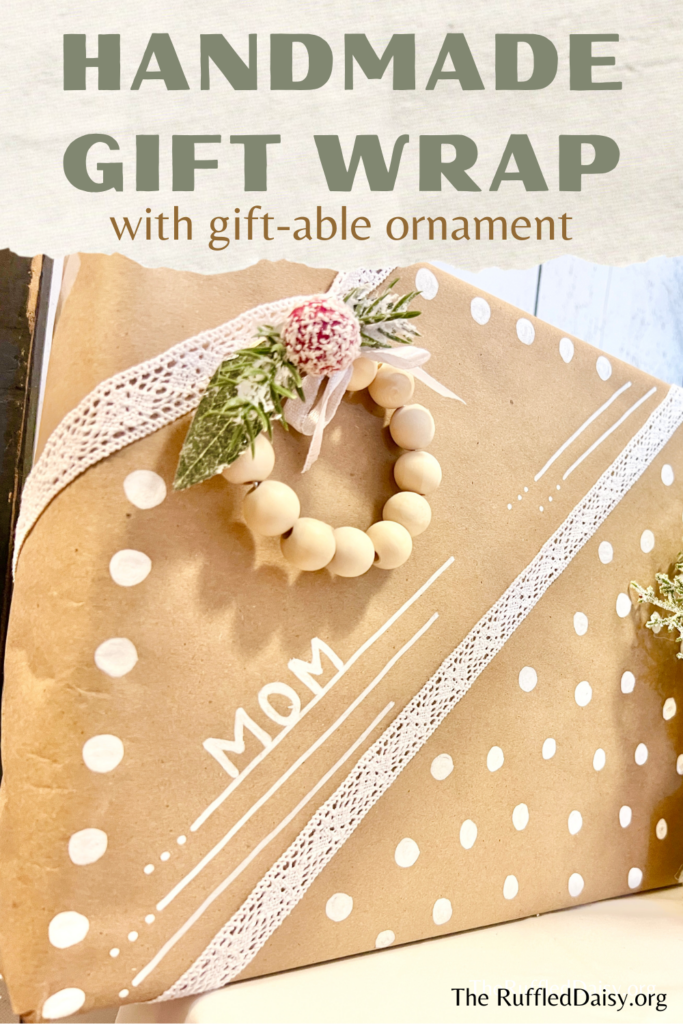
If you love handmade holidays then you’re going to want to save this Handmade Woodland Gift Wrap DIY. BONUS that it also includes a gift-able ornament!
Most people know I love BRIGHT and CHEERY colors when it comes to the holidays, but I’m going to admit….after this project, I think I’m falling in love with the natural woodland look!
I think I have a new tree in my future. This style would look stunning in my master bedroom!
Back to the project…
Buying Christmas gifts can quickly drain your budget and so I wanted to create some budget-friendly gift wrapping ideas for you! This is my favorite but I will be sharing more.
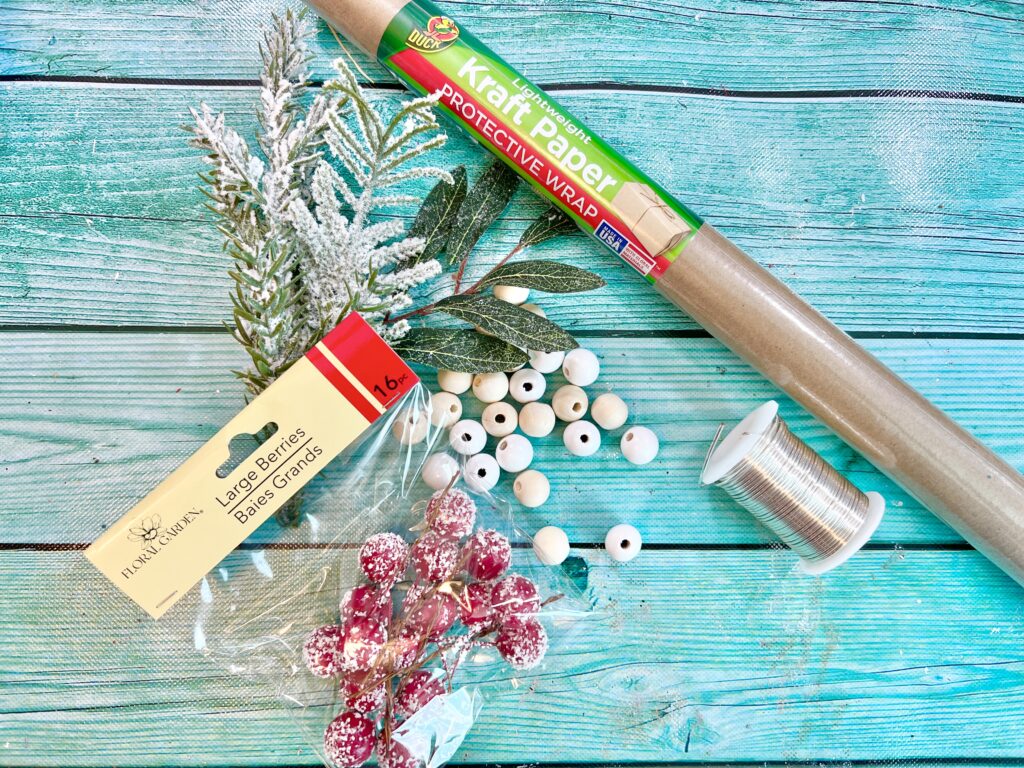
Here is what you need to make your own Handmade Woodland Gift Wrap:
- Kraft paper
- Paint pens
- Crocheted lace or twine
Here is what you need for the BONUS Gift-able Ornament:
- 16 gauge wire
- 16mm wood beads
- Greenery and berry sprigs
To begin, it is easier to wrap your package first.
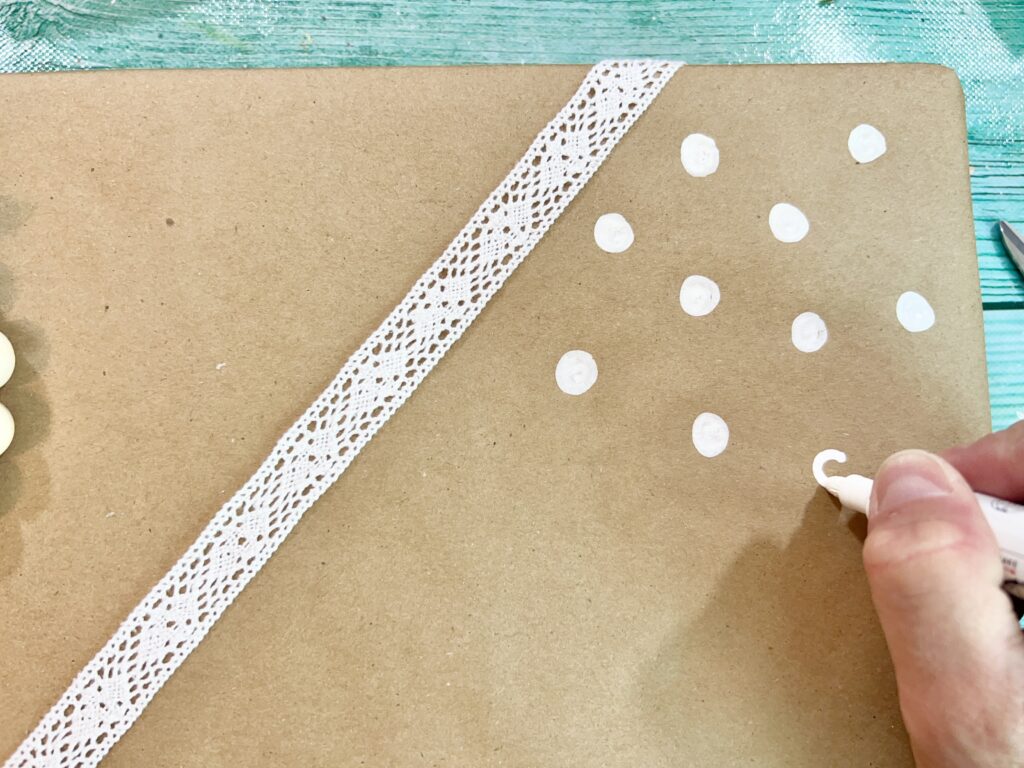
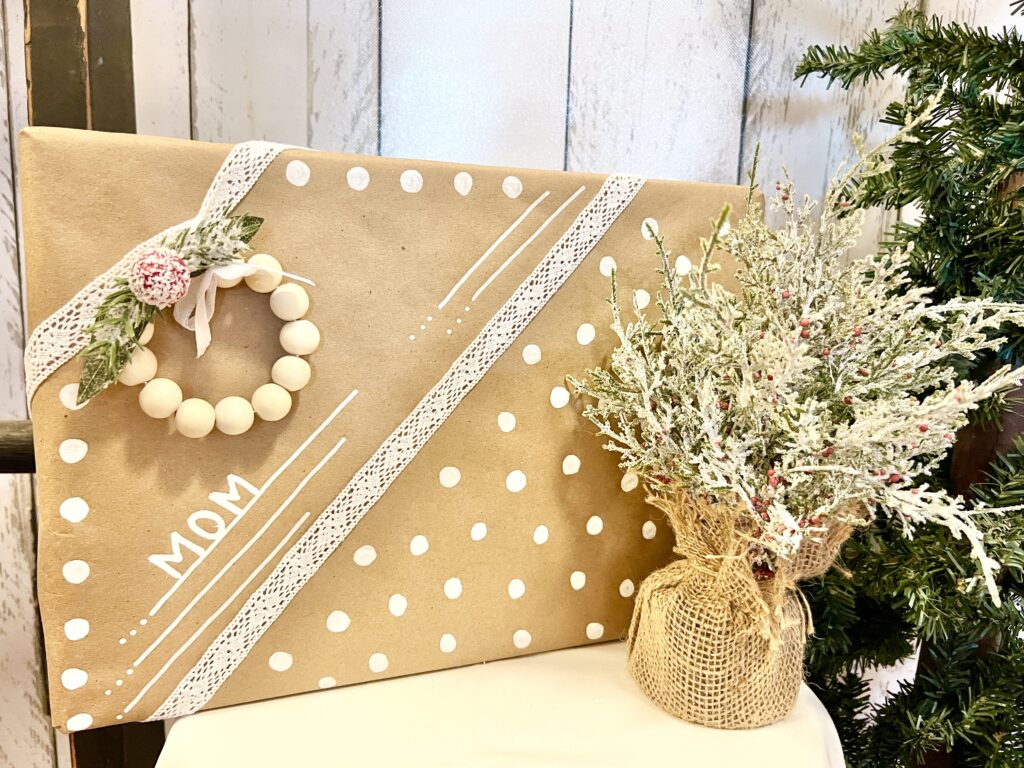
Before I started designing the outside, I knew I wanted some ribbon to embellish it. I had some crocheted lace that fit the woodland style perfectly! I just hot glued it to the back in both of the areas that I wanted it to be. You could also wrap it and seal it once.
Now it’s time for the designing. You can go all out on this step by covering the entire piece or just do the top like I am going to show you.
I started with some polka dots because, in true Ruffled Daisy fashion, I still wanted it to be a little whimsical. And polka dots always add a bit of whimsy to any project!
As you can see, these are not perfect circles. Again, it goes perfectly with the natural woodland look that we’re going for.
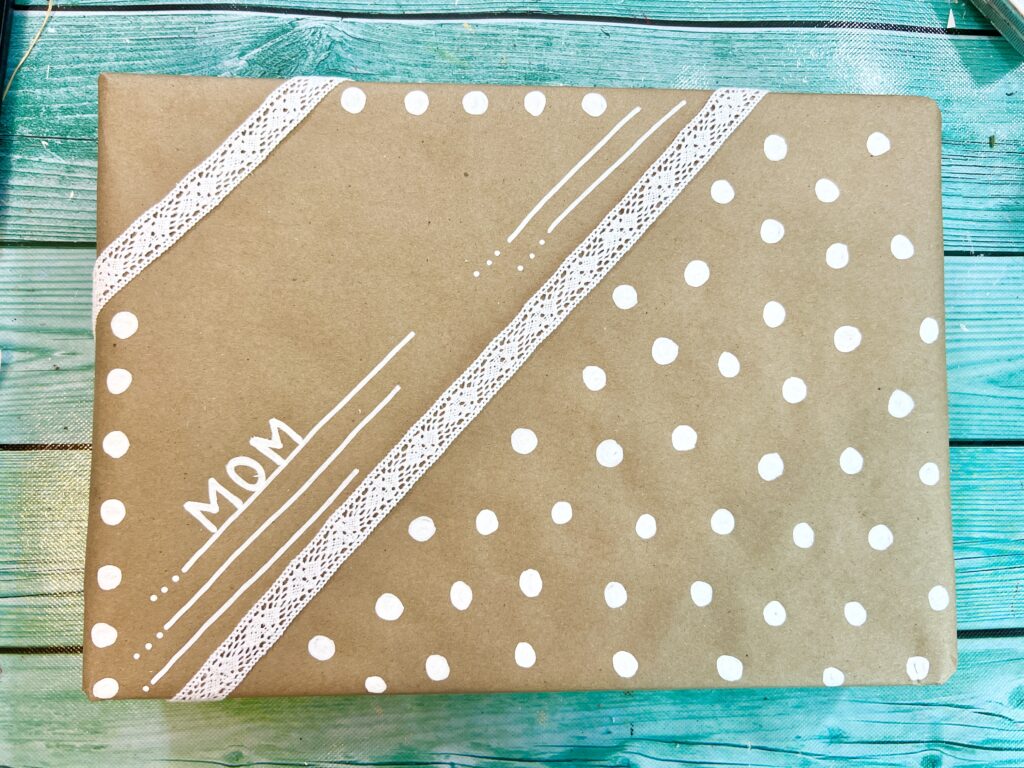
Next, add some lines and dots in the section where you’re going to place the recipient’s name, along with the ornament I’m going to show you how to make!
I just love the simplicity of this and that it took no time to put together!
Now let’s create the gift-able ornament!
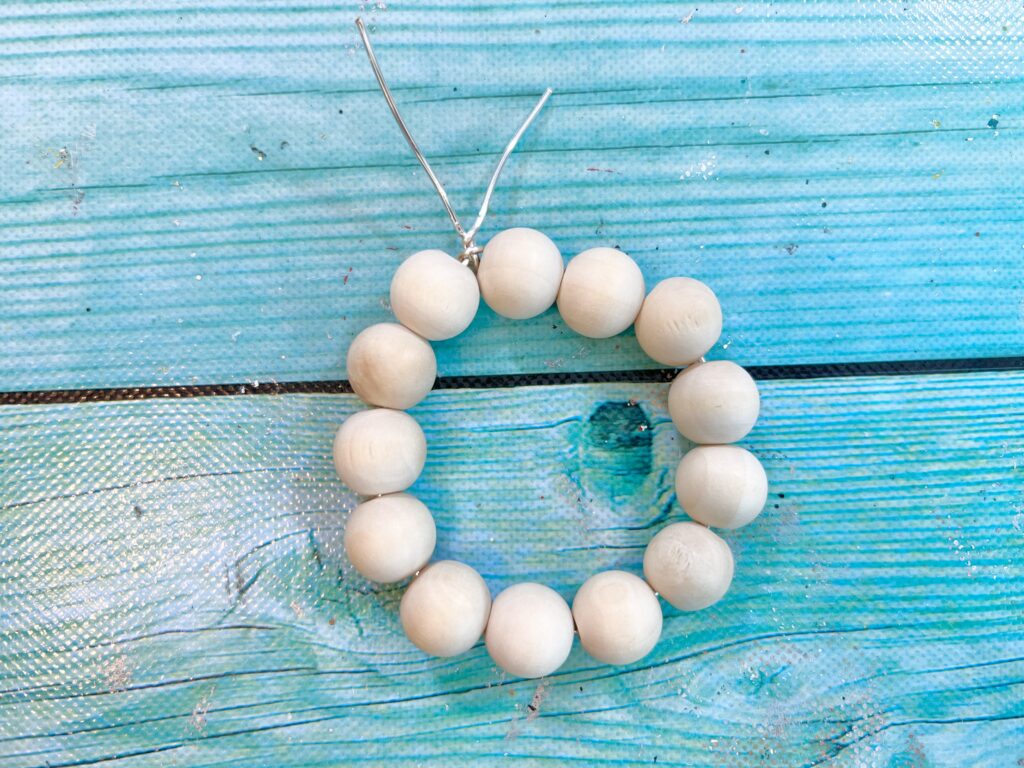
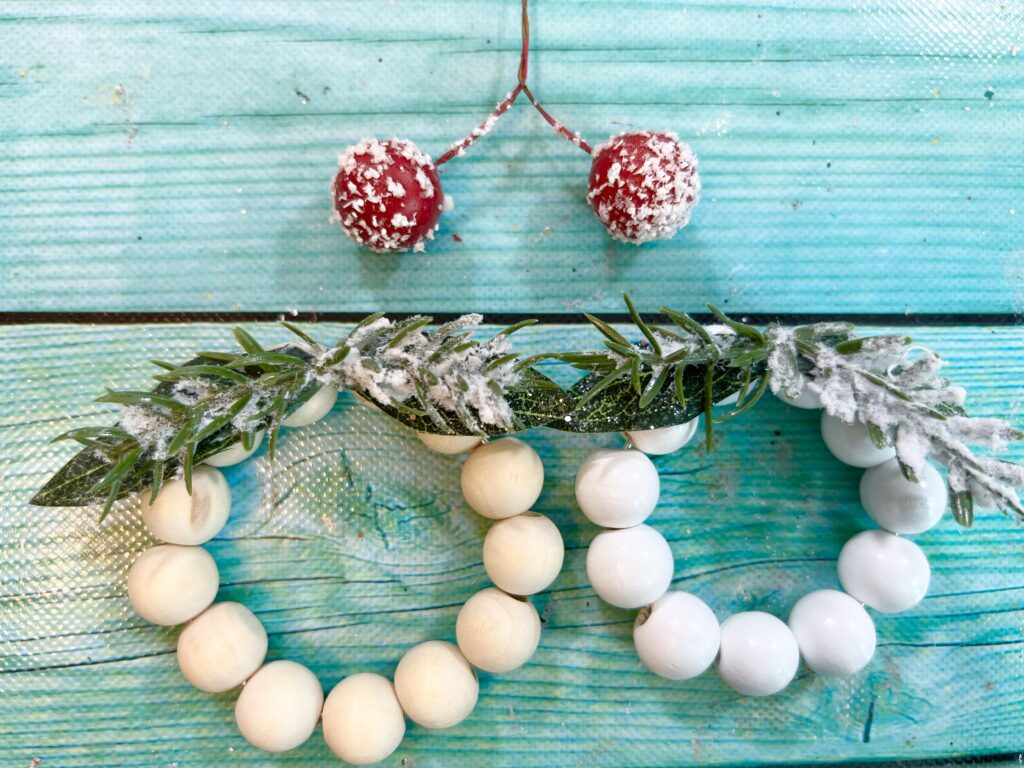
Using 16 gauge wire cut at about 12″, thread your wooden beads on.
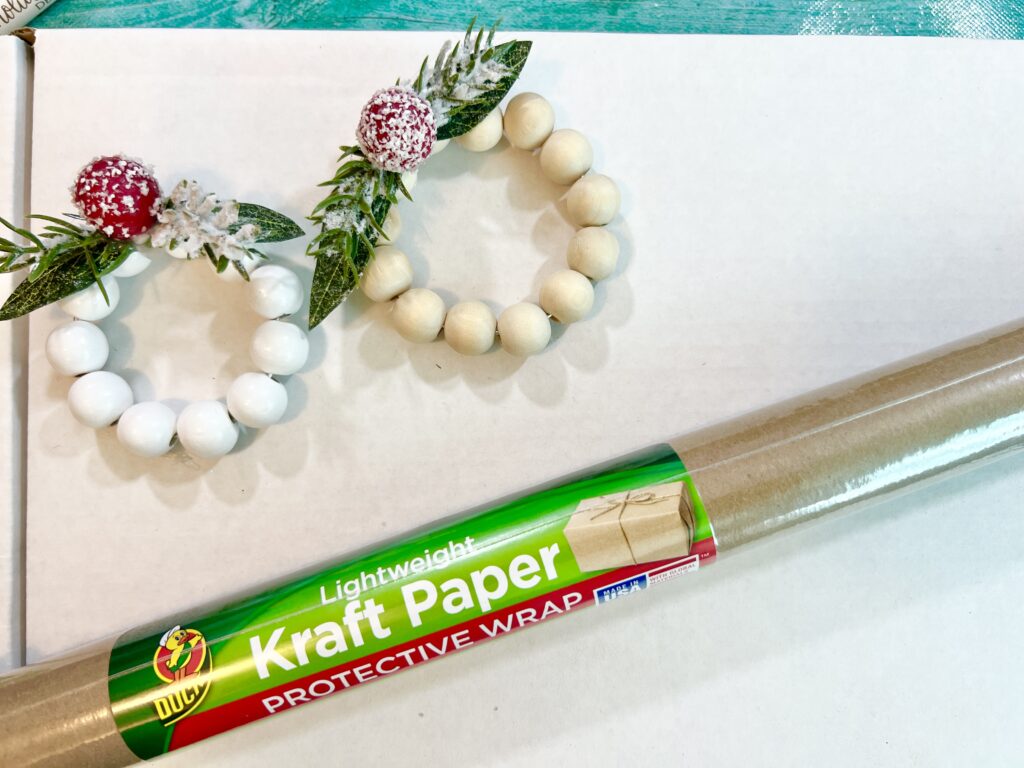
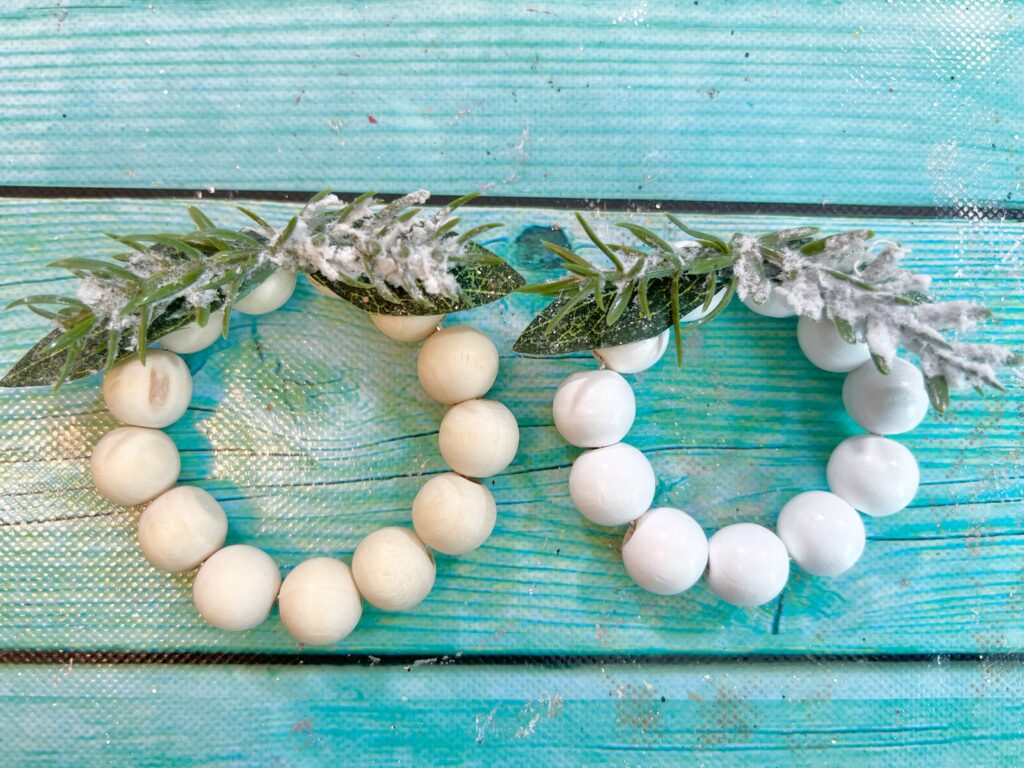
You’ll see that I actually created two ornaments. The natural one has 13 beads and the white one has 11 beads. It just made the ornament slightly smaller.
There are no rules here! If you want to create larger ones, then you absolutely can!
Once all of your beads are threaded, use needle nose pliers to twist the ends together to seal and tighten it up. Trim the excess and then bend the cut wire to the inside of the wreath.
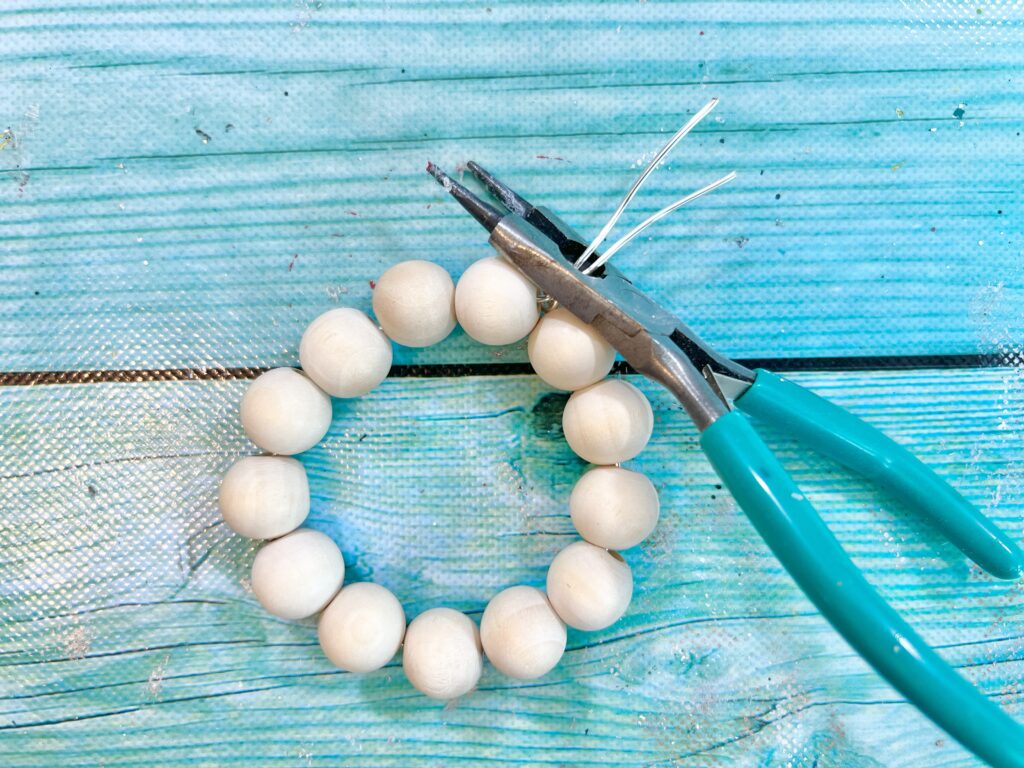
Know you have some adorable mini wreaths!

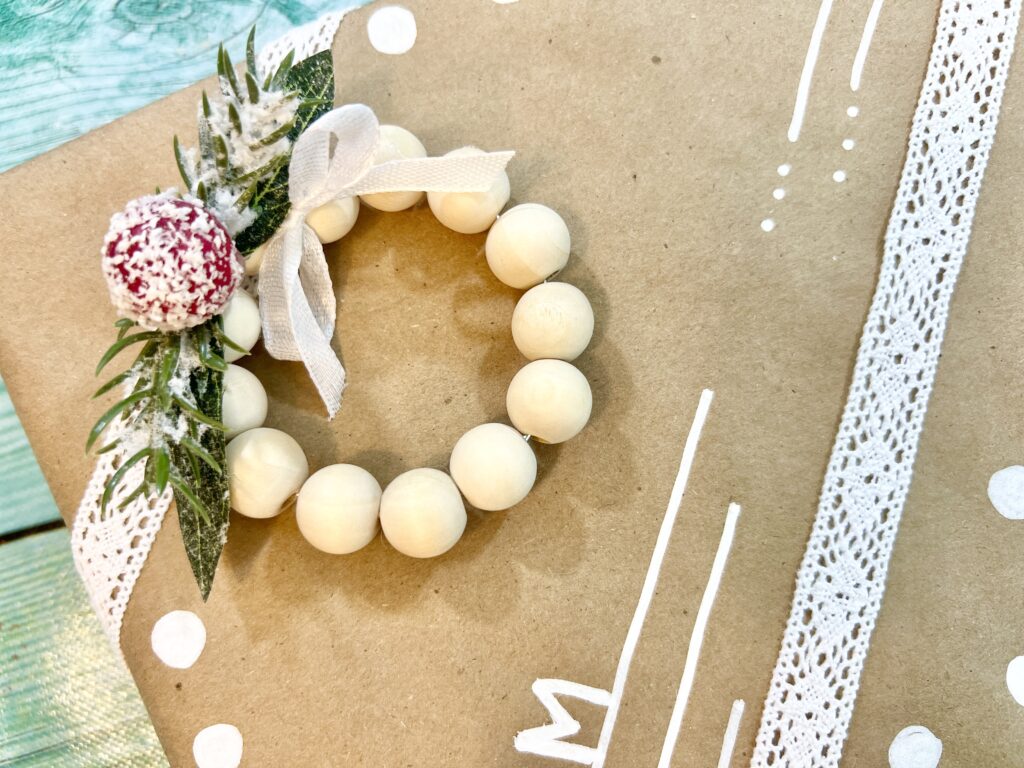
Now comes the decorating to your taste. I simply cut some greenery from another bush I had along with some berries I found at Dollar Tree. I just adhered them with hot glue and they held perfectly.
To add it to the package, I just took same 1/4″ satin ribbon and tied it to the top piece of crocheted lace with the bow in front. Now it’s gift-able!
What do you think?
I hope this Handmade Woodland Gift Wrap makes you excited to start creating for Christmas and incorporate a few new traditions.
Leave a Reply Cancel reply
Tonganoxie • Kansas
©2026 Ruffled Daisy
Design by GLC
back to top
Crafting your
story
Ruffled
Daisy
@theruffleddaisyks
INSTAGRAM
email
beth@theruffleddaisy.org
CONNECT




Beautiful ❤️