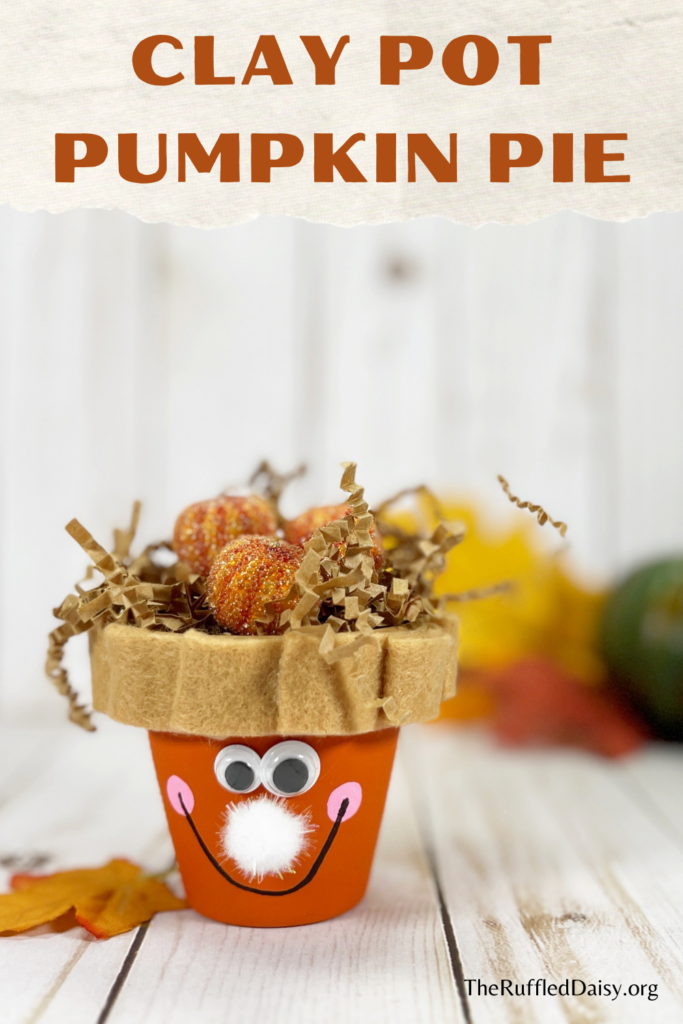
Clay Pot Pumpkin Pie Craft
Discover how a humble Dollar Store clay pot and some felt can be magically transformed with paint and googly eyes into an irresistibly adorable slice of Pumpkin Pie, just in time for the cozy vibes of Autumn! Dive into the DIY goodness in our latest blog post.
Hey friend! Picture this: you’ve got a plain old Dollar Store clay pot and some leftover felt scraps lying around. What if I told you that with a bit of paint and a handful of googly eyes, you could transform them into the cutest slice of Pumpkin Pie ever? Yep, you read that right, and just in time for Autumn’s cozy vibes!
In our latest blog post, we’re diving into a DIY project that’s all about embracing the magic of the season. We’re talking warm colors, spiced scents, and, of course, a whole lot of creativity. So why not add a whimsical touch to your Fall decor with your very own Pumpkin Pie slice?
I’ve got all the steps laid out for you, making it super easy to turn a simple clay pot from the Dollar Store into a charming Autumn centerpiece. With a splash of paint and the fun addition of googly eyes, you’ll have a delightful decoration that’ll bring a smile to your face and some seasonal joy to your home.
So, if you’re ready to let your creative side shine this Fall, come join us on this DIY adventure. Let’s turn everyday items into magical little wonders, one Pumpkin Pie slice at a time. 🍂🥧 Ready to get crafty? Let’s do this!
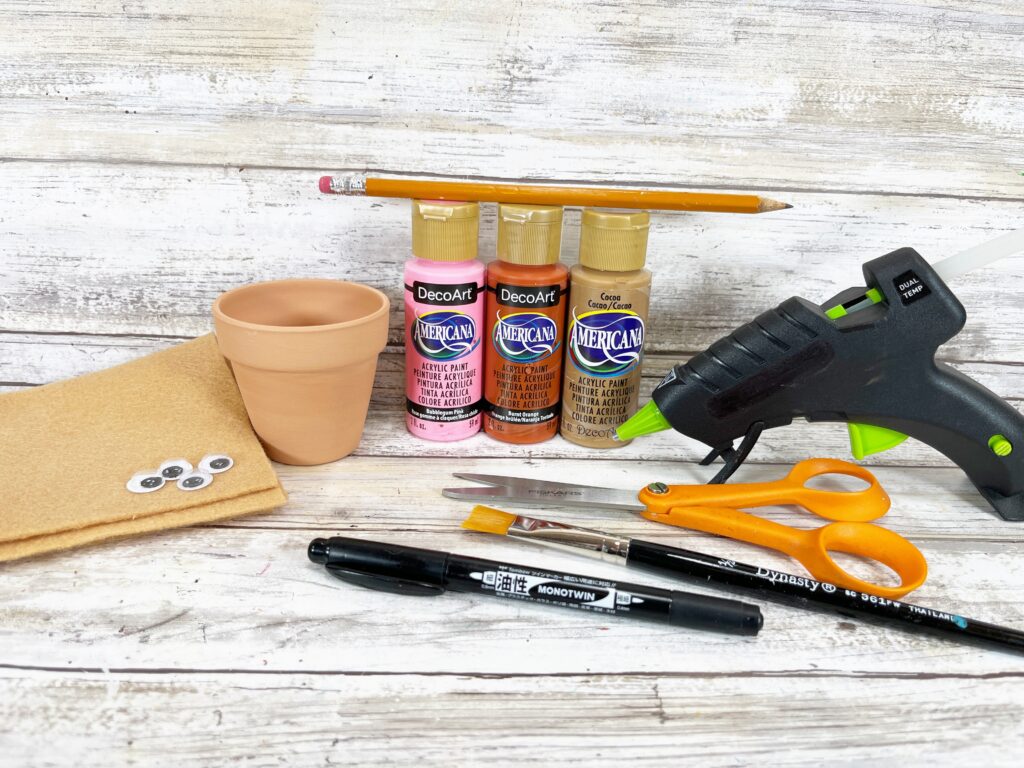
Here’s what you need to get started:
- Clay Pot, 2.5” – Dollar Store
- Wiggle Eyes – Dollar Store
- Pom Pom, White Tinsel – Dollar Store
- Craft Felt – Cashmere Tan
- Craft Paint – Pumpkin Orange, Tan, Pink
- Paper Shreds, Brown – Dollar Store
- Glue Gun and Glue Sticks – Dollar Store
- Scissors
- Paintbrush
- Ruler
- Pencil with new Eraser
- Permanent Marker, Black
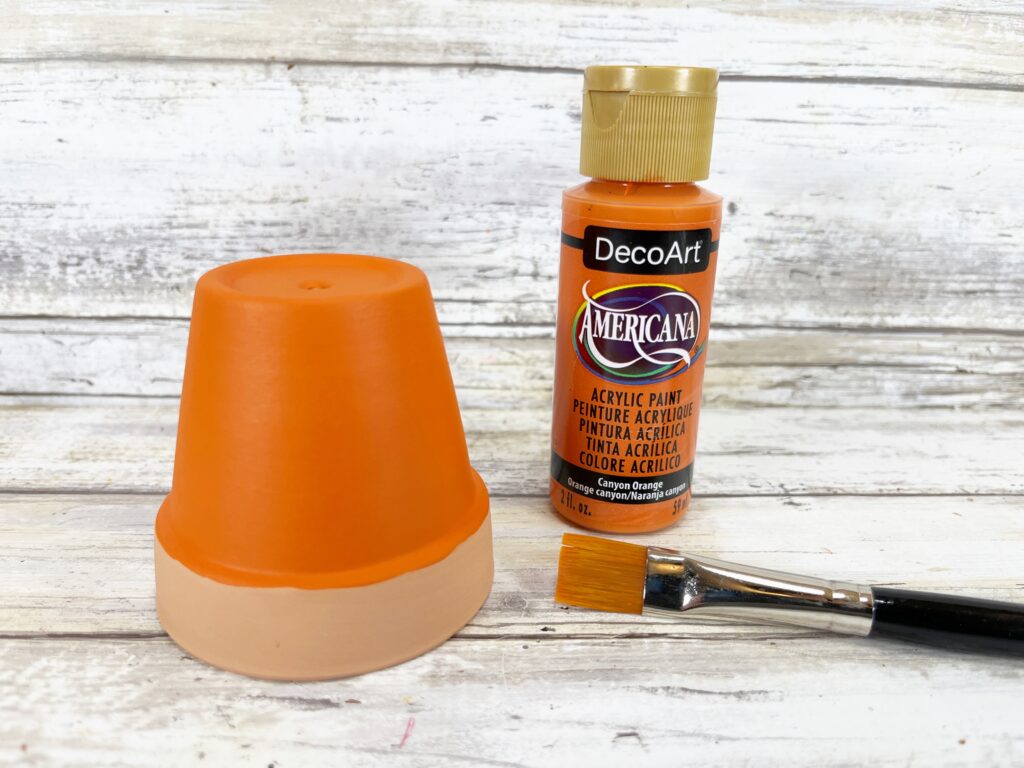
Remove the paper tag from the clay pot. Base coat the base of the clay pot with pumpkin orange acrylic craft paint. Let paint dry and apply a second coat, if necessary.
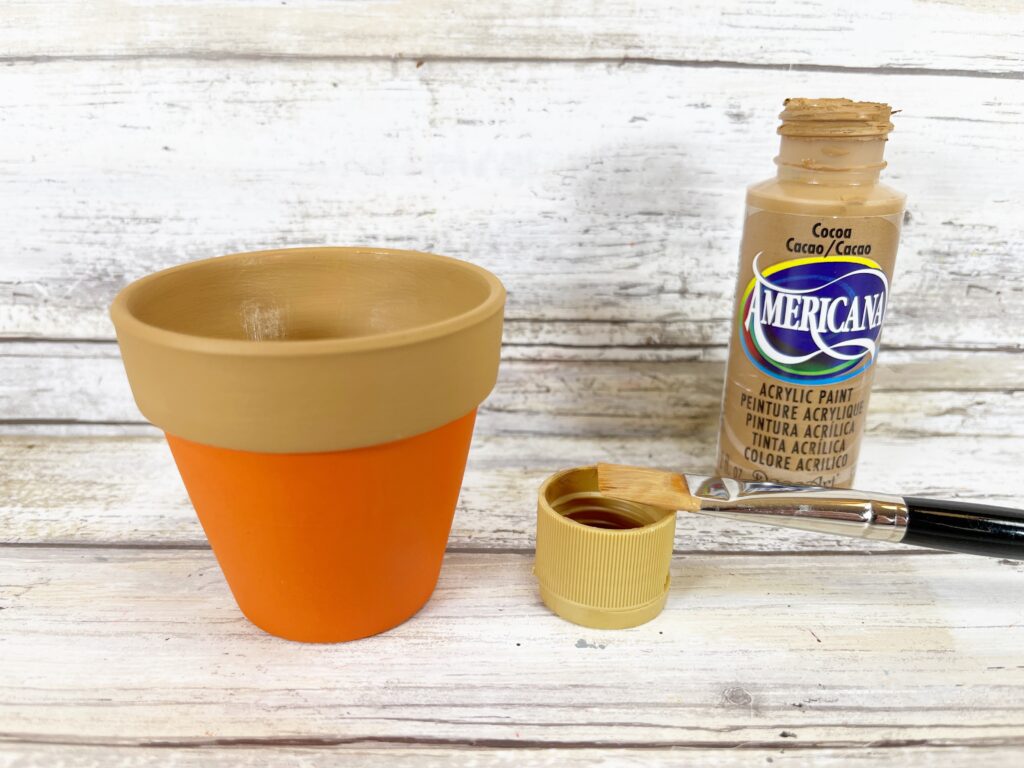
Base coat the rim and inside of the clay pot with tan acrylic craft paint. Let paint dry and apply a second coat, if necessary.
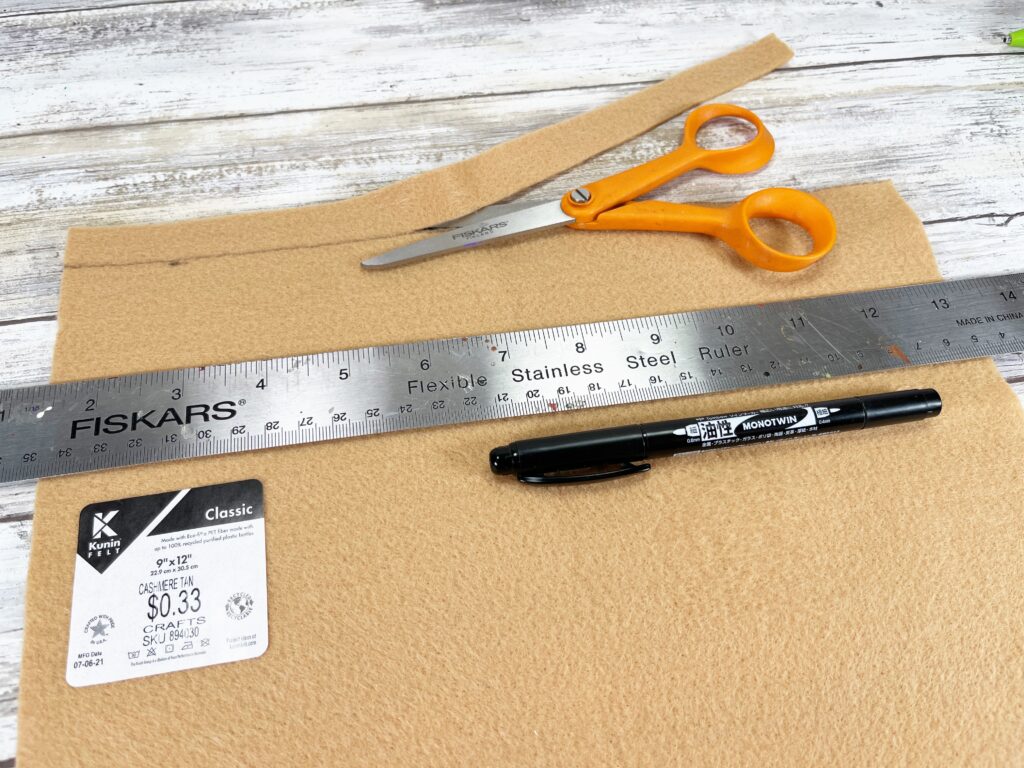
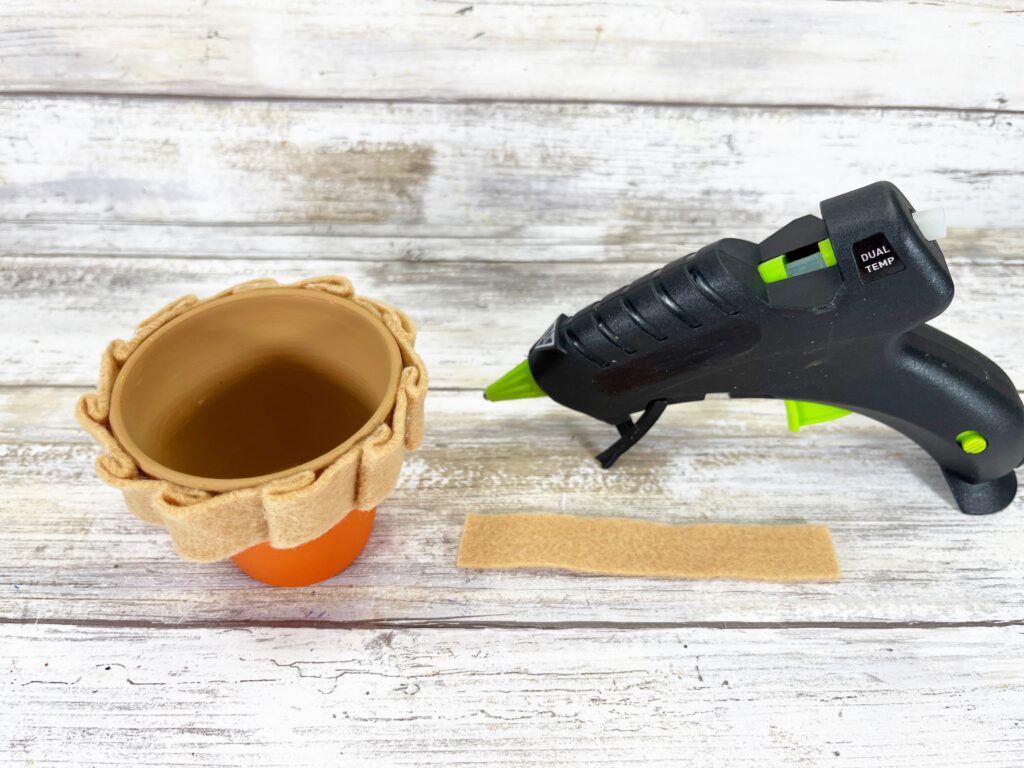
Measure two rectangles that are ½” by 12” on the tan craft felt with a black marker. Cut out the rectangle shaped strips with scissors, cutting inside the black lines. You could also use tan craft foam instead of felt.
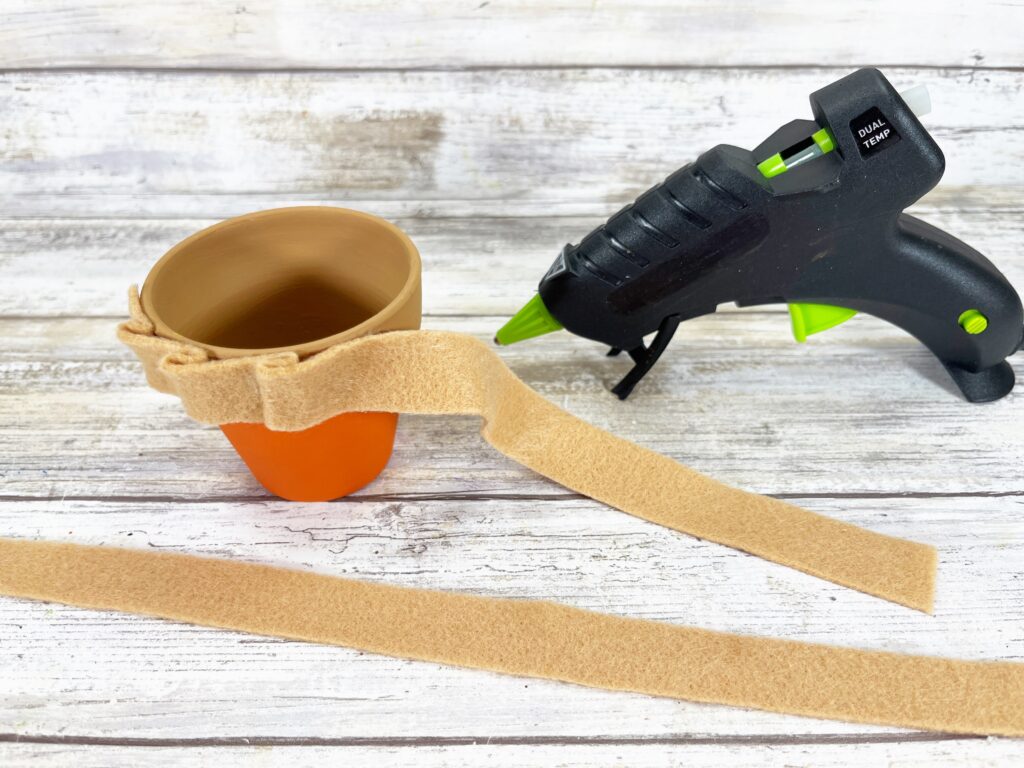
Attach the tan felt pie crust strip to the rim of the clay pot with a glue gun and glue sticks. Create the fluted pie crust edge, by folding and gluing the strips of tan felt back and forth. Where the first strip ends glue the second strip on and continue the ruffles.
You can use liquid craft glue for this project, but you will have to wait for it to dry.
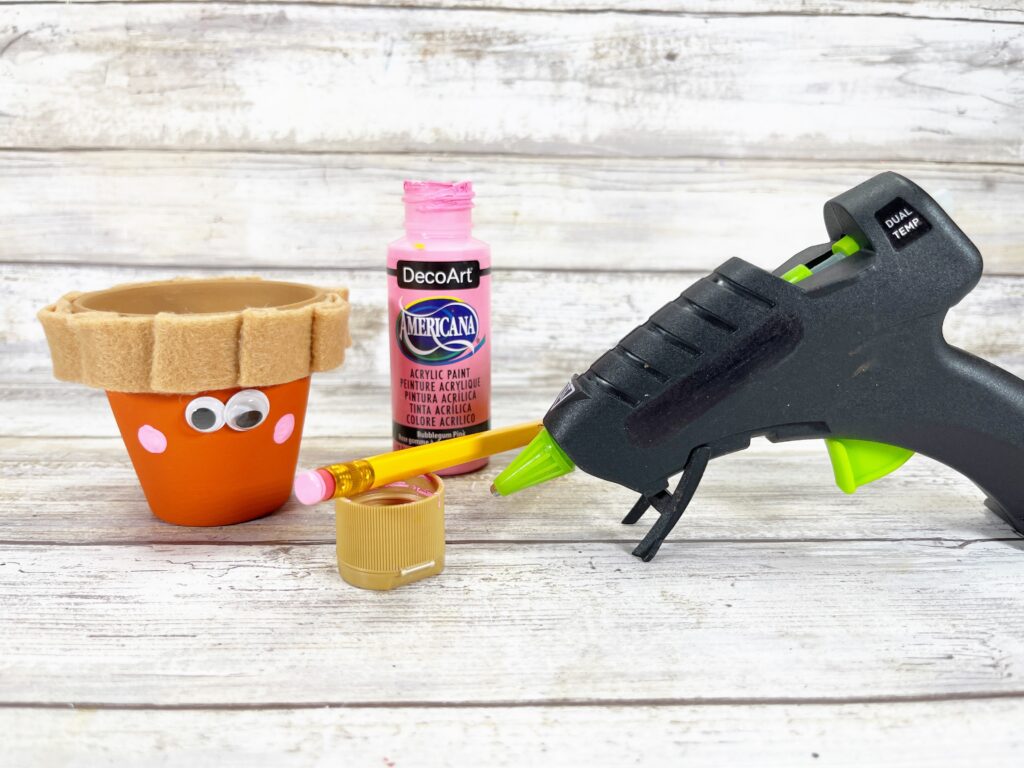
Add a face to the pumpkin pie by attaching two wiggle eyes with a glue gun and glue sticks. Add cheeks by dipping a new pencil eraser in pink acrylic craft paint and dotting on either side of the face.
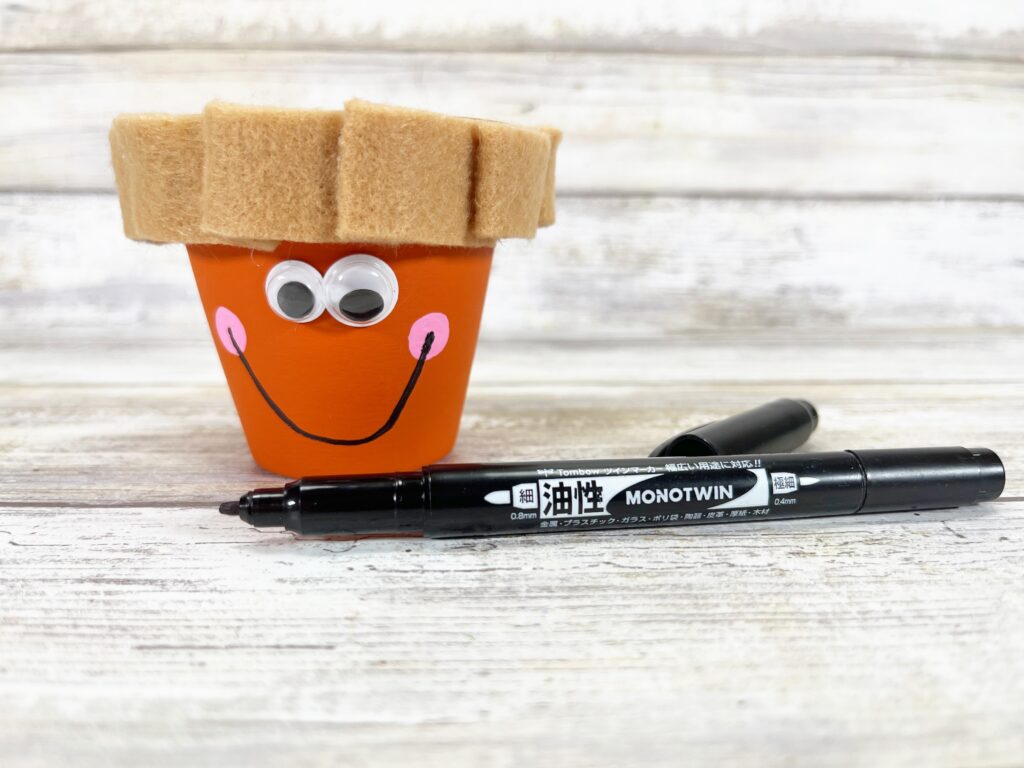
Draw a smiling mouth from cheek to cheek with a permanent black marker.
Glue a white tinsel pom pom to the center of the pumpkin pie’s face to create a whipped cream nose. Fill with paper shreds and yummy Fall treats.
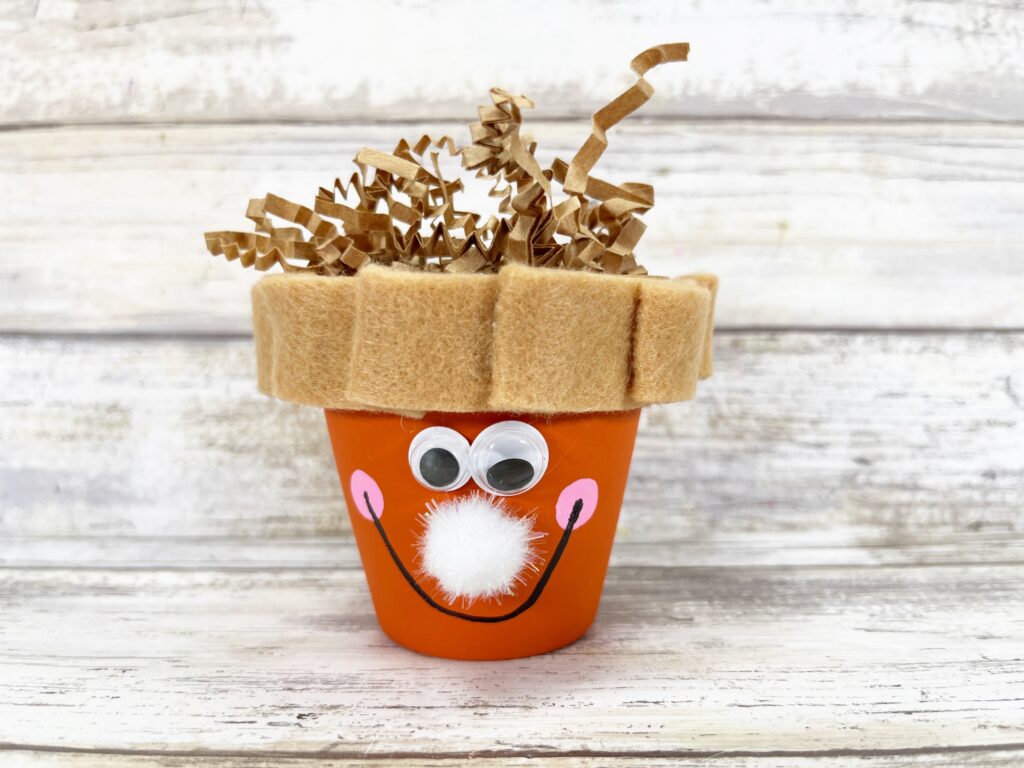
This is a fun activity to create with the kiddos in just about 30 minutes with limited supplies. The perfect size for a tiered tray display.
Leave a Reply Cancel reply
Tonganoxie • Kansas
©2026 Ruffled Daisy
Design by GLC
back to top
Crafting your
story
Ruffled
Daisy
@theruffleddaisyks
INSTAGRAM
email
beth@theruffleddaisy.org
CONNECT
